My car has now turned five years old! This is interesting for two reasons:
1: It’s still running fine on the original battery pack. This is surprising because according to obnoxious electric car critics from years ago, “Ya’ll need to replace ’em batteries every three years in one of ’em new-fangled electrical cars! Mark my words!” (best read in a yokel accent for maximum effect)
2: The warranty has now expired…. This means I can really start tinkering!
A hardcore tinkerer friend of mine in Finland named Jarkko Santala discovered back in 2015 that there are extra ‘gears’ in the Peugeot iOn and Citroen C-Zero, which offer different types of regenerative braking just like in the Mitsubishi iMiEV. He reported on it in his own blog here.
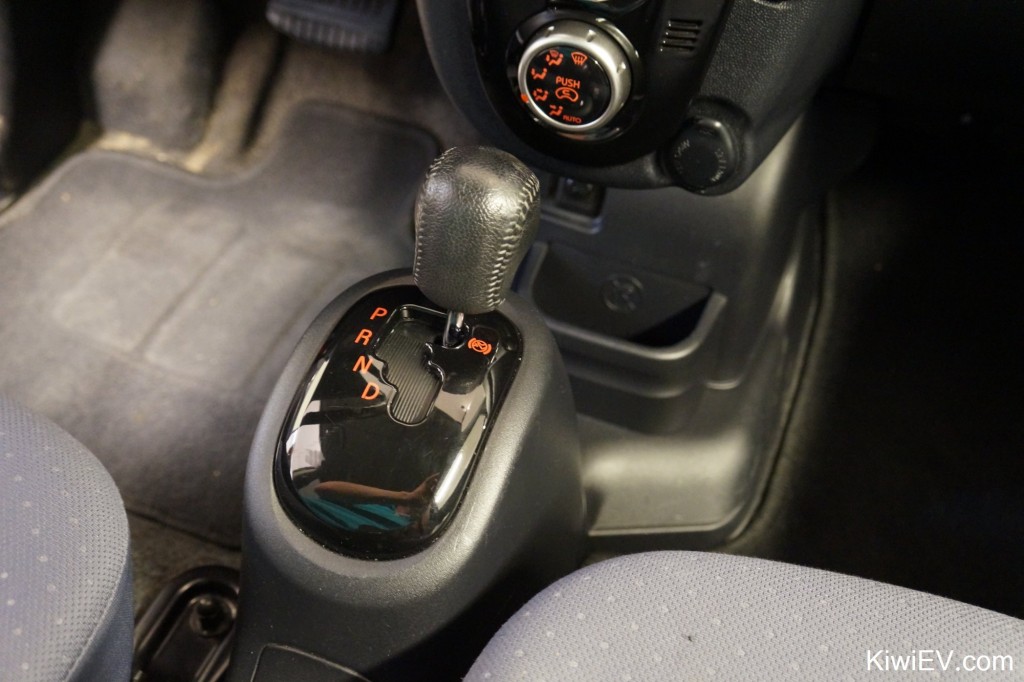
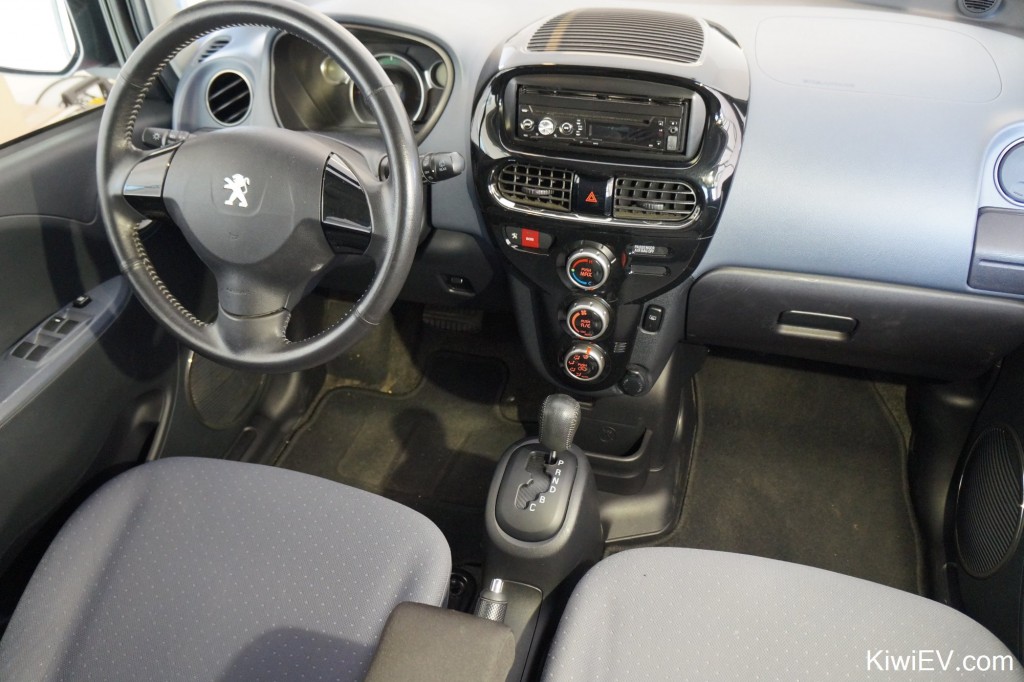
For some reason however the Peugeot iOn and Citroen C-Zero were produced without these extra options of regenerative braking. All you have in these European clones of the iMiEV is Park, Reverse, Neutral, and Drive.
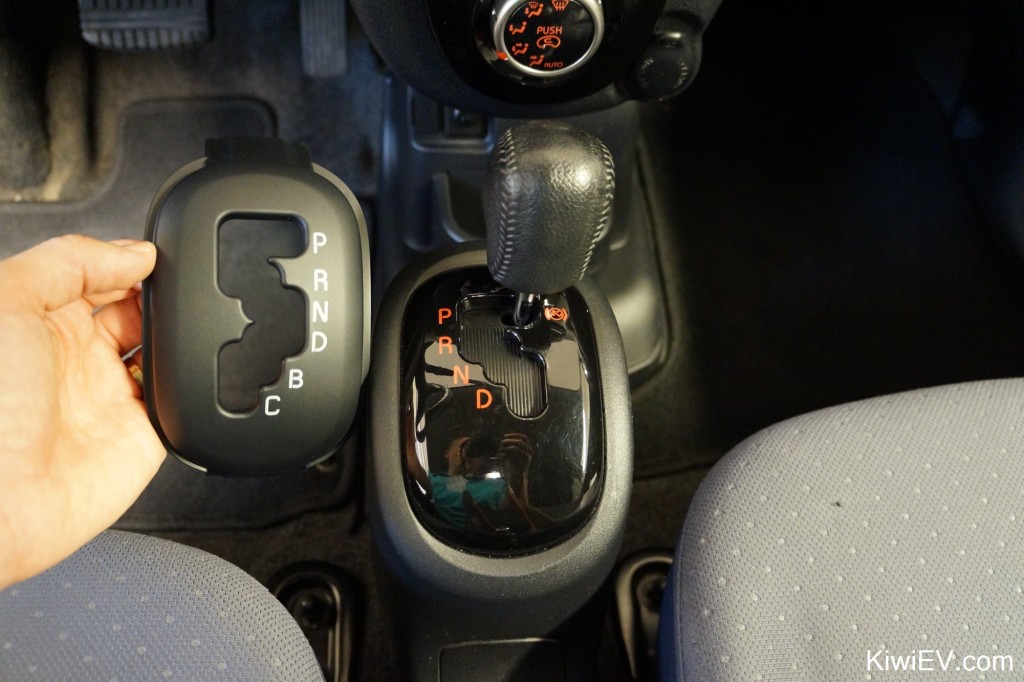
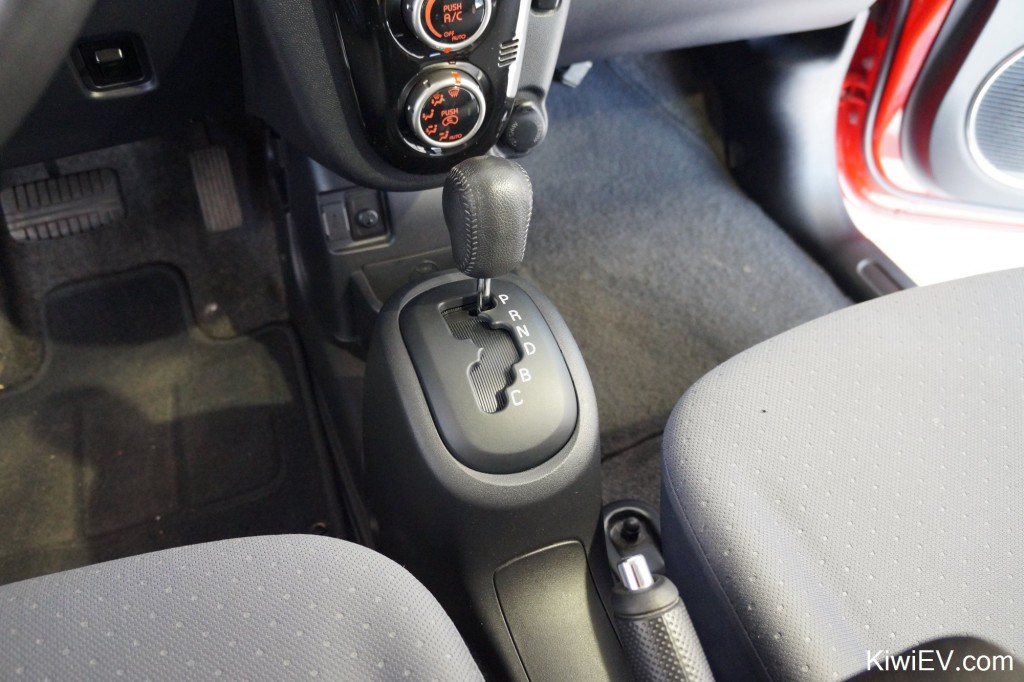
The thing is… those extra gear selections that the iMiEV has under “Drive” are actually there on the Peugeot and Citreon models, but they’re just blocked off with plastic!
So, this means all I need to do it remove the plastic which is preventing me from putting the gear shifter into B and C modes. Now, I’m not sure if this works on every model of Peugeot iOn and Citroen C-Zero, but it certainly worked on mine, so here’s how I did it.
The process of accessing those extra regen braking speeds is really easy, so I hope these simple instructions will allow you to uncover them in your own electric car.
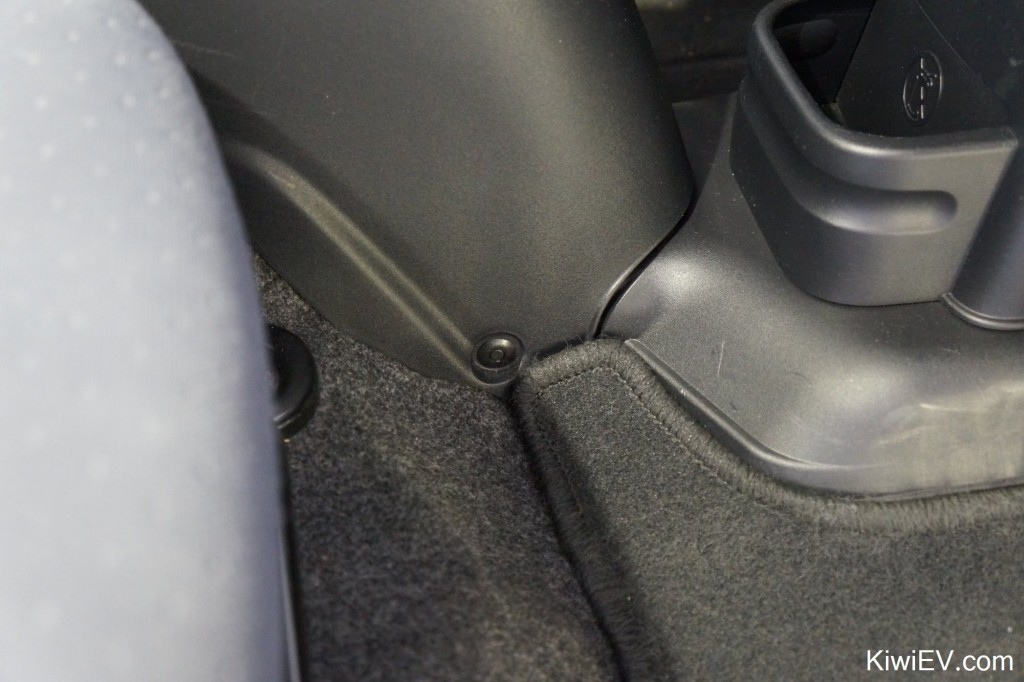
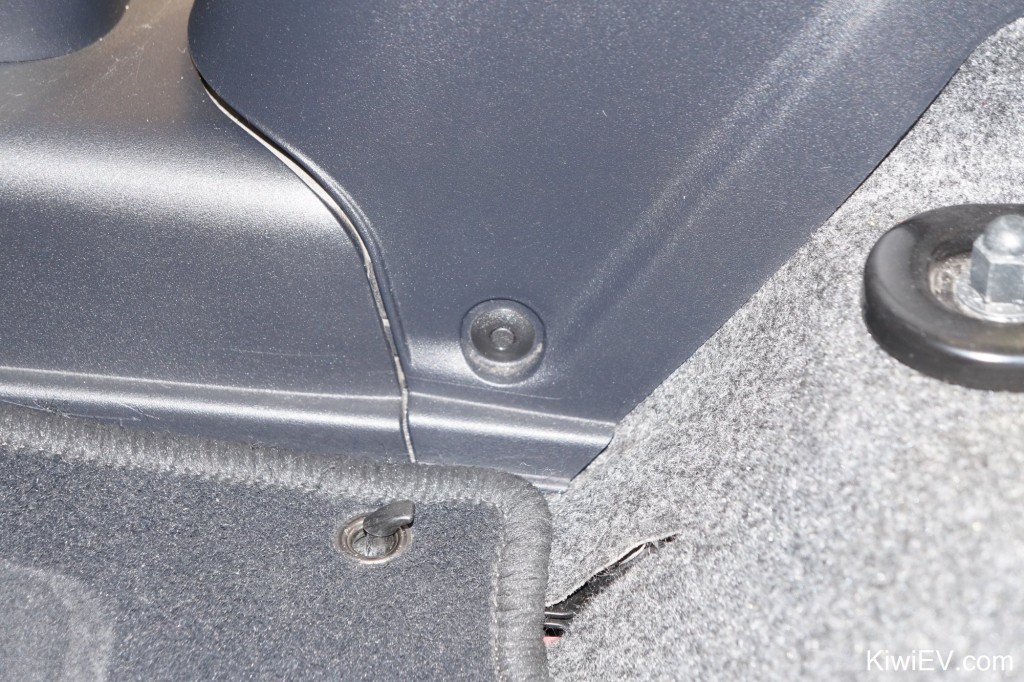
To begin, remove the plastic plugs holding in the centre console. To remove these (reusable) plugs, push the centre inwards with a small screwdriver, then the entire plug will pop out. Do this to both sides, near the floor.
Even with no mechanical ability, and even going at a slow, methodical pace, you can have those extra regen braking ‘gears’ available and working within 30 minutes. It’s such an easy job.
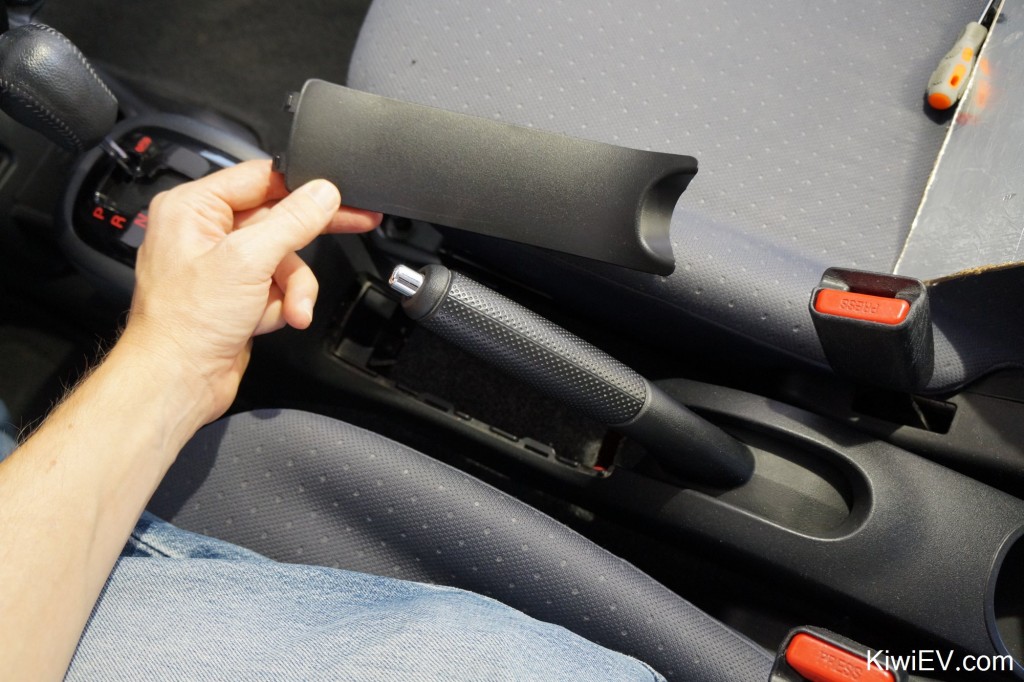
After removing the plastic plugs near the floor, remove the plastic panel in front of the parking brake. It simply pops upwards.
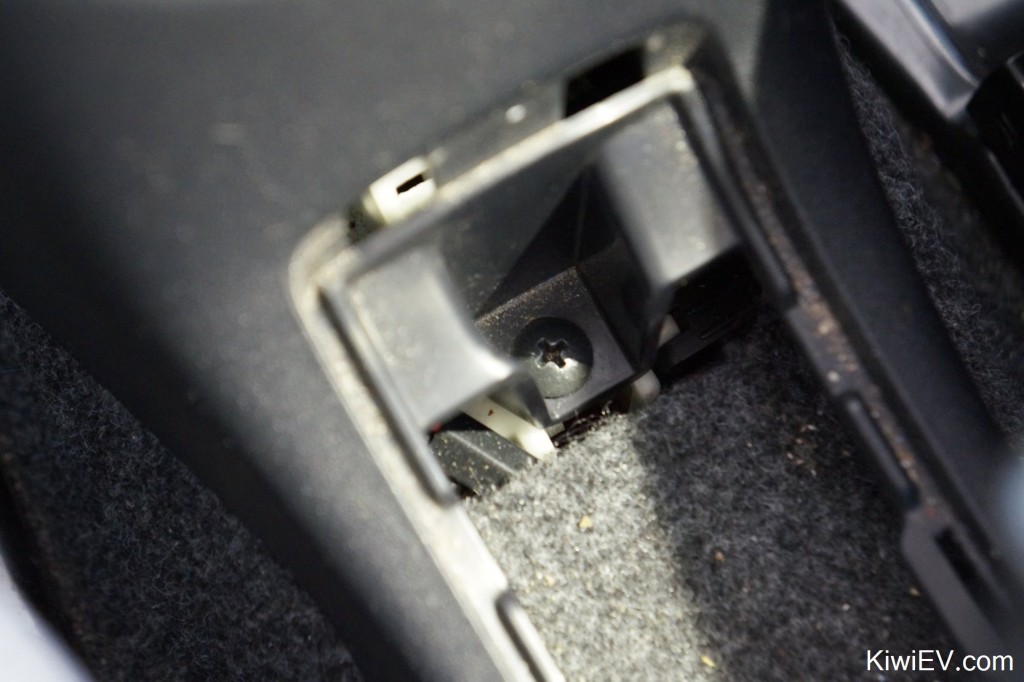
With that small panel panel removed, a screw will become accessible right behind the gear shifter plate.
Once you’ve undone the above screw, the only one remaining is in the rear passenger compartment down on the floor in the middle of the car, behind the front seats. It’s the last screw holding the centre console in place.
This is a good time to remove the gear knob by turning it anti-clockwise.
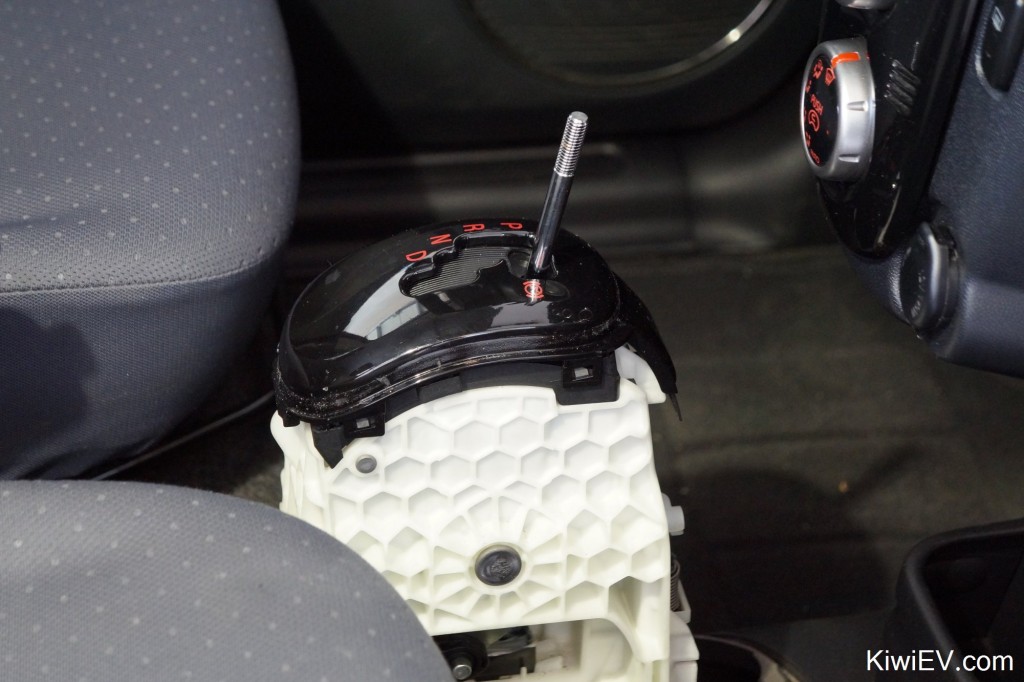
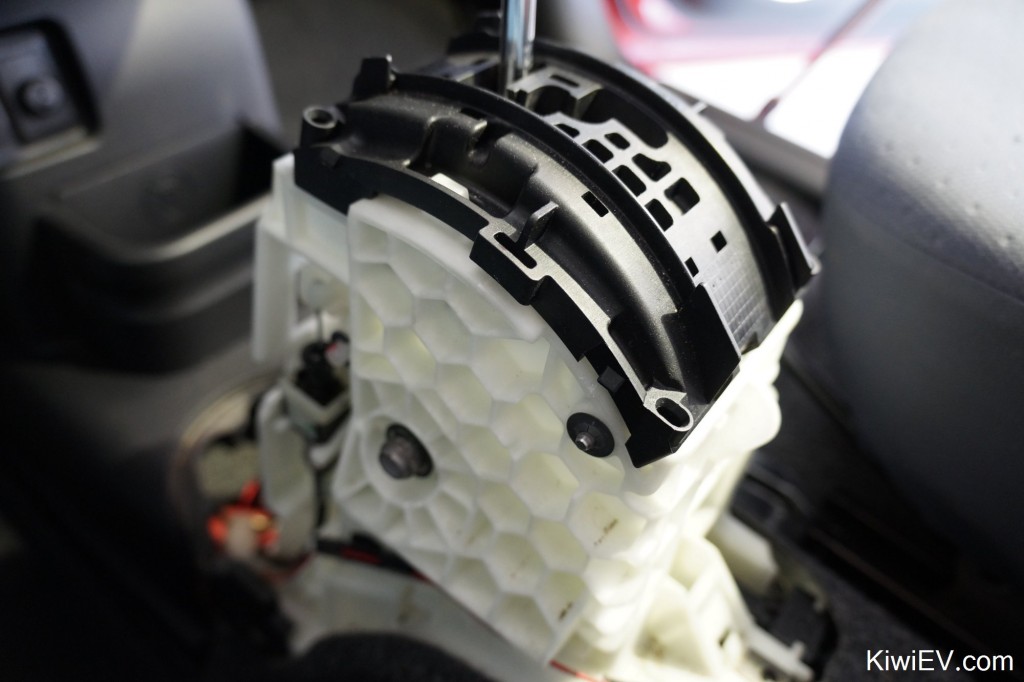
Then, with the centre console removed, unclip the gear shifter plate by prying out the four clips that secure it to the white cluster.
Now with the shifter panel naked and at your mercy, remove the little metal washer / disc on the bottom right of the above picture. It holds in a rod which secures the black shifter panel to the main white cluster.
Above is a better image of the disc which needs to be removed. It can be pried off with a small flat-head screwdriver.
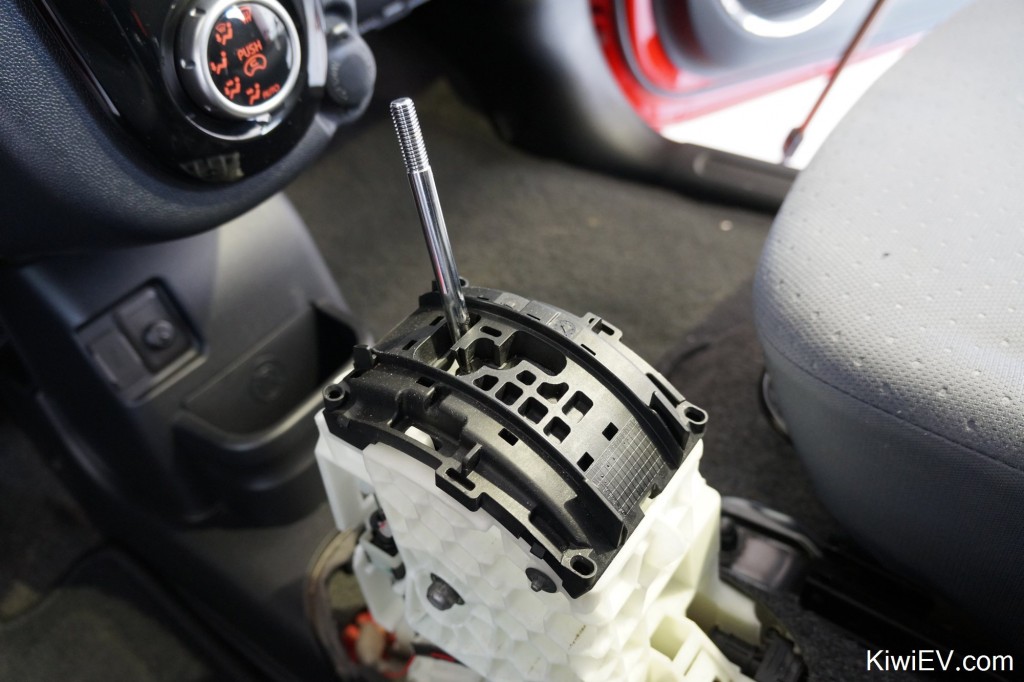
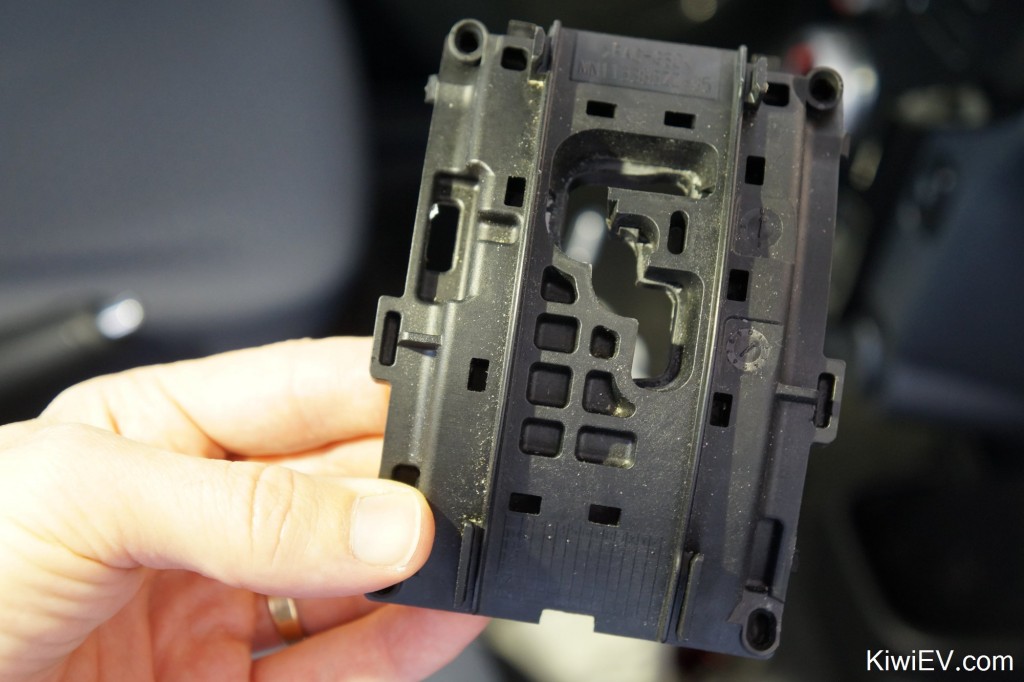
With that disc pried off, and the short metal rod removed, the black shifter panel (shown above) will lift straight off.
This is where you can see how it looks. Notice the “ice tray” effect on the bottom left of the panel where there would be extra gears on the Mitsubishi versions? That’s what we’re about to hack away at…
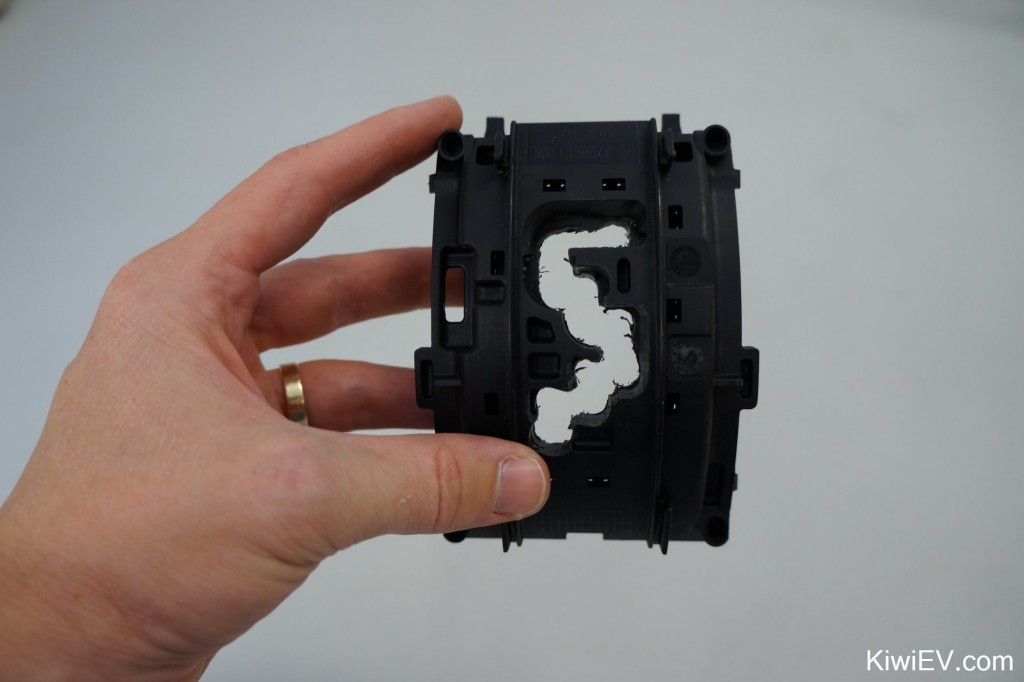
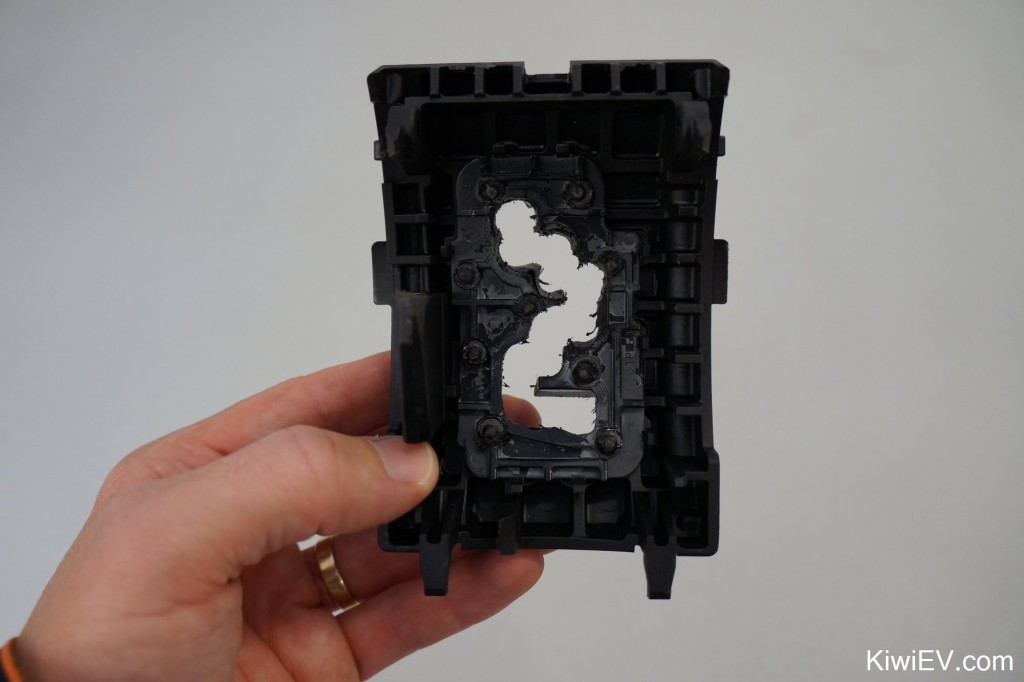
The easy solution to removing the blocked-put plastic on the gear shifter is simply to use a drill to make new “slots” for the gear knob. Here’s the “after” shot:
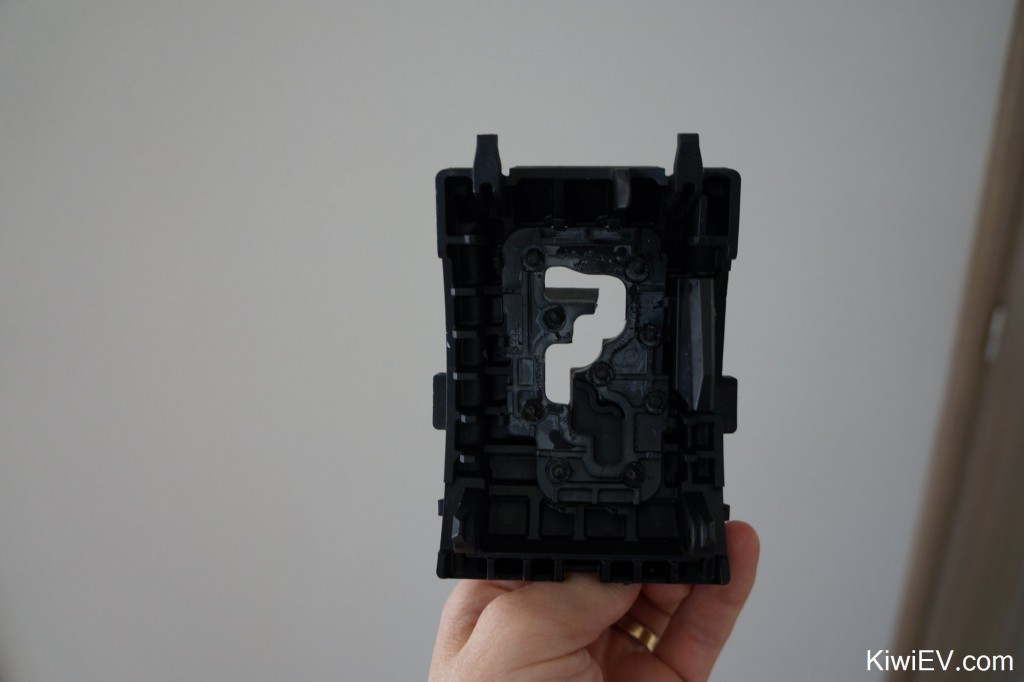
It was actually not scary at all, because I simply followed the pattern which Mitsubishi had provided when they made this car. Here’s the underside:
I was worried I would make a mess of the thing but it was actually pretty easy. You just need to take your time, drill a little at a time, and try the plate out a few times in the car to monitor the progress.
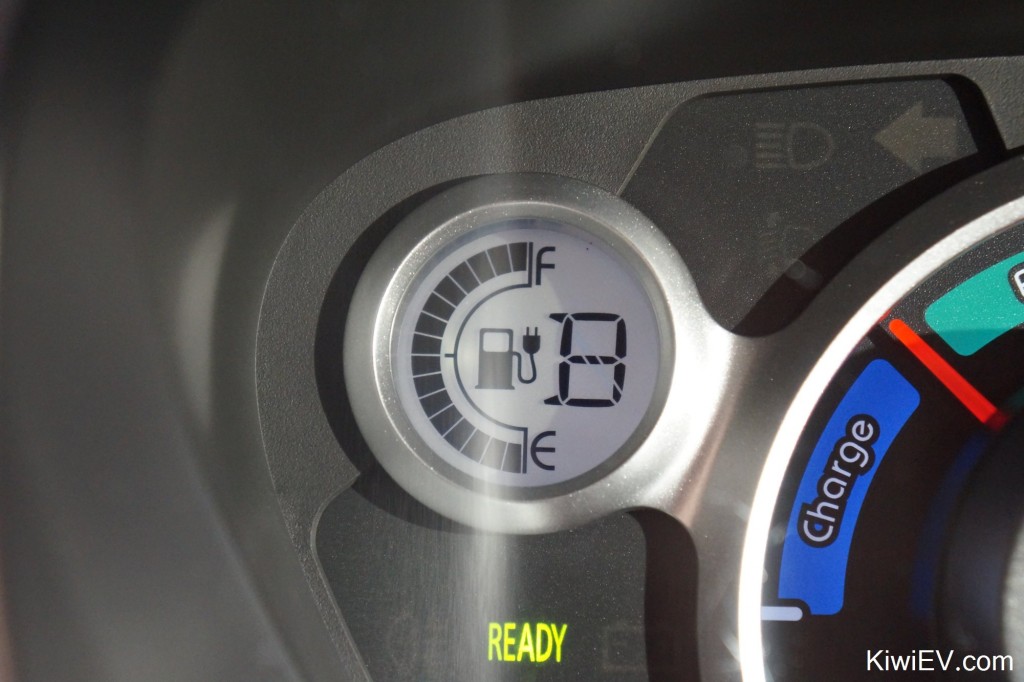
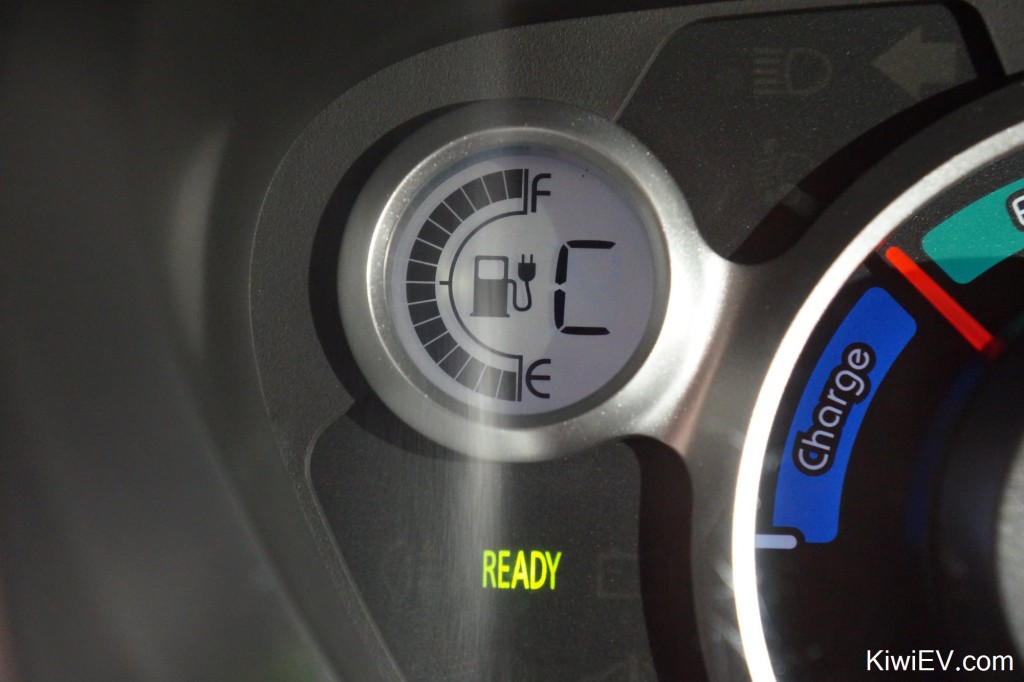
At this point, it pays to turn on the ignition and check that the new “speeds” or “gears” are showing on the dashboard. It should show as B mode and C mode.
So far so good: everything’s looking great! Time to put the centre console back together.
I discovered that there’s one last thing to keep in mind when installing a new gear shifter cover plate into your C-Zero or iOn: you may need to make a minor modification to it to ensure it clips into place.
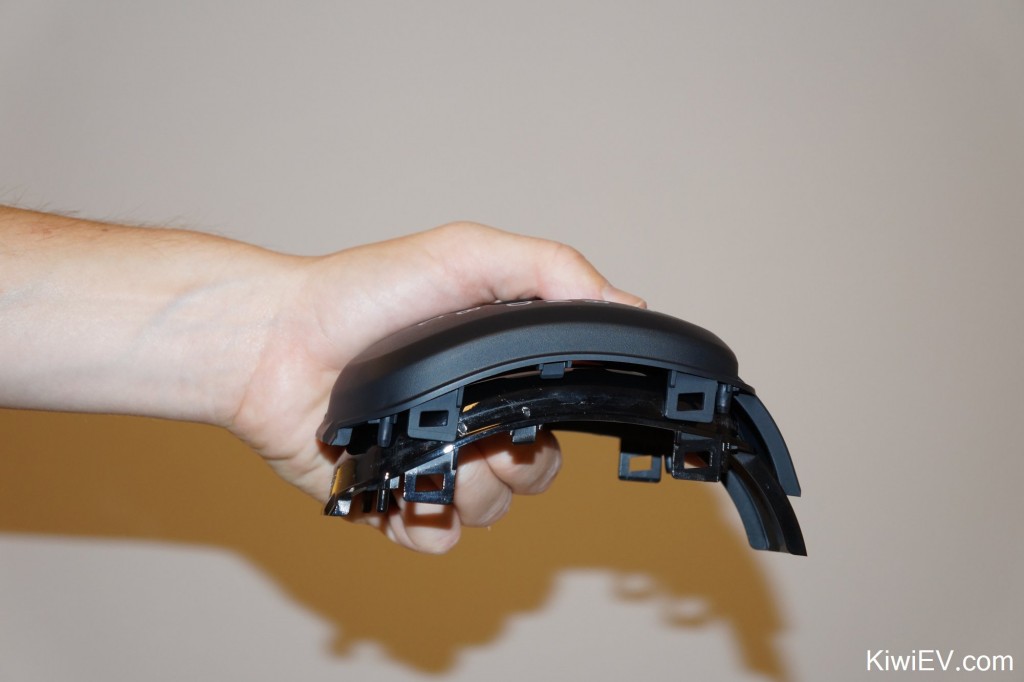
In the above photo you can see the new shifter plate sitting on top of the original shifter plate. Notice the small clips where my index finger is? You might need to cut/chisel those off in order for them to fit. This is because the clips on the new adapter plate don’t seem to align with the old adapter plate.
It’s no problem, because after a few minutes with a file I’d chopped them off nicely and the new panel was installed!
That looks awesome!
I’ve always been a fan of making tidy modifications to cars. If a modification can’t be done tidily then I don’t want to do it as aesthetics are important when you spend all your driving time looking at your modifications. This means that I’m very satisfied with the results I’ve achieved today.
I can’t believe it was that easy.
The average person without much mechanical ability could easy unlock their extra regenerative braking in their Citroen C-Zero or Peugeot iOn within 20 to 30 minutes. It’s honestly so easy that I don’t know why they blocked them off in the first place!
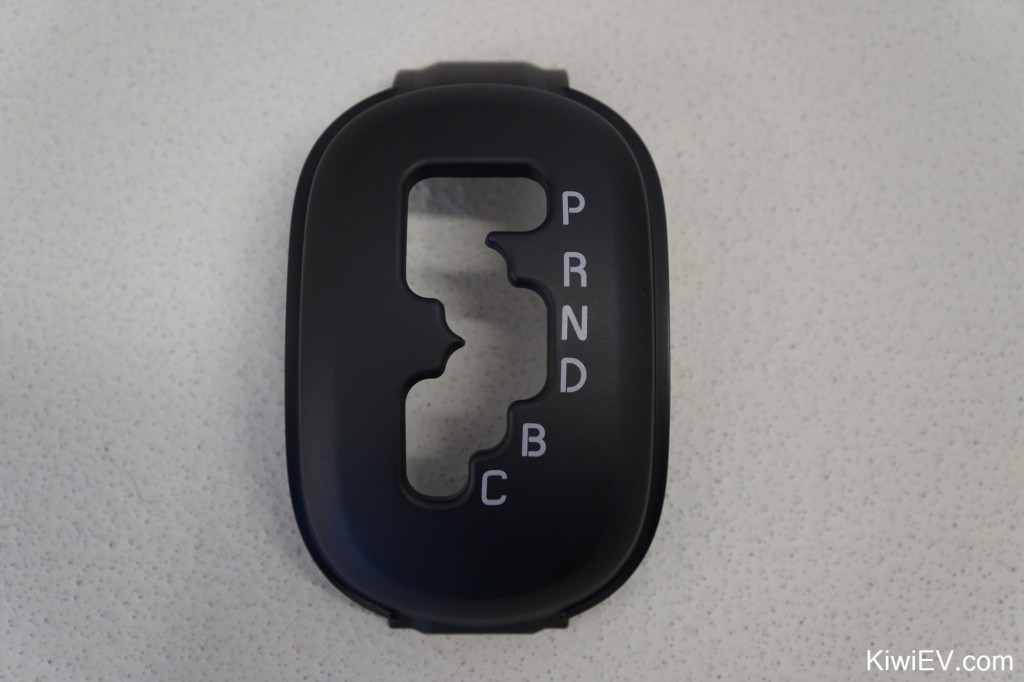
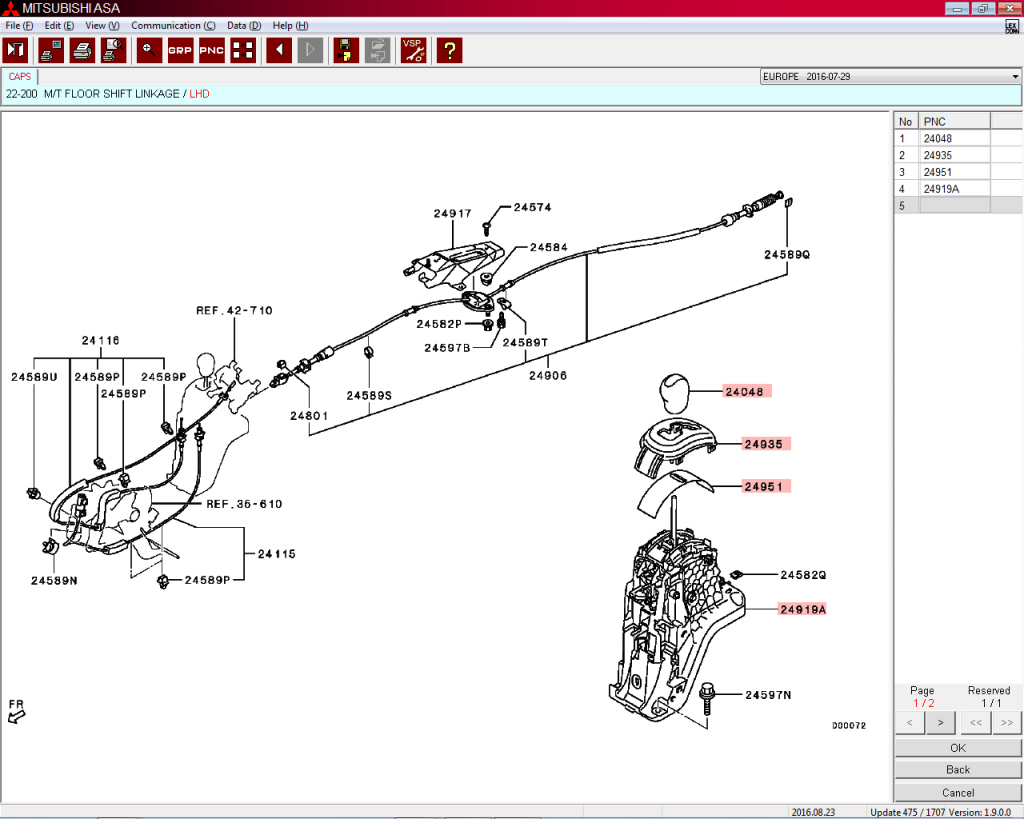
If you’re interested in buying a faceplate yourself, the part number is 2420A081XB and according to this picture which Mitsubishi Slovakia sent me to pinpoint the exact part I need, it’s also known as part number 24935.
The question remaining now… what do the extra B and C ‘gears’ do?
Well, there’s only one way to find out: click the play button on the video below!
