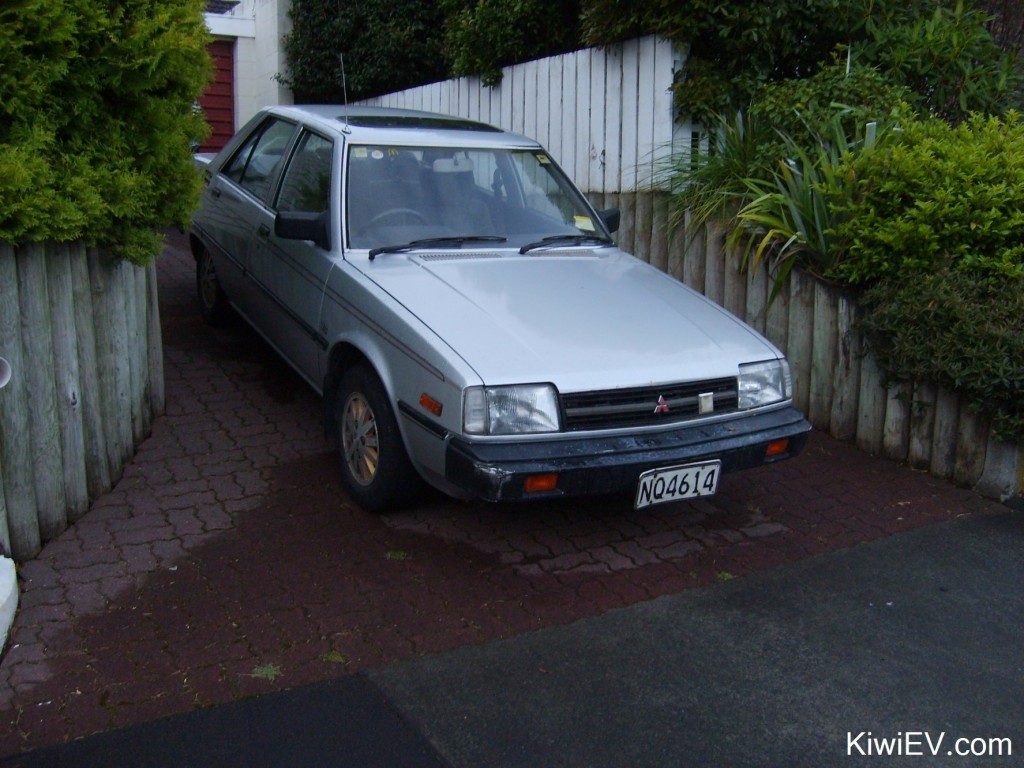
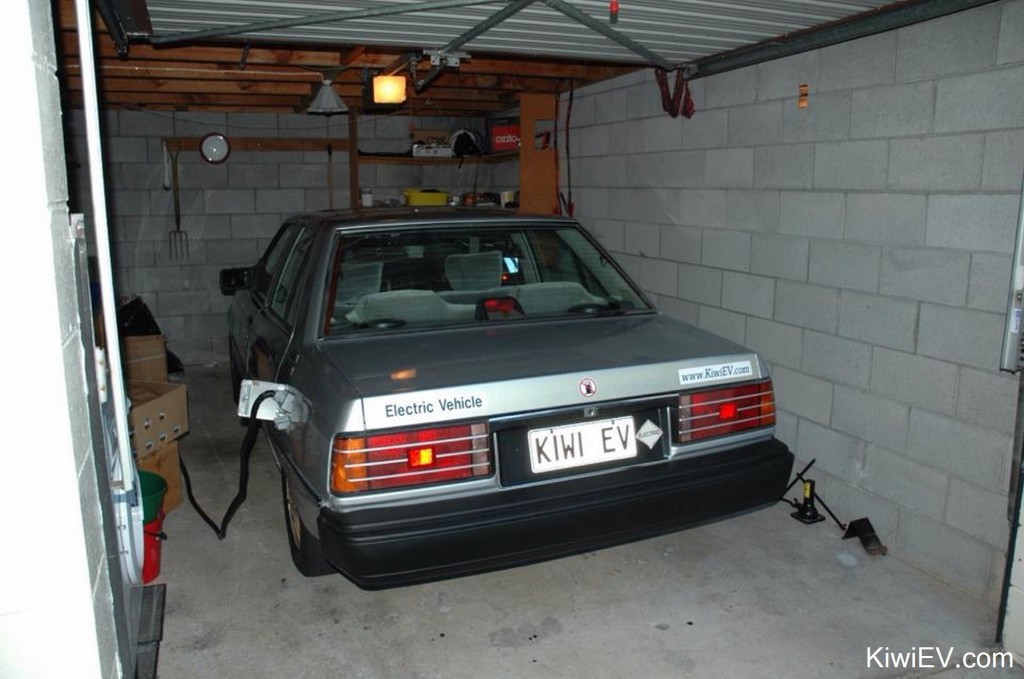
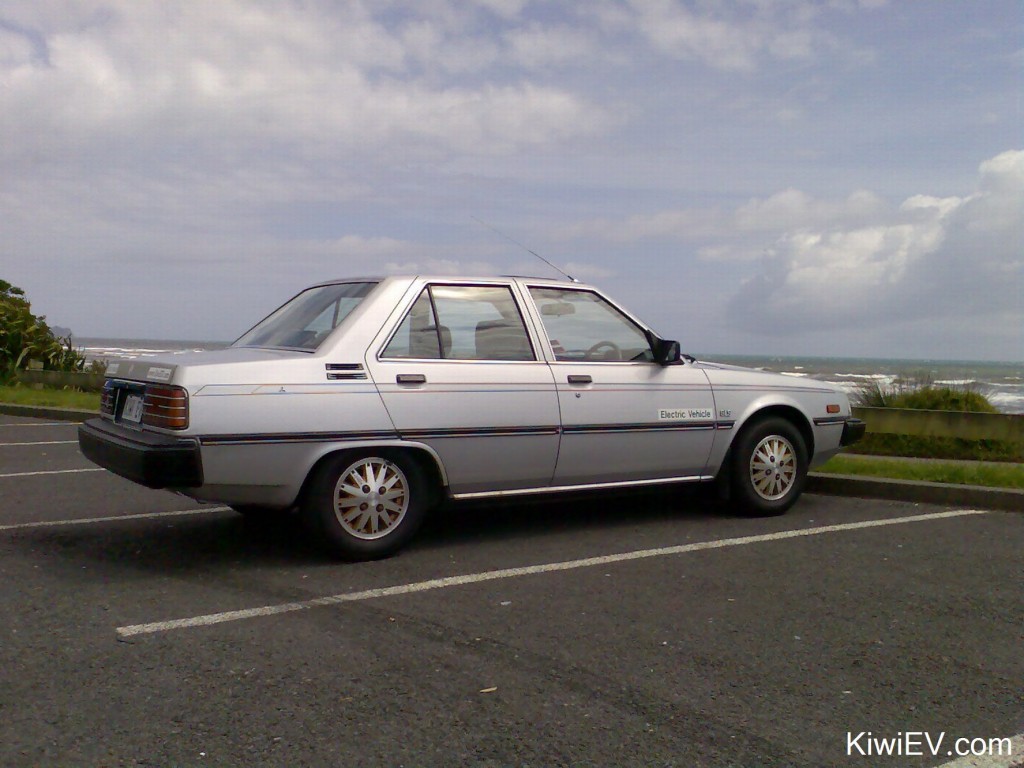
In March, 2007 I finally started a project I’d been thinking about for almost a decade by bringing home a dead car.
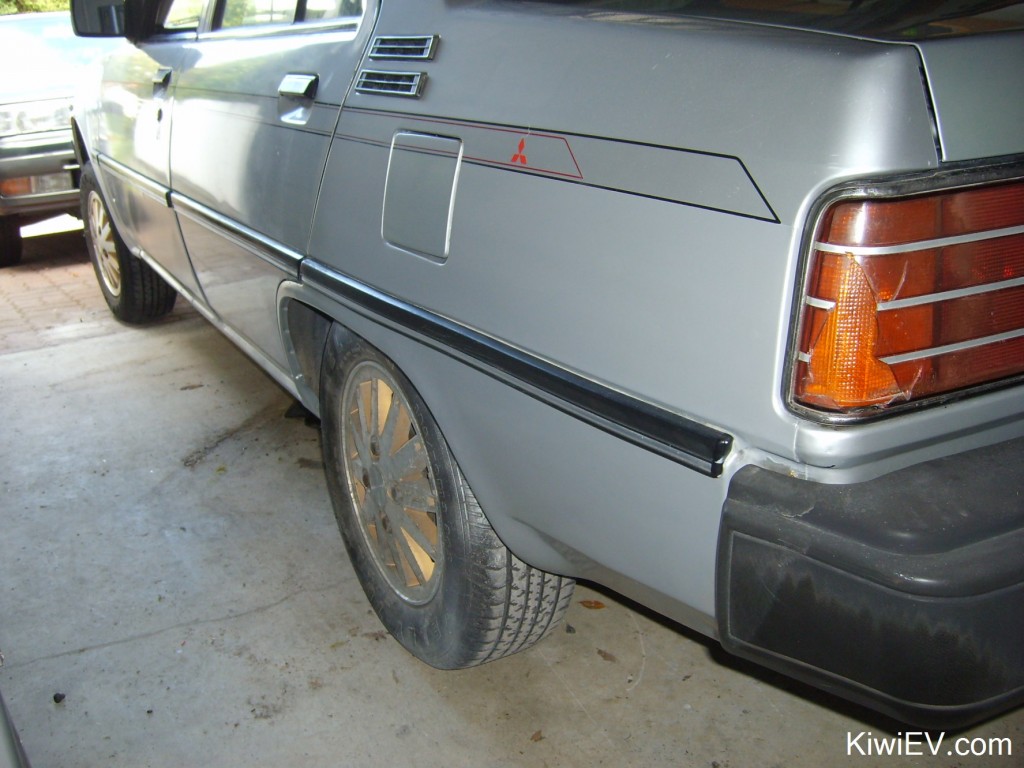
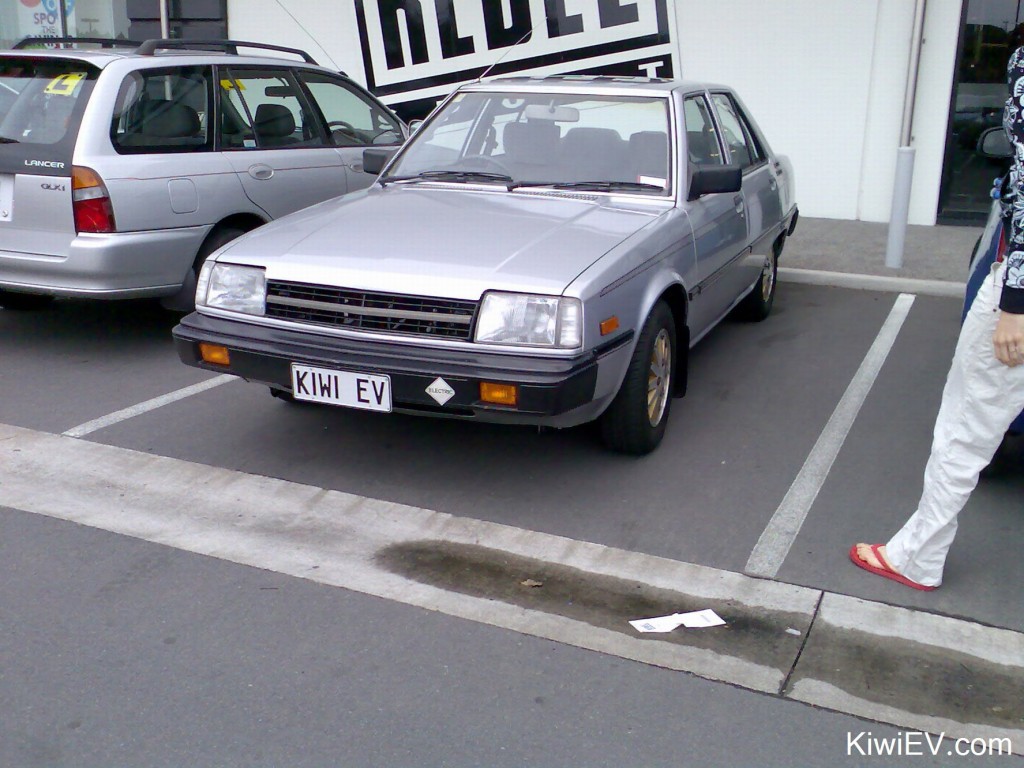
It was a 1987 Mitsubishi Tredia, which I purchased for $180 in order to carry out the unusual task of converting it to run on clean, cheap electricity.
It was a very strange thing to do at the time. Keep in mind, it was 2007. It was three years after General Motors had recalled and crushed their EV1 electric cars, three years before Nissan made their LEAF, and five years before the game-changing Tesla Model S had even begun construction. They were the days of EV pioneers and freaks; people who decided to not wait for “Big Auto”. People who went into their garages and made electric cars themselves!
I was one of those electric car weirdos of the 2000s and I don’t regret a single minute. So, here’s the story of my electric car conversion; the Kiwi EV.
While the car sat at the bottom of the drive, I spent those three days taking out as much weight as possible. Soon after, another friend of mine came over with his 4×4 and gently pushed it up the drive using the nudge-bar.
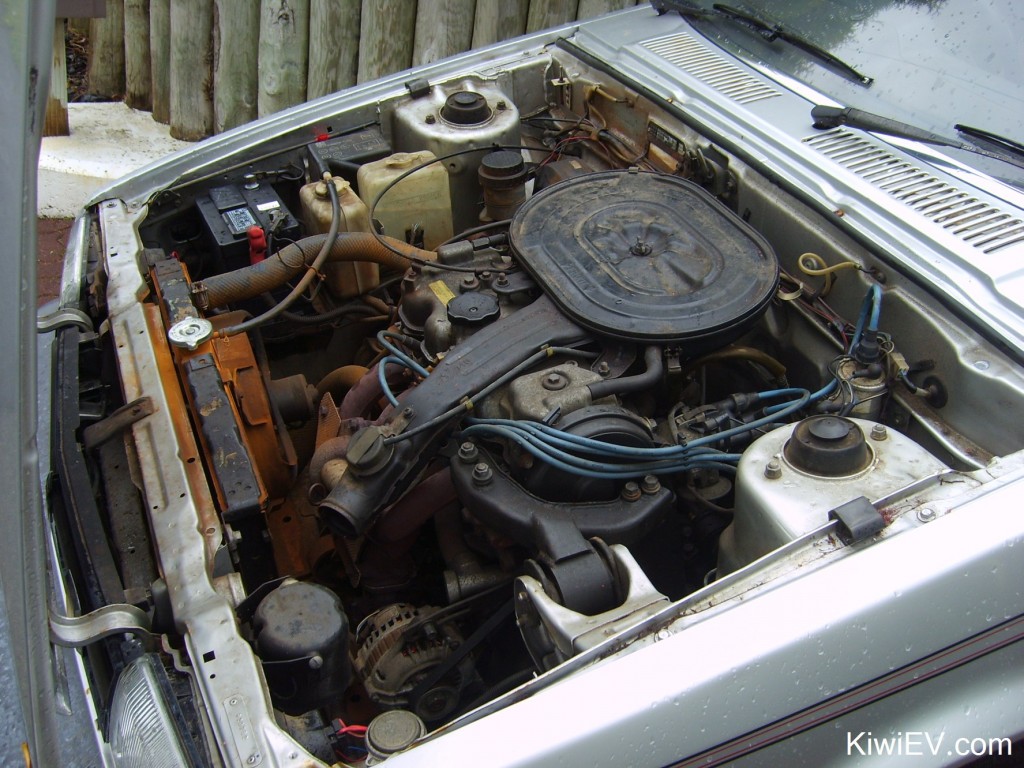
I hadn’t done anything like this before and my mechanical knowledge limits me to changing motor oil – that’s about as advanced as I get under the bonnet (hood), so removing all the old gas equipment was quite an experience.
Here’s a video of the adventure so far:
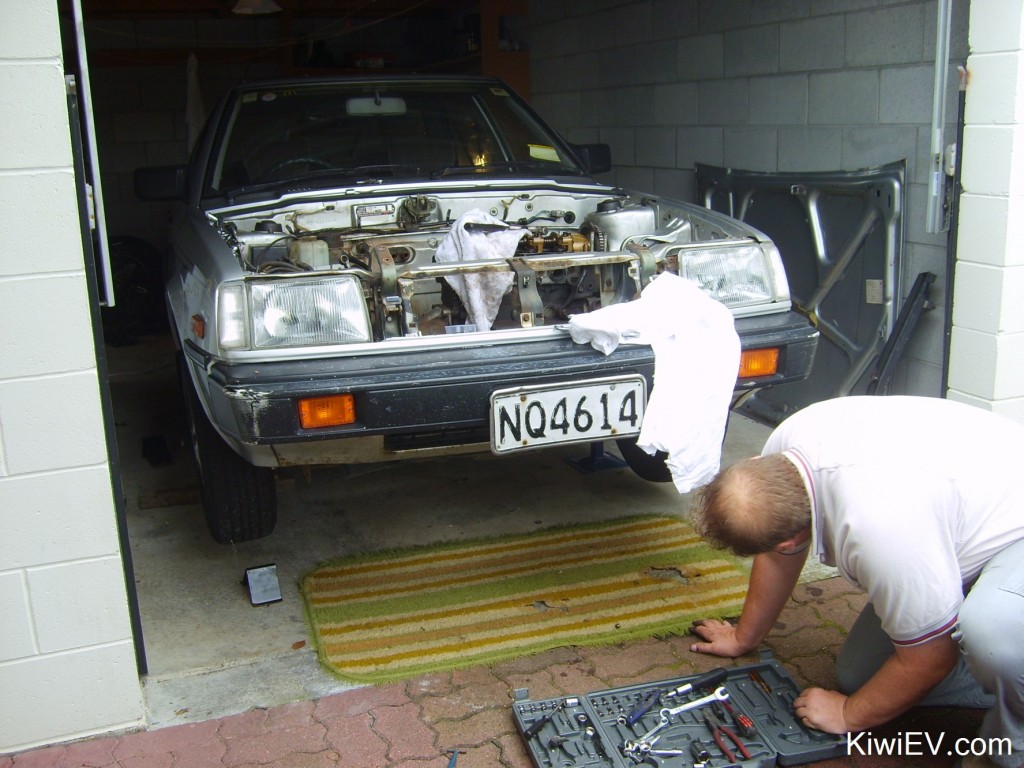
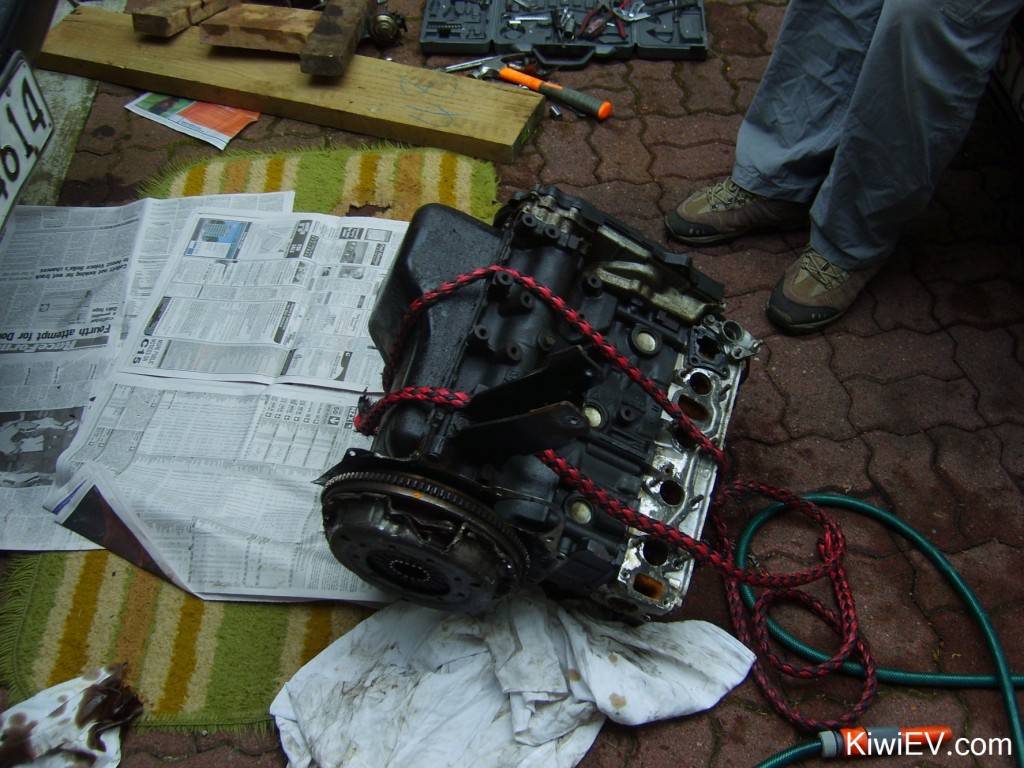
We started the next stage by dismantling the engine. I didn’t have a hoist and I wasn’t going to buy one for one day’s use (and I’m too tight to hire one!) so we ended up taking the engine out from the top down, piece by piece.
Over the weekend I enlisted my mate Rob (who you’ll see plenty of) to help remove the “Planet Killer” (engine). It was very interesting seeing how all the parts slotted into each other and not as daunting as I thought.
While Rob tackled the engine, I began removing the exhaust, fuel lines and petrol tank. The petrol tank put up a real fight. It hadn’t been touched for two decades and trying to undo the bolts underneath it was a challenge in itself. Still, I got through it after trial and error and the car is getting lighter every day.
Eventually the engine block was the only thing remaining, so we tied some rope around it and lifted it out. It was HEAVY!
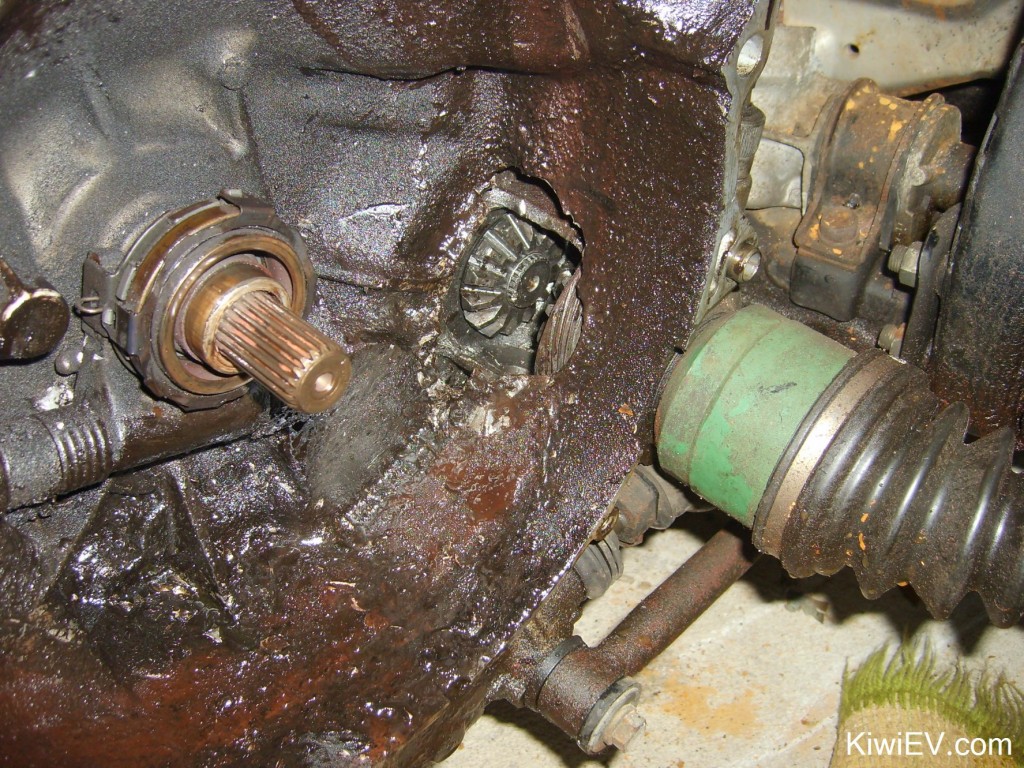
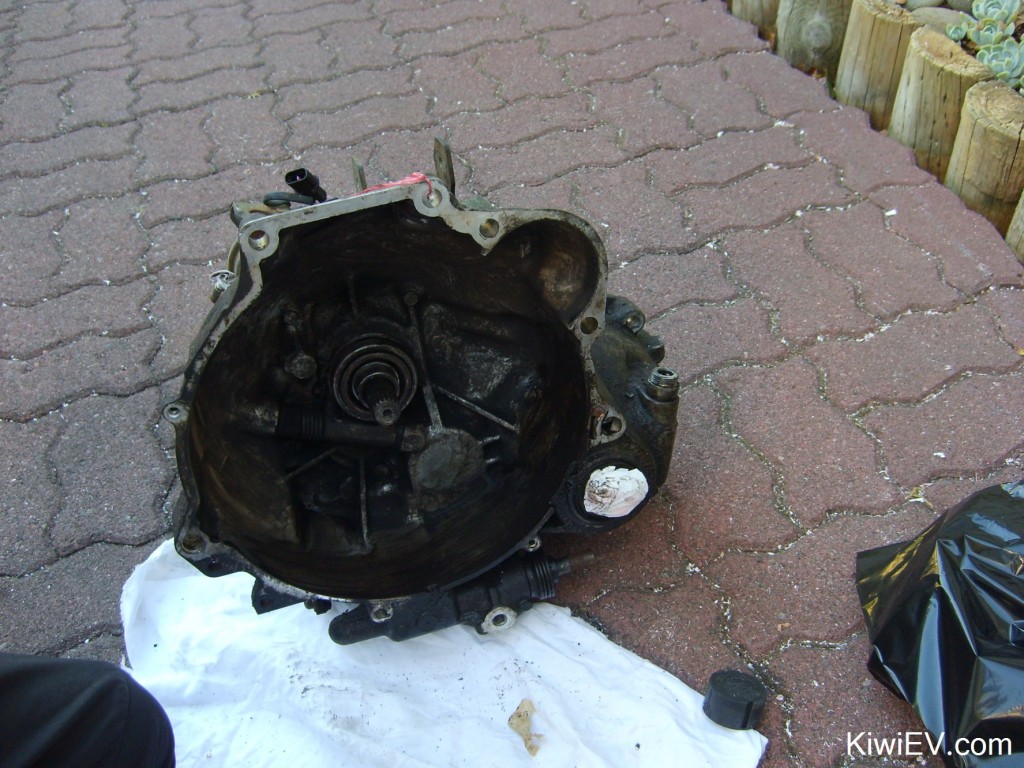
Onwards! The good news is that the engine has been removed. The bad news is that it revealed a gearbox with a major flaw: a giant hole in the bell housing!
That hole isn’t supposed to be there. Bugger. Time to find a replacement gearbox.
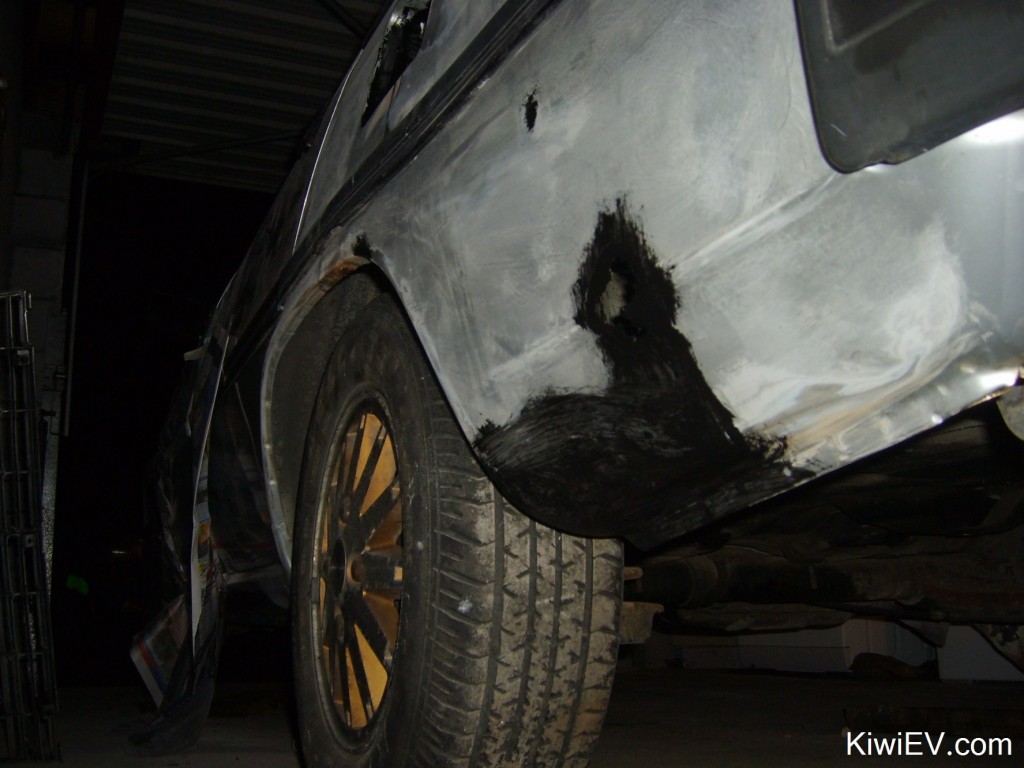
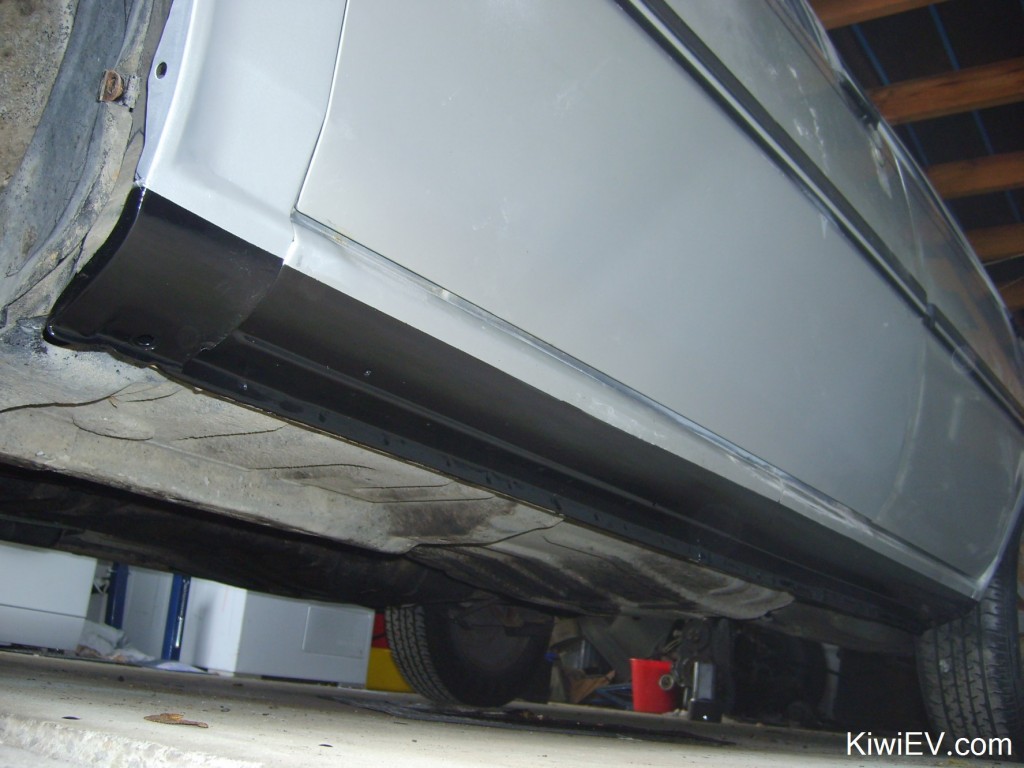
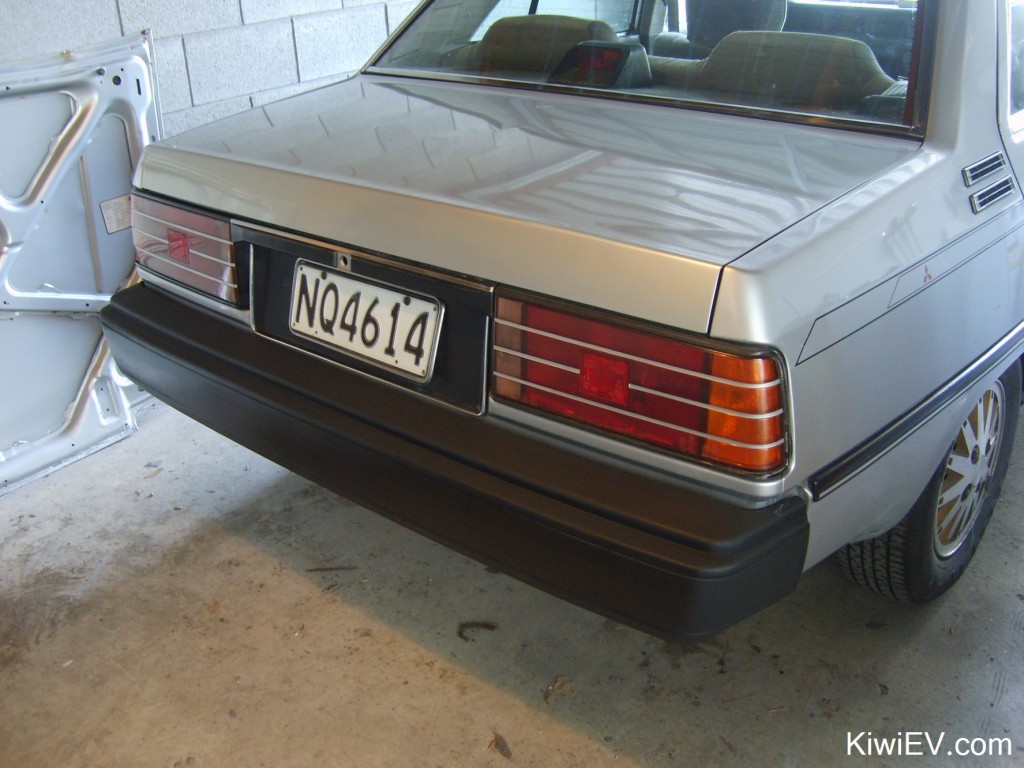
In the meantime, there’s a lot of rust repair and painting to be done on every corner of the car. I didn’t realise it had as much rust as it did.
I got busy patching up the rust holes with filler, then priming and painting them.
Getting there… More sanding, priming, painting, then painting again. Lot’s or POR-15 rust killer used too. What a waste of time & money!
It looks better than it did when I got it and I’ve killed (or at least put to sleep) the rust, but anyone who’s done ‘home jobs’ fixing rust knows it’s a persistent thing. Especially in rainy, coastal city of New Plymouth.
After many, many, many days the result was… average. So, my advice? If you ever do an EV conversion, get a clean donor car. Honestly, if you buy a rusty donor car you’ll regret it.
Here’s a video of the enormous painting and rust-killing marathon I just endured:
The next step was to clean the car. Properly.
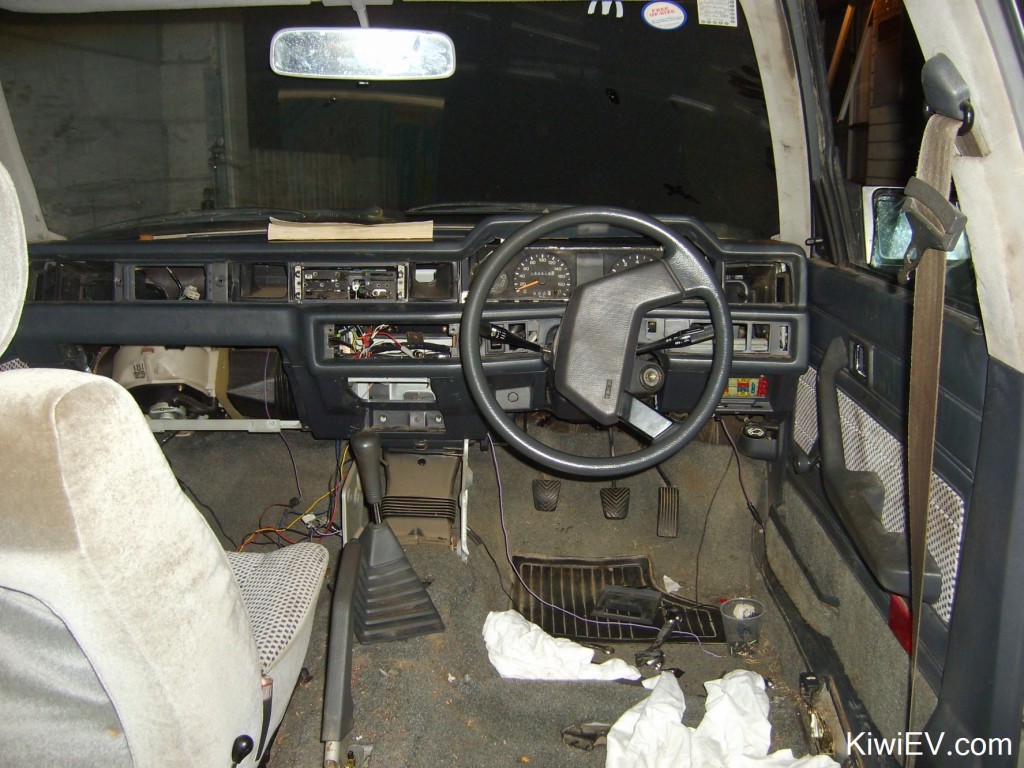
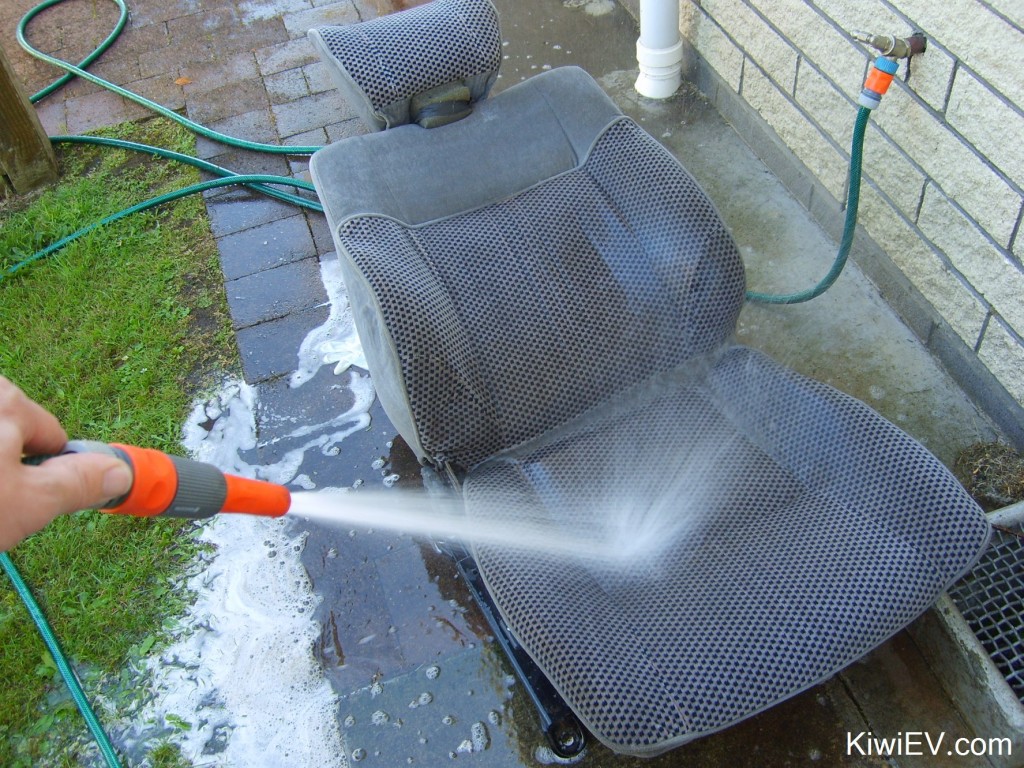
First step was to remove all the seats. I was going to rub them and wipe them, but in the end I just got some strong clothing detergent and scrubbed like mad, before blasting the seats with the hose.
By the look of things, this car hasn’t been properly cleaned since it was assembled in 1987! There’s a chunky layer of grime on everything.
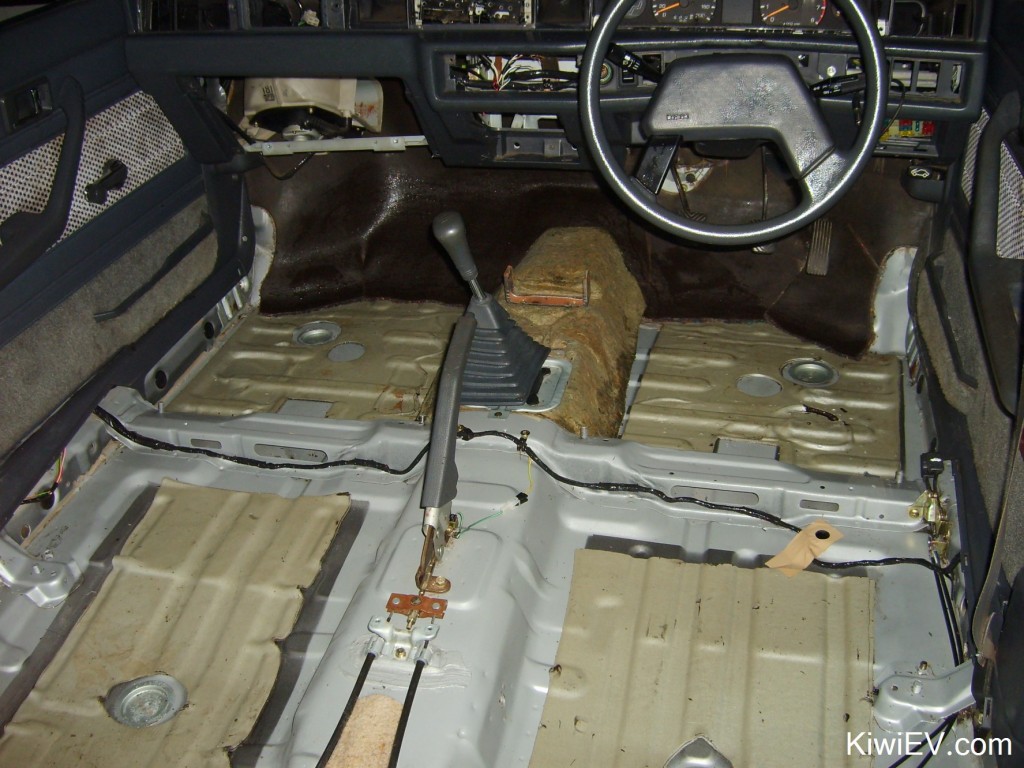
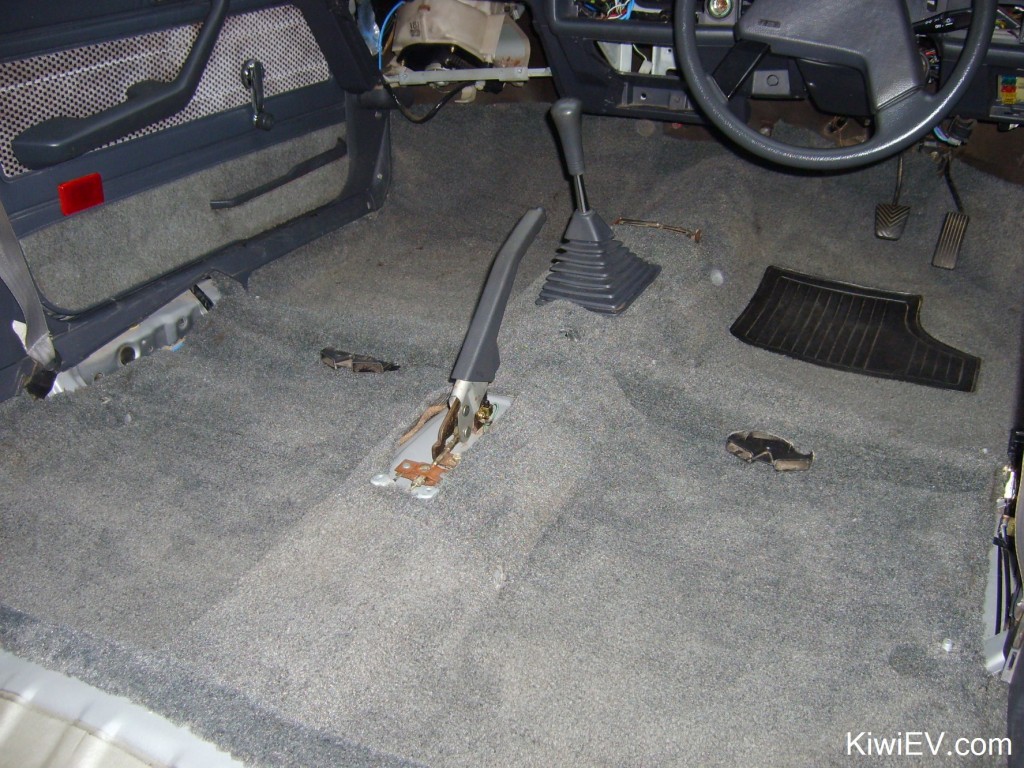
The carpet came out quite easily so I lay it out on the driveway and gave it the scrub & aqua-harpoon (let’s call it aquapoon) treatment until all the water coming out of that carpet was clear and fresh. It took a good 25 minutes of blasting it but I got it looking pretty good for a slice of carpet that’s 20 years old!
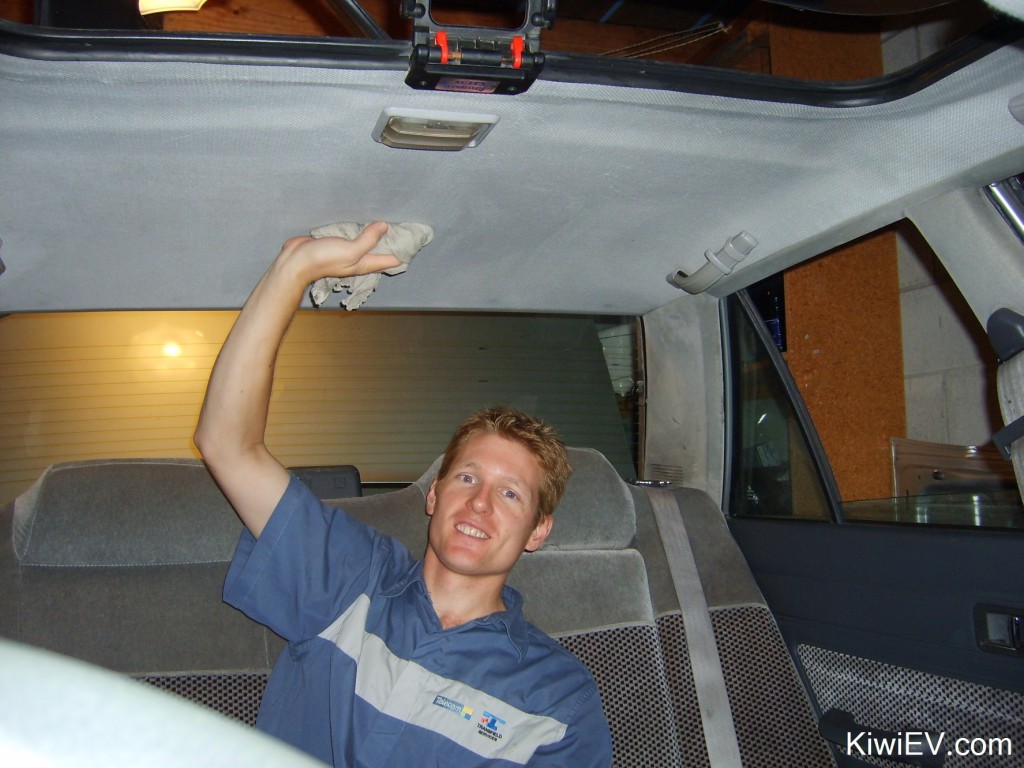
After that, I got busy scrubbing the floor and insides of the car, stripped it back to the shell, even scrubbing the ceiling.
What a mission. It took a full day, but the car was starting to smell like… nothing, instead of stale, mouldy horribleness.
The finished result? Super clean carpets!
Here’s a fun video of the cleaning progress:
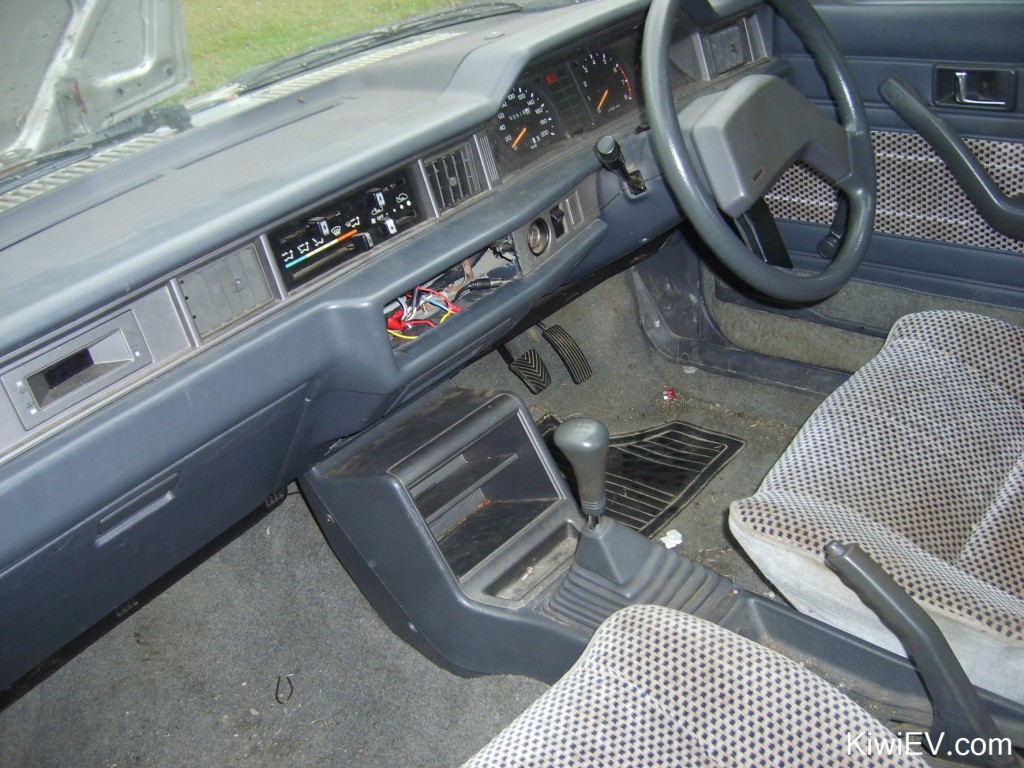
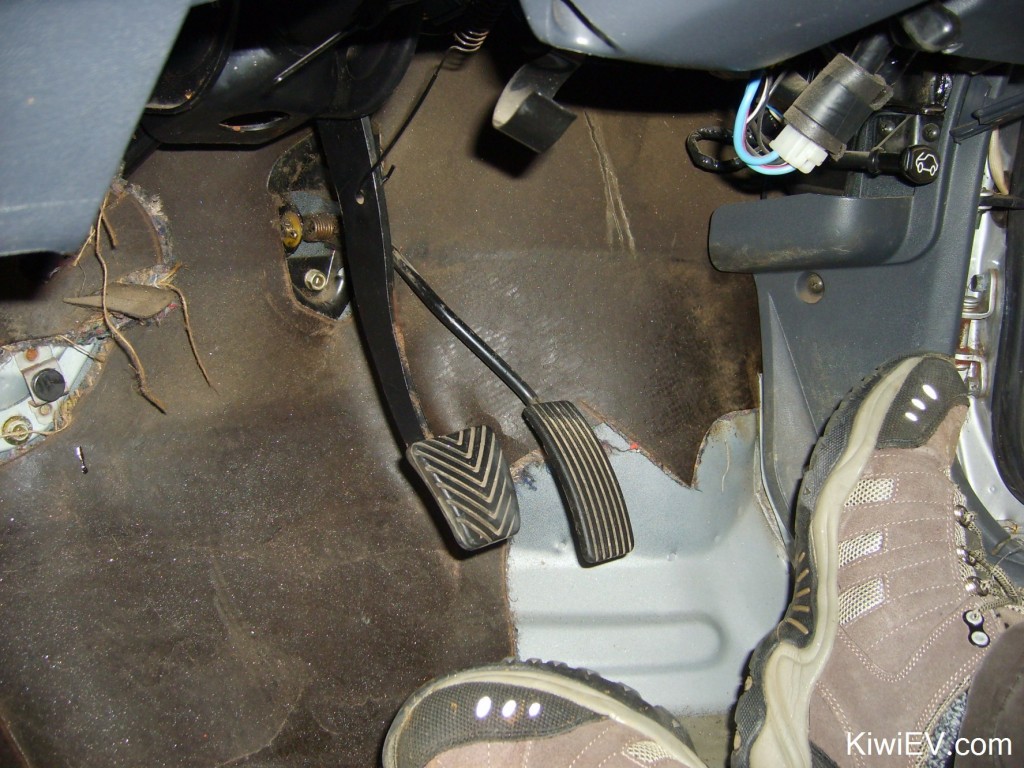
The next stage involved getting rid of the clutch pedal.
As you know, the gearbox that came with the car has a little hole in it and I’m looking for a replacement ‘box.
Anyway, as this will be an electric car, it really doesn’t need a clutch if driven carefully.
“What?” I hear you saying?
There are many EV converters that remove their clutches and swear by it, and there are many other EV converters that do the complete opposite! Let me explain the scenario as best I’m aware.
It’s all to do with the lack of backpressure of having an engine. So, changing gears is a little easier but more importantly, because the electric motor has a torque curve that would make a V12 gas engine cry, it means you can leave the car in 3rd gear all day and never touch the gear lever.
I first heard about the idea from Jerry Halstead’s EV conversion website where he had the clutch removed for his first conversion.
It seemed to work well for him, so considering this is my first EV conversion and I want the motor+gearbox joiny-bit to be as simple as possible. Not having a clutch makes things much simpler for a first time converter like me.
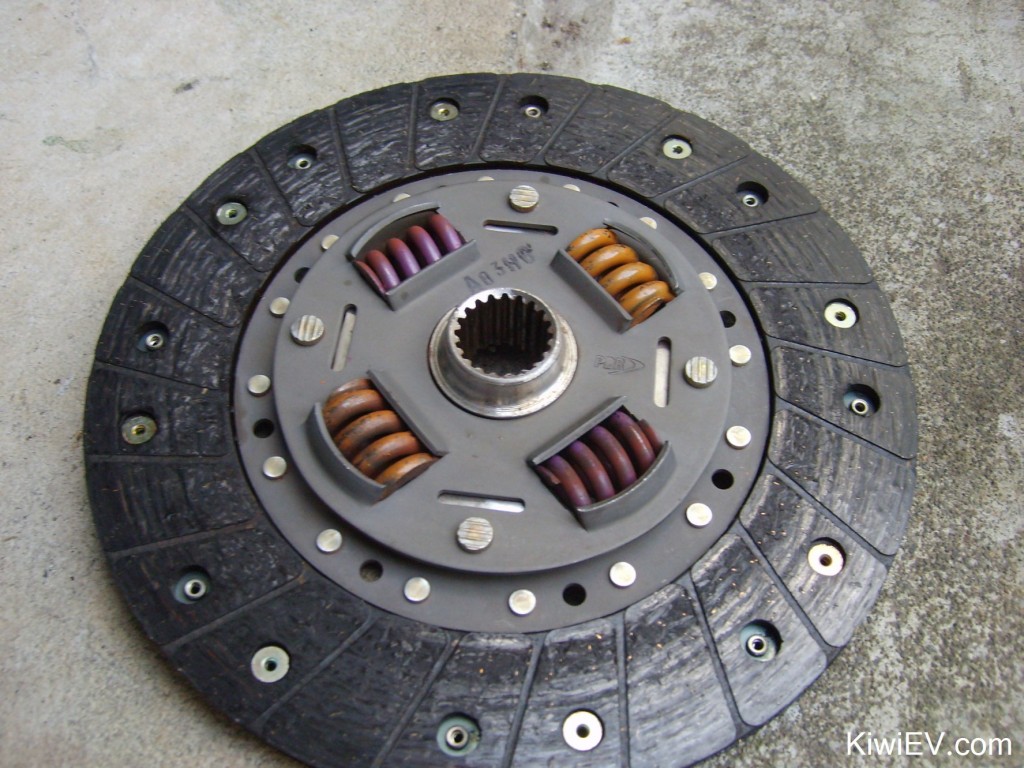
Oh, and it’ll lighten the Tredia by about 10 kilo’s (approx 20 pounds) judging by the weight of the clutch housing & plates when I removed them from the gearbox. It’s a win- win for simplicity!
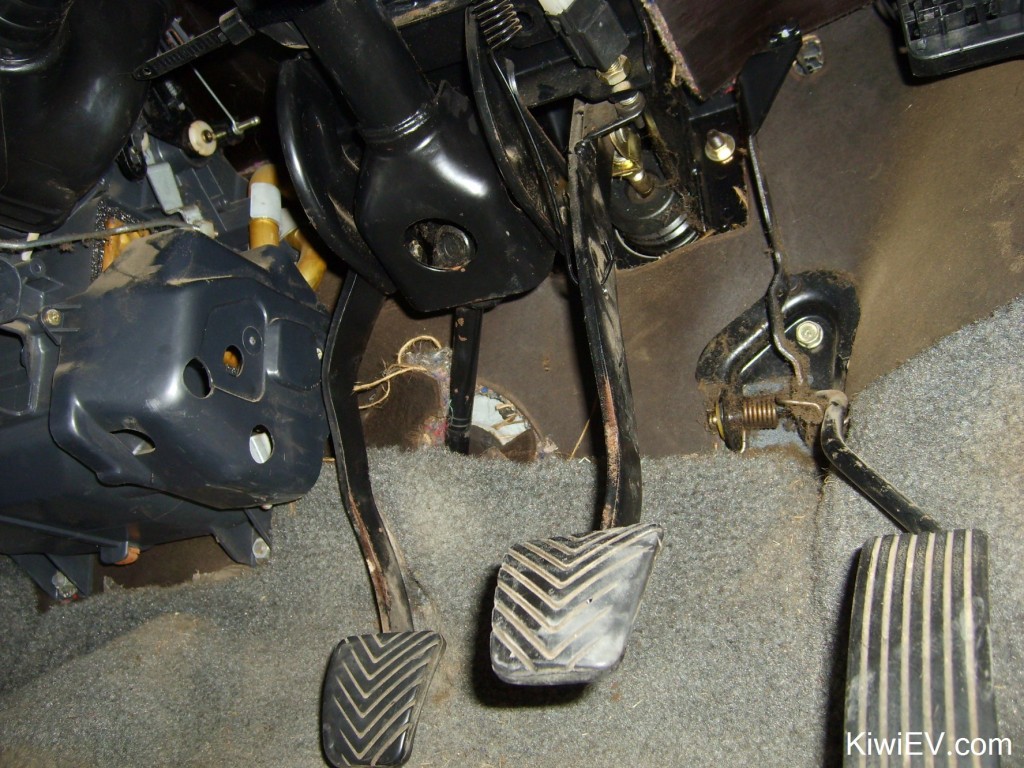
Anyway, we’ve battled and struggled to remove the clutch pedal by undoing bolts and removing half the dash but with no luck. The clutch pedal has us completely stumped. Over two days we poured about two and half hours into fumbling for hidden screws and bolts in that cramped area by the steering column but we’ve just had absolutely no luck at taking it out.
Upon closer inspection (most of which done purely by touch) the whole clutch swivel system seems to be a welded, sealed unit.
It seems the cunning people at Mitsubishi had an evil streak after all. They never wanted anyone to remove their precious clutch (cue the Lord of the Rings “myyy precious clutch” voiceover).
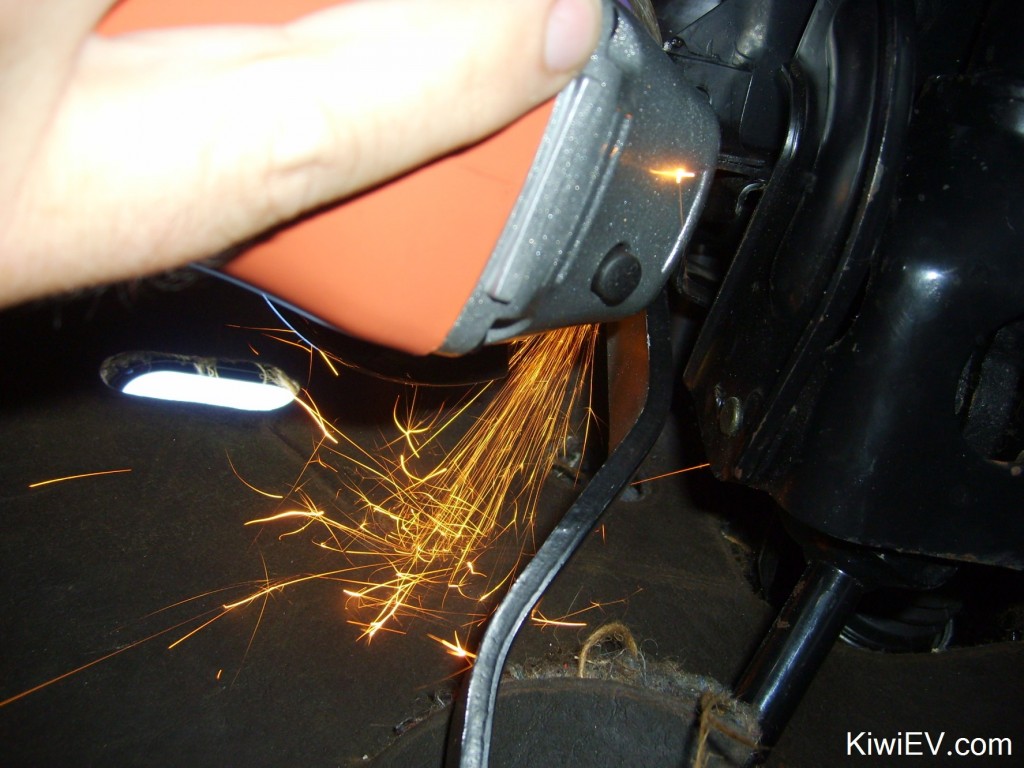
So after almost three hours of frustration, we’re left with little other option than to cut the darn thing off with a saw! The access is better now that the heater box is gone but I’m not really happy about sawing it off.
The clutch won’t escape my clutches.
Doesn’t seem very professional, but hey it’s my first EV, so too bad!
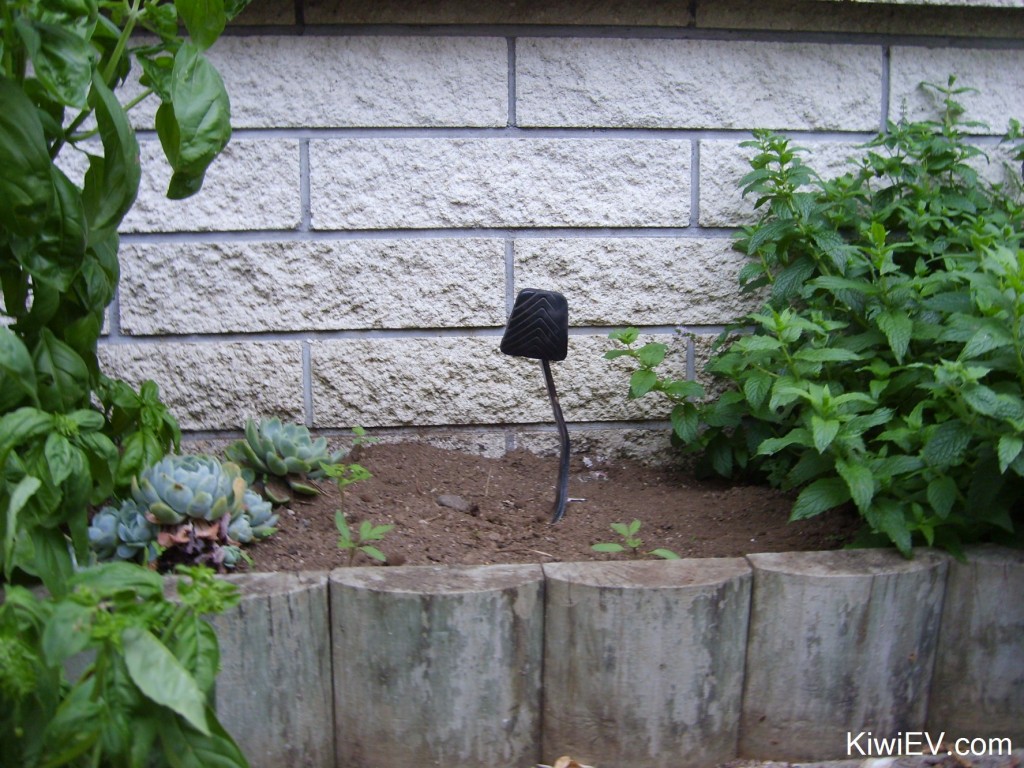
In memory of the now-missing clutch, we planted it in the garden and hoped that it would grow into a new gearbox because I really need one!
Good news! I recently visited a Mitsubishi wreckers yard to ask about gearboxes for the Tredia. To my surprise he had a few and was offering $150 each.
Brilliant! I told him that I need one for my electric car conversion and he looked at me sideways. I think he thought I was insane. I told him “It sounds ridiculous I know but I am serious, I’m converting a car to run on batteries”.
He didn’t say much and I’m still not sure if he believes me but he’ll just have to wait and see the results once it’s completed!
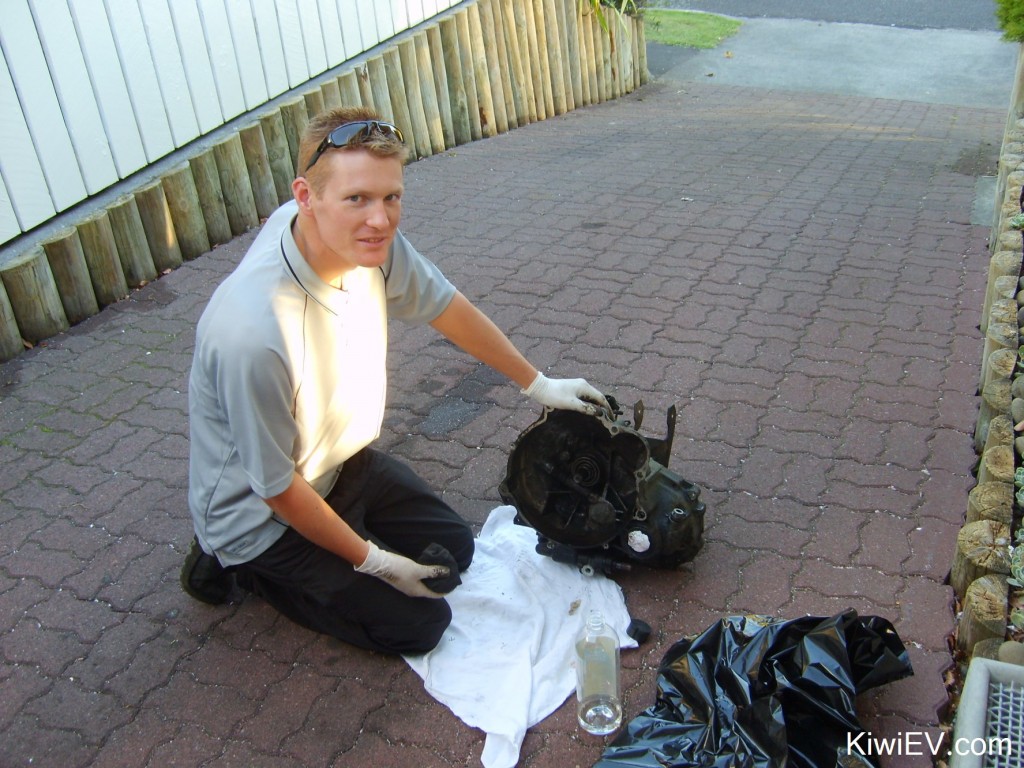
I now have another gearbox at last! I went to a local Mitsubishi wreckers yard and collected a 5 speed gearbox that came out of a Mitsubishi Cordia! Yehaa!
So I got home and gave it a good scrubbing.
Thank you donor Mitusbishi Cordia, wherever you are.
It’s done 232,000 kilometres which is quite a bit, but I’ll change the oil and hope for the best.
A video of my gearbox saga:
After installing the new gearbox, I got busy buying a motor from the other side of the world.
A lot of people have asked me what sort of motor I’m planning on using in “Treddles” for the electric car conversion.
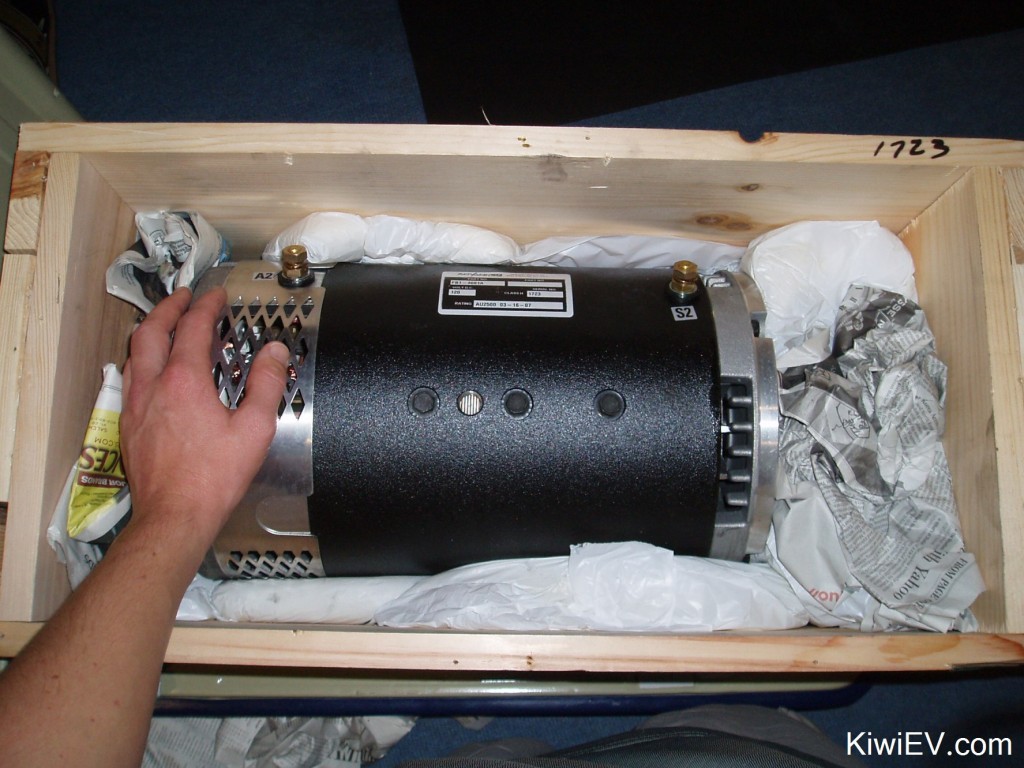
Well, I’m planning on using the jewel of the Advanced DC fleet – the FB1-4001A dual- shaft 72 to 144 volt, 100 HP peak, 9.1″ diameter, Direct Current motor.
The nice one, in short.
The problems I’ve found when trying to buy one of these from New Zealand are so many that I thought I’d list them:
1: The freight alone is $750 NZ ($540 US).
2: I’ll end up paying another $350 (at least) in tax when the motor arrives here on top of the shipping.
3: Calling the USA is expensive and then annoying when you’re put on hold or get voicemail.
4: There’s often a waiting list for the FB1-4001A motor.
5: No one knows where New Zealand is!
While I take my hat off to ElectricVehiclesUSA for quoting me so quickly (less than 12 hours!) and EVparts.com for offering cheap freight, I’ve decided to go with EV-America. These guys are conveniently located in “NH” – wherever that is!
I chose Electric Vehicles America for two reasons. Bob from EVA was a good guy who proved he could move the earth to satisfy a customer. Not only that, but the “bang-for- buck” just cant be beaten with these guys. Not only are they cheaper than most other places (including freight too!), they chuck in so much added bonus material with the purchase. I’m very very impressed with EV-A and would recommend them to anyone – especially Kiwis or Aussies converting EVs who are trapped down this corner of the globe.
So, the shipping is going to cost me $540 US which is airfreight (it was cheaper than sea freight believe it or not!). But I still have the problem of finding $2800 NZ to pay for the motor and shipping.
After a lot of begging, my then-fiance allowed me to get a loan for the motor!
I purchased the motor with help from the bank, and it’s on it’s way down to New Zealand. In the meantime, I have many things to keep me busy:
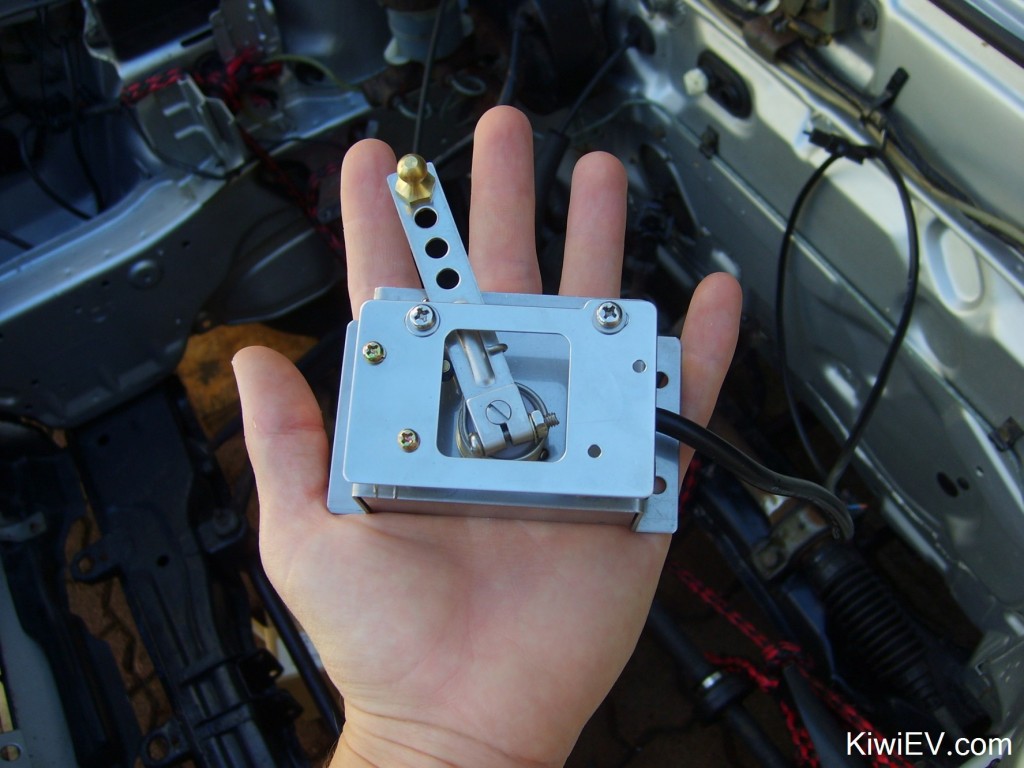
My throttle-box (AKA pot-box – short for potentiometer box) is here!
It was a birthday present from my mum and it arrived while waiting for the motor so I went about finding an ideal spot to install it. Sure beats socks & undies for a birthday gift huh? The first problem I encountered was the fact that it’s obviously designed for the American market where the accelerator cable pops through on the other side of the car’s firewall.
This means that in a left-hand-drive EV, the accelerator cable goes from the left side of the car, through the firewall, turns right and connects to the throttle-box arm. When the gas pedal is pressed, the arm is pulled towards the driver. Simple stuff. Now take that pot-box and have the same cable coming from the other direction and you’ll find a problemski!
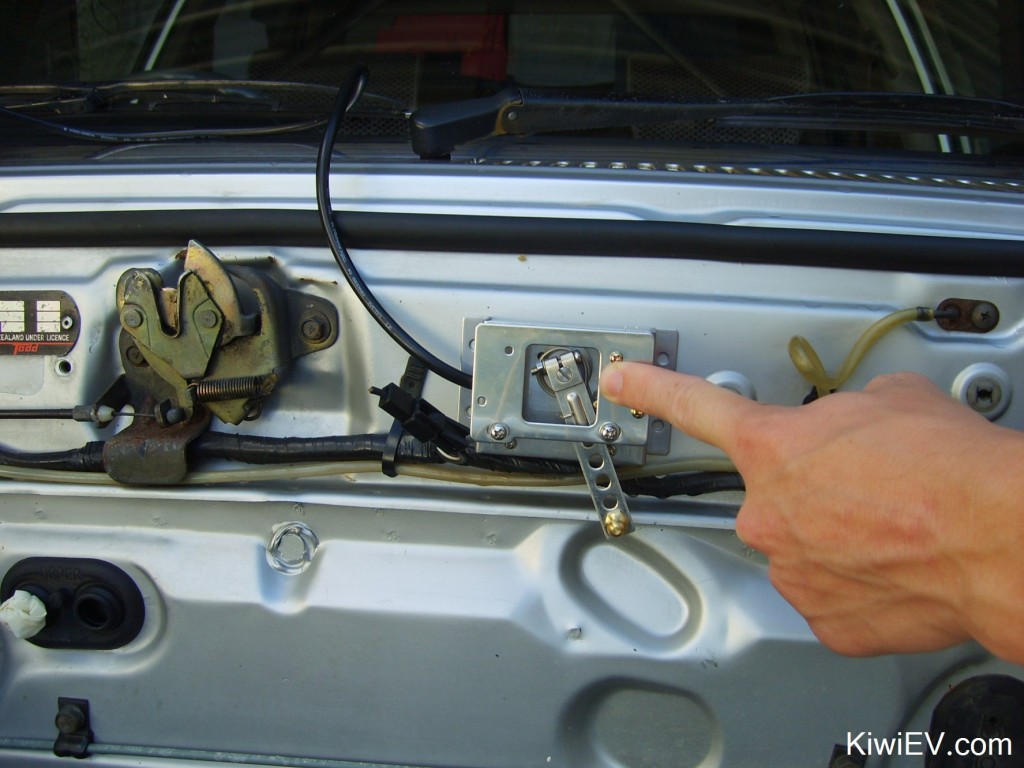
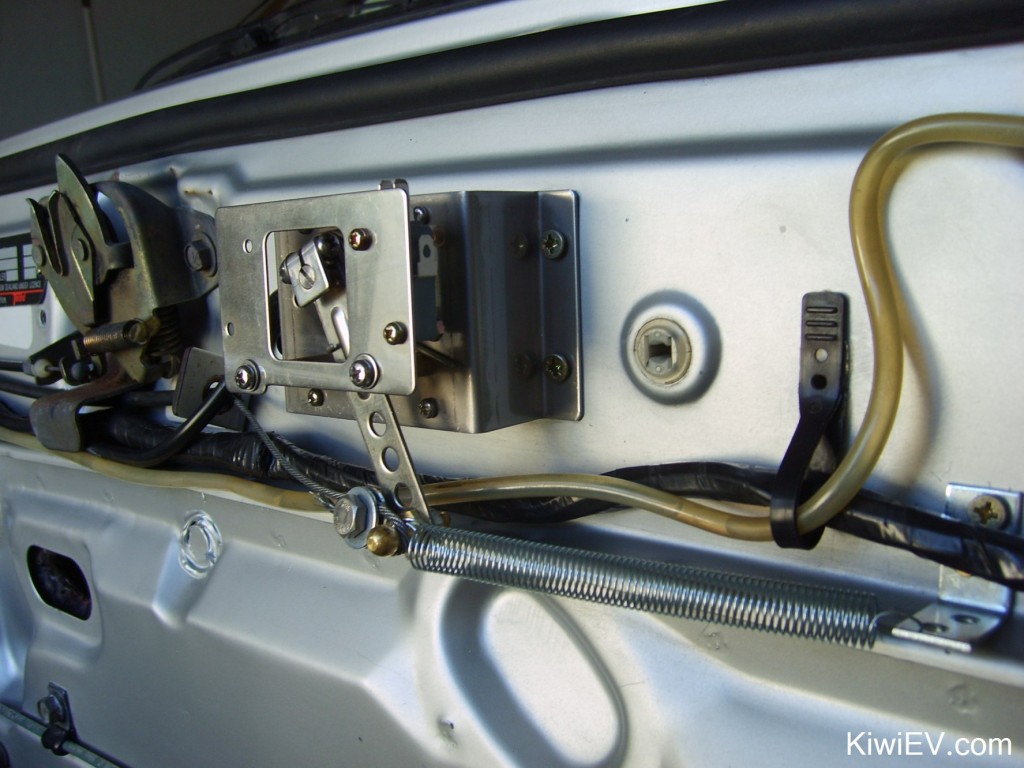
I tried to mount the pot-box so that the arm is on the top but I didn’t have any luck. The engine bay side of the right wheel well was the obvious choice but the surface had no flat area on it.
Depending on where you are in the world, it’s still considered the ‘right way up’ if you’re in the northern hemisphere!
As you can see in the photo below, I also mounted a little L bracket for the accelerator cable to run through to stop it moving about too much.
So after that news I scooted down to the hardware store again and grabbed a shiny new L-bracket and a shiny new spring imported from the USA and connected them to the pot box. Everything went fine and now there are three springs in total from the gas pedal to the firewall. Crikey. Do converters in the USA have these odd rules too?
Luckily after all that the pedal still flows very smoothly and springs back well. Overall a good job.
Now… on to the big, big, big part of the install: installing the electric motor!
This (major) step in the electric car project will see the arrival and installation of my shiny new Advanced DC FB1-4001A motor into the Tredia all the way from EV America in “NH”. I still have no idea where that is or what it stands for but I fear if I find out then there goes all the mystique and romance of my motor’s origin…
-Correction, I’ve had many emails ruining my fantasy. “NH” is actually New Hampshire located on the East Coast of America. There. I hope you’re all happy now.
The biggest technical problem of the conversion so far is the joining of the electric motor to the gearbox. I had to find a way to make this tiny (in comparison) motor attach to a gearbox whose only known friend was a hot, smelly & noisy gas engine!
Many people have emailed me suggestions and I looked at dozens of other conversions to see how they’ve done it. My favourite motor + gearbox connection has been Jay Caplan’s Renault LeCar.
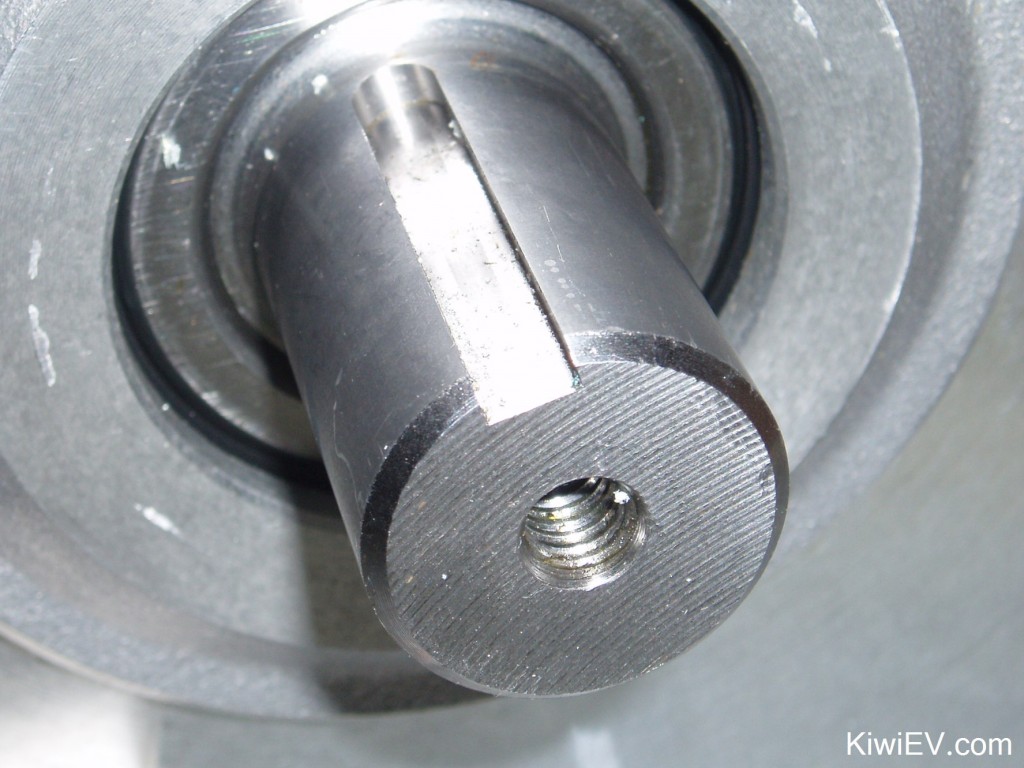
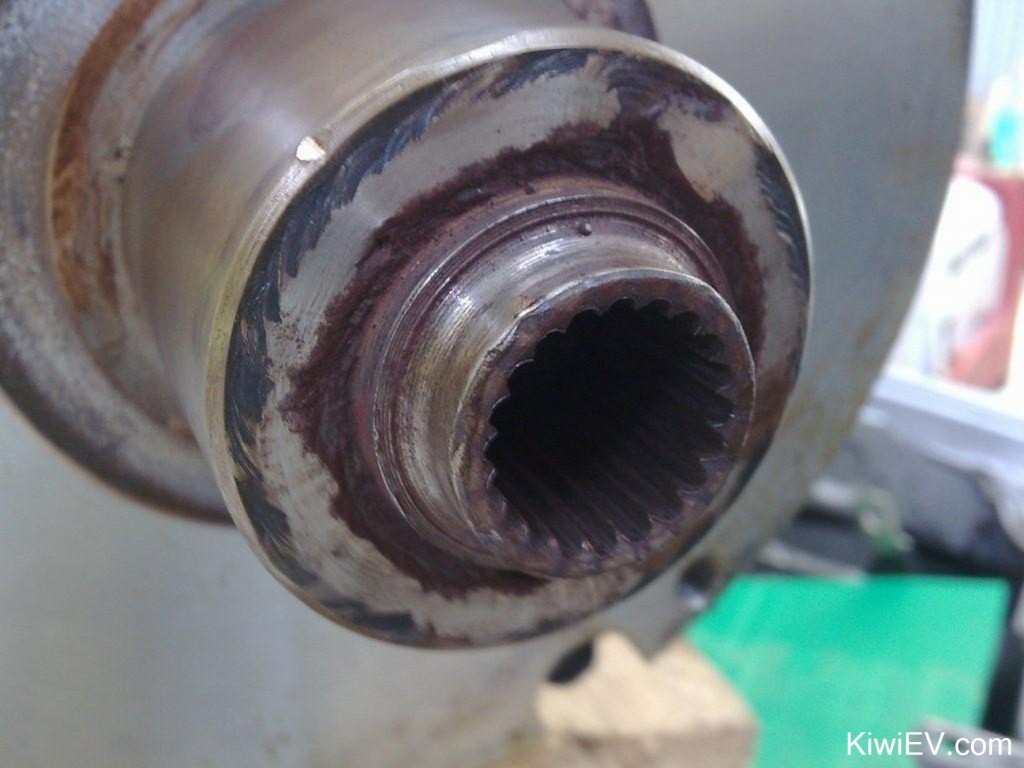
Jay used a method so simple it’s brilliant! He has created a shaft coupler out of a slice of a two inch metal bar with a slot for a keyway, all attached to the splined cog from the old clutch disk (with the clutchy-bit removed).
I’ll leave the coupling of the motor to the car’s gearbox to the professionals.
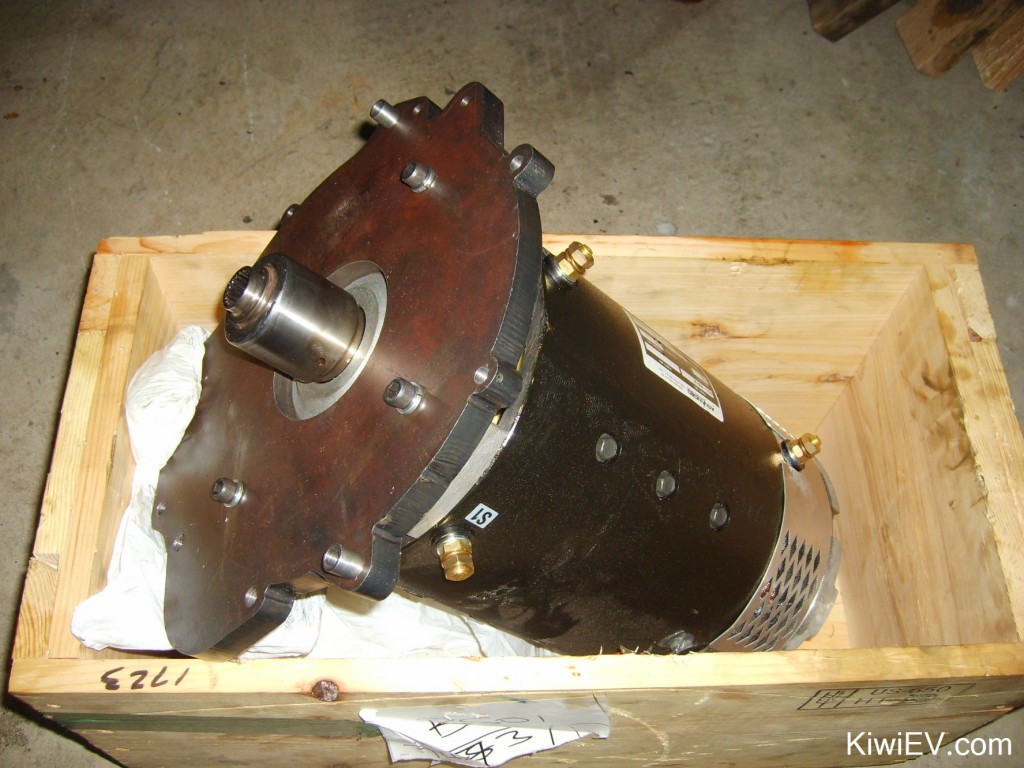
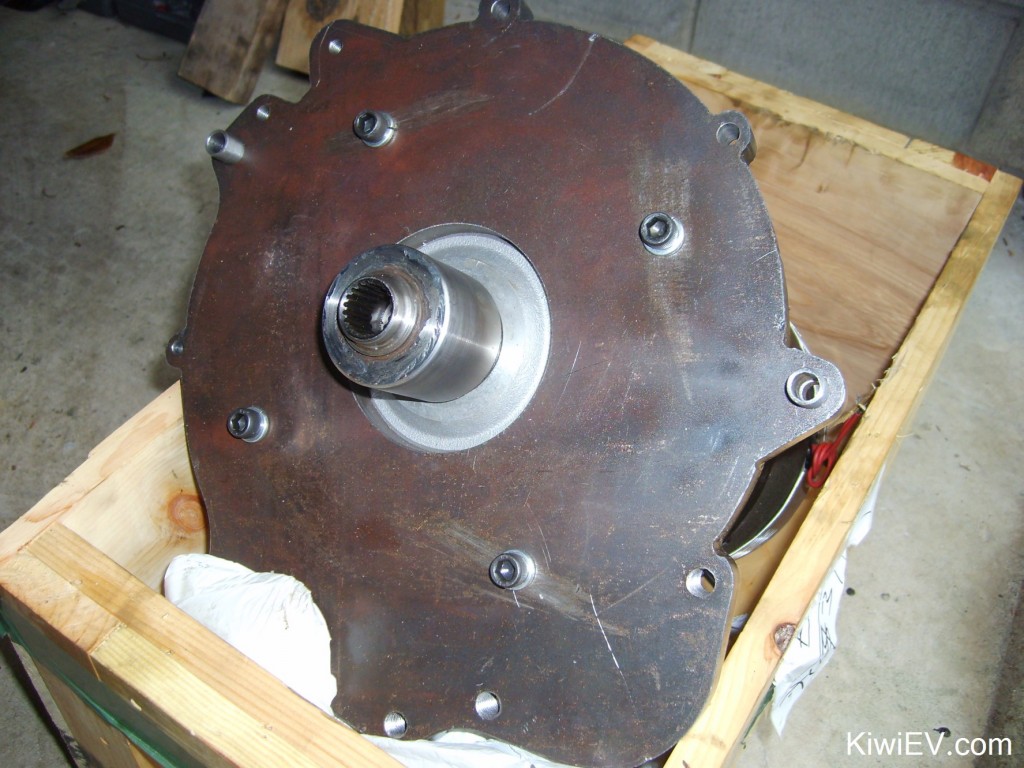
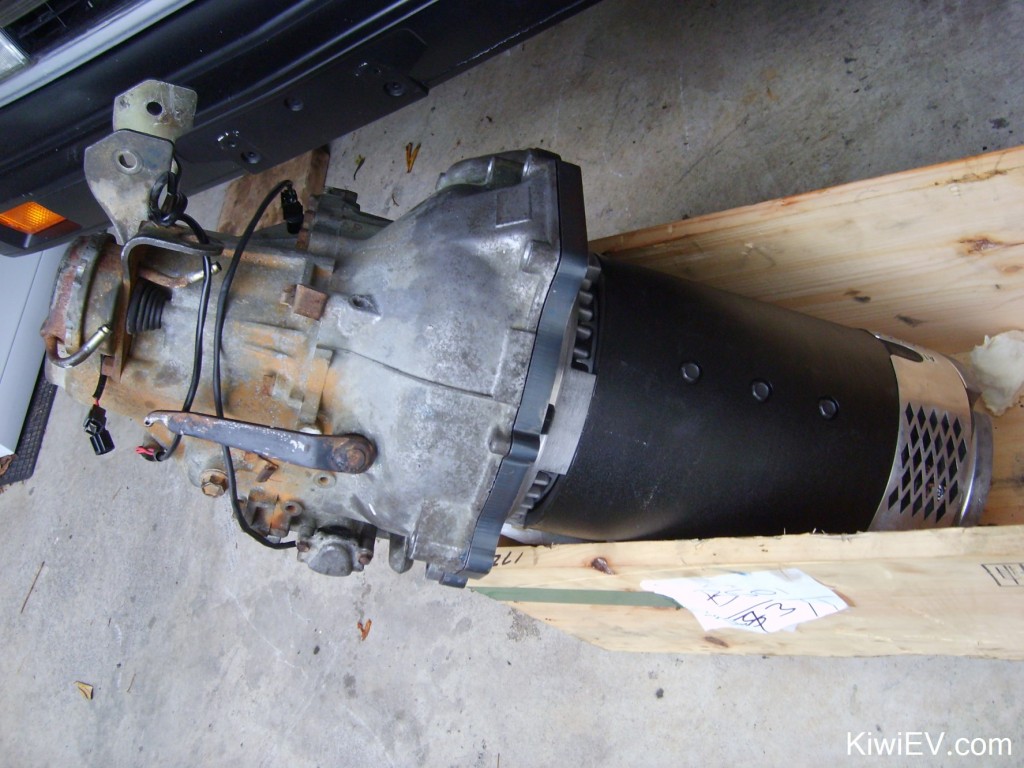
I dropped off the motor and gearbox at local precision-engineers Pace Engineering for them to create my adapter. Three weeks later, the gearbox and motor coupler were created.
At $1000 NZ ($750 US) it was quite a bit out of my budget with the wedding and all, but after seeing the finished article I can safely say it was worth every cent. I can sleep soundly knowing that the coupler and adapter plate are made precisely and made strong.
As you can see by clicking on the picture, the detail of the adapter plate is fantastic! The plate fits the centre of the motor’s face perfectly through the big hole (really technical terms being used here) and has guide-thingys which allow the motor & gearbox to guide straight on before bolting together.
It wasn’t until I had a really close look before I noticed all the planning & effort that went into it. Top job Pace Engineering! Well done!
I was very excited about getting the motor back so I got Rob to come over and we set about getting the motor into the car. It’s not an easy task as that motor is one heavy beast. I strongly recommend having at least one friend who’s solidly built when you’re lifting a 80 kilogram motor!
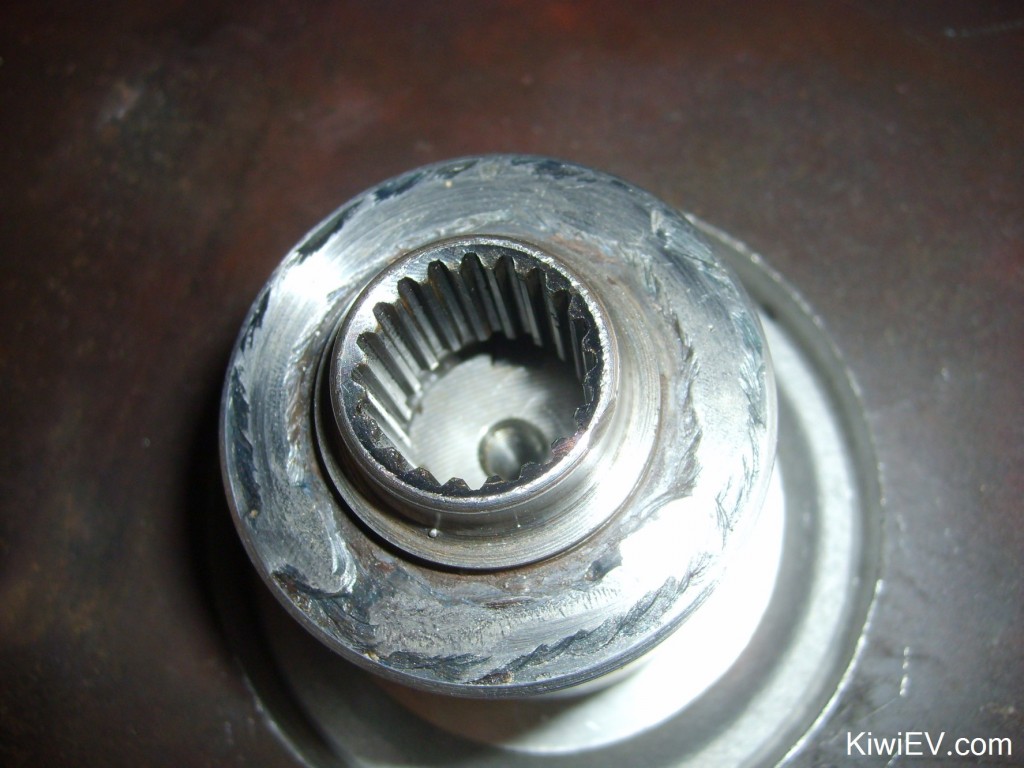
A close up of the shaft coupler.
First problem was the old bolts didn’t fit. The engineers either changed the thread size or my cup of engine/gearbox bolts got mixed up! That was easily sorted though, we ran down to Super Cheap Auto which had a good selection of bolts in the sizes we needed.
We shot back home and tackled the motor that afternoon. It took the two of us a lot of swearing and straining in the cold winter’s air to get that motor in, and then more swearing when we found it didn’t fit the first time!
Houston: we have a problem.
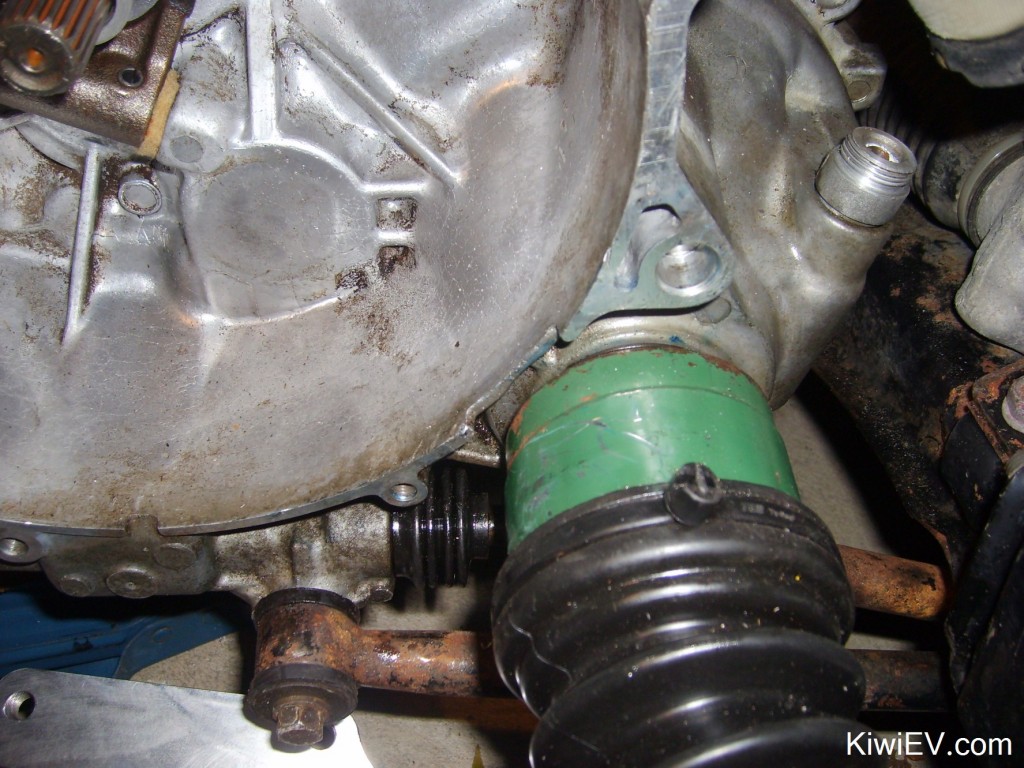
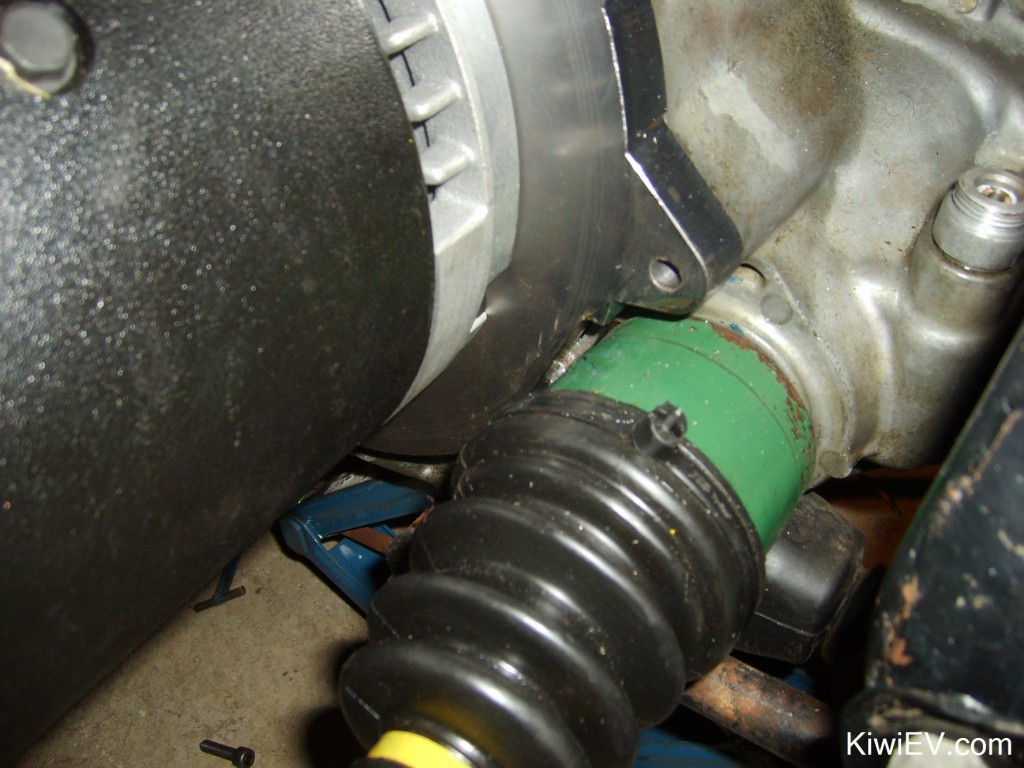
We found that the passenger side drive shaft (driver’s side in the USA) was touching the side of the adapter plate and it was stopping us from getting the motor in. Bugger!
The picture above shows the green drive shaft with scrape marks on it, the one below shows the area that I needed trimming off the adapter plate.
So, we hauled it out again (easier said than done) and I took it back to the engineer who happily sliced off the offending 10 mm at no charge. Cheers Pace Engineering!
So, we attempted the motor install once more!
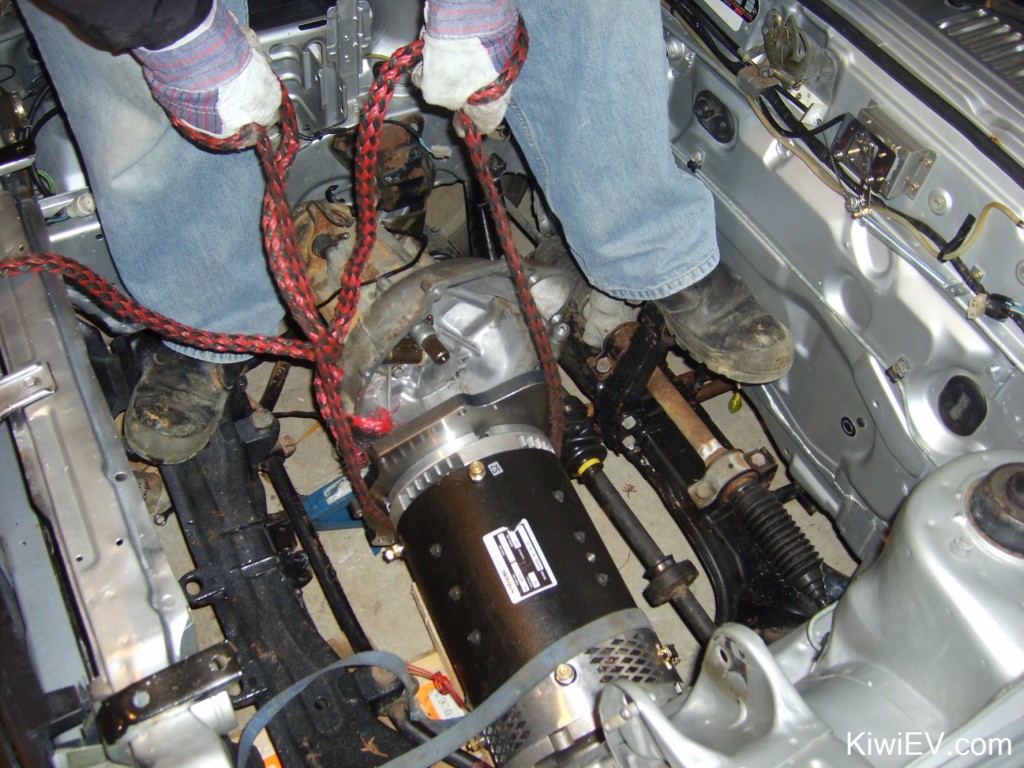
Find a strong friend for this next bit…
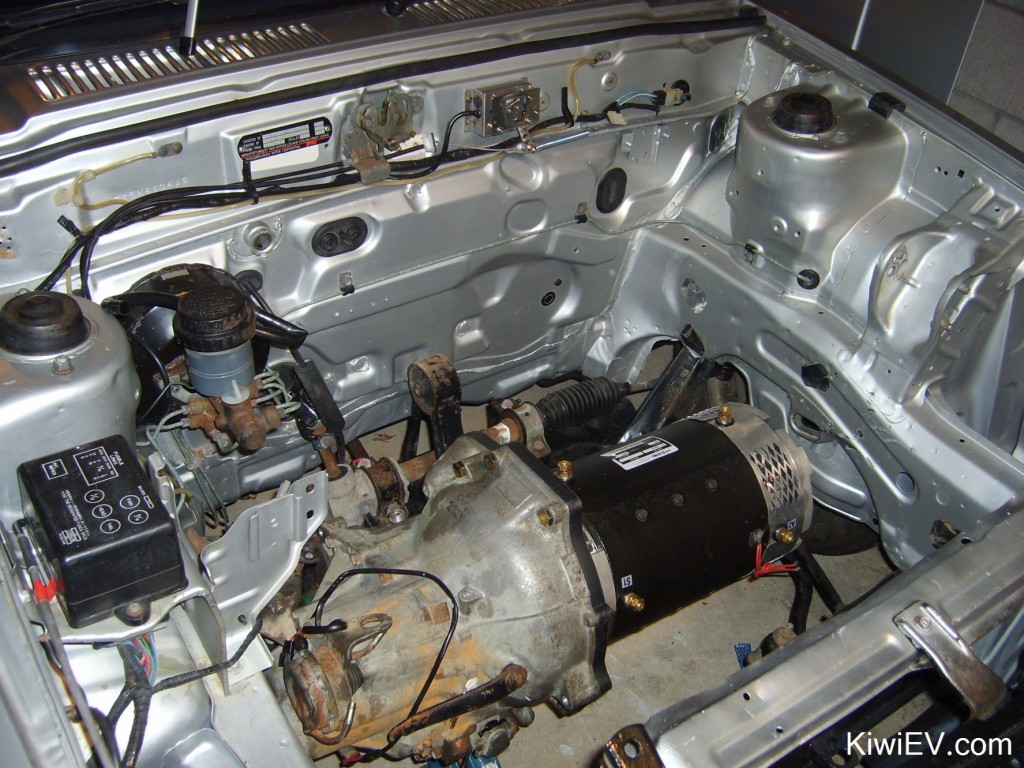
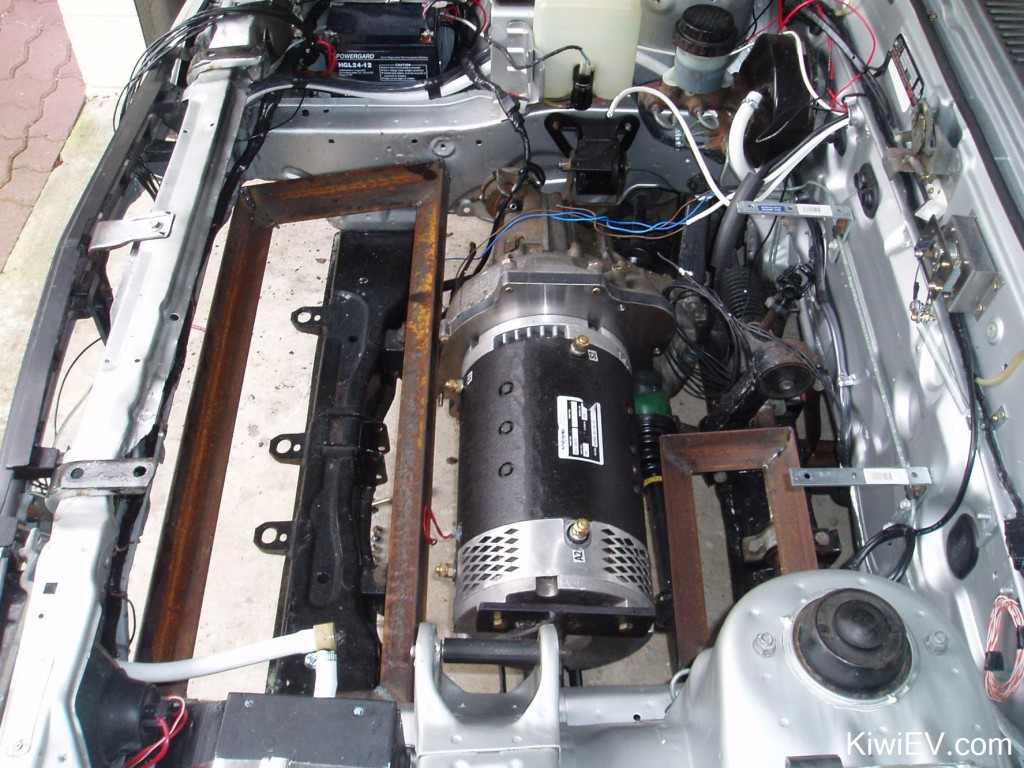
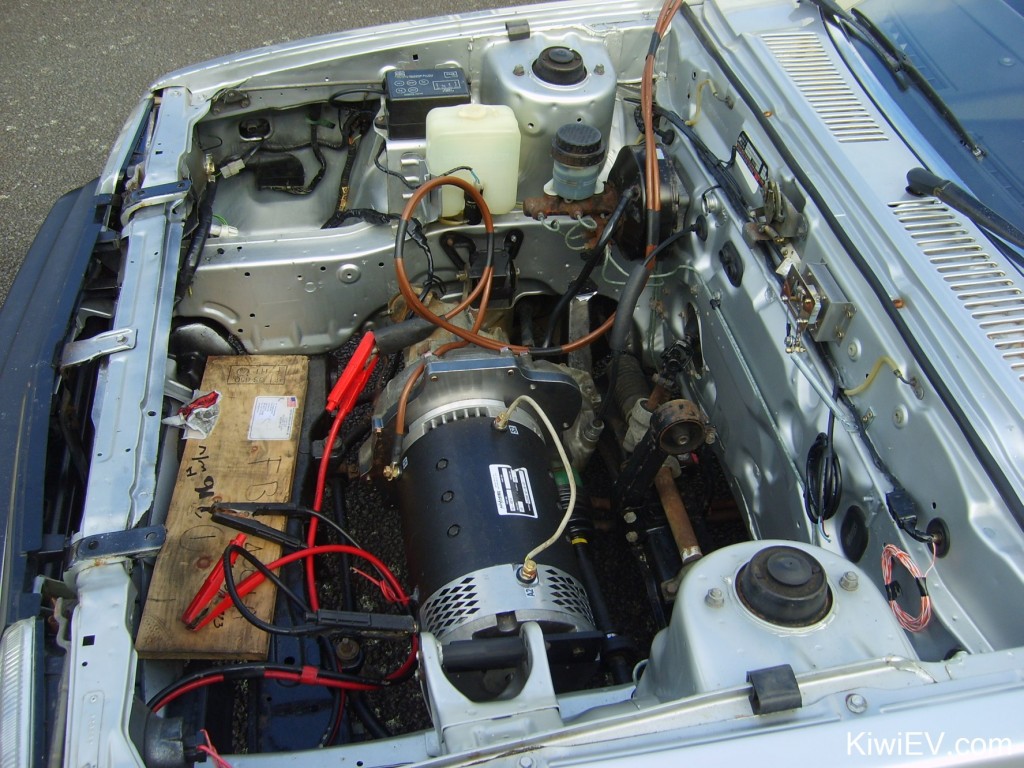
We did it! The motor is installed!!!
This time everything went like clockwork. The motor and it’s housing slid right onto the gearbox shaft and the coupler’s guides matched up perfectly with the gearbox. We bolted everything together and before you knew it, the motor was in!
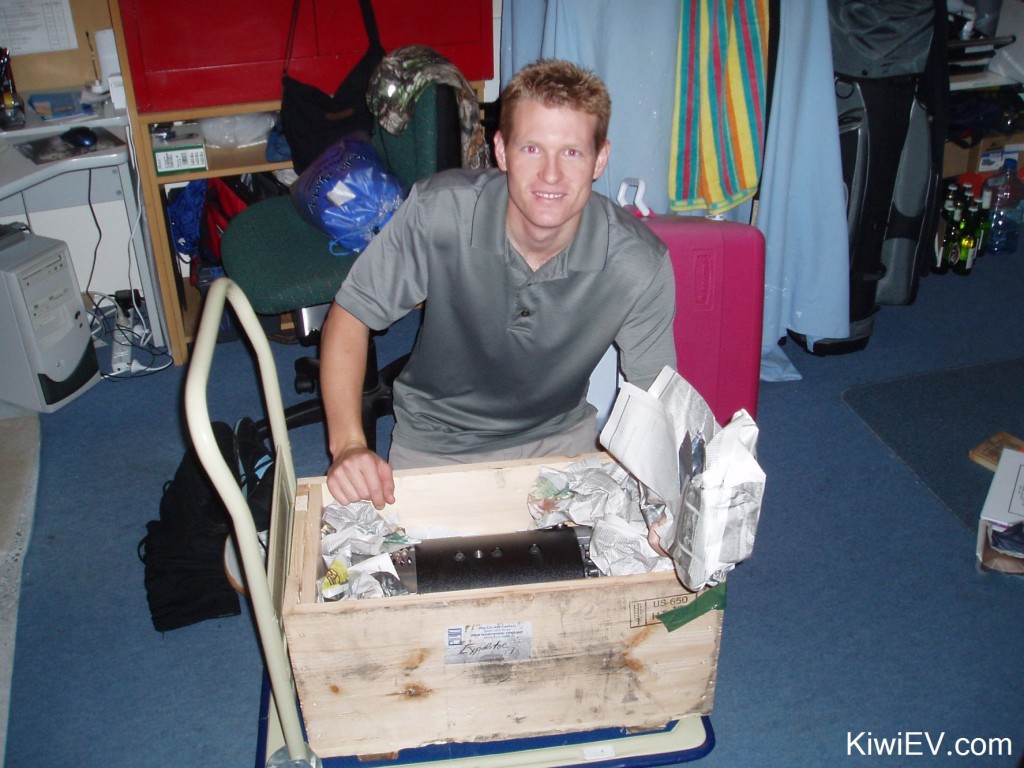
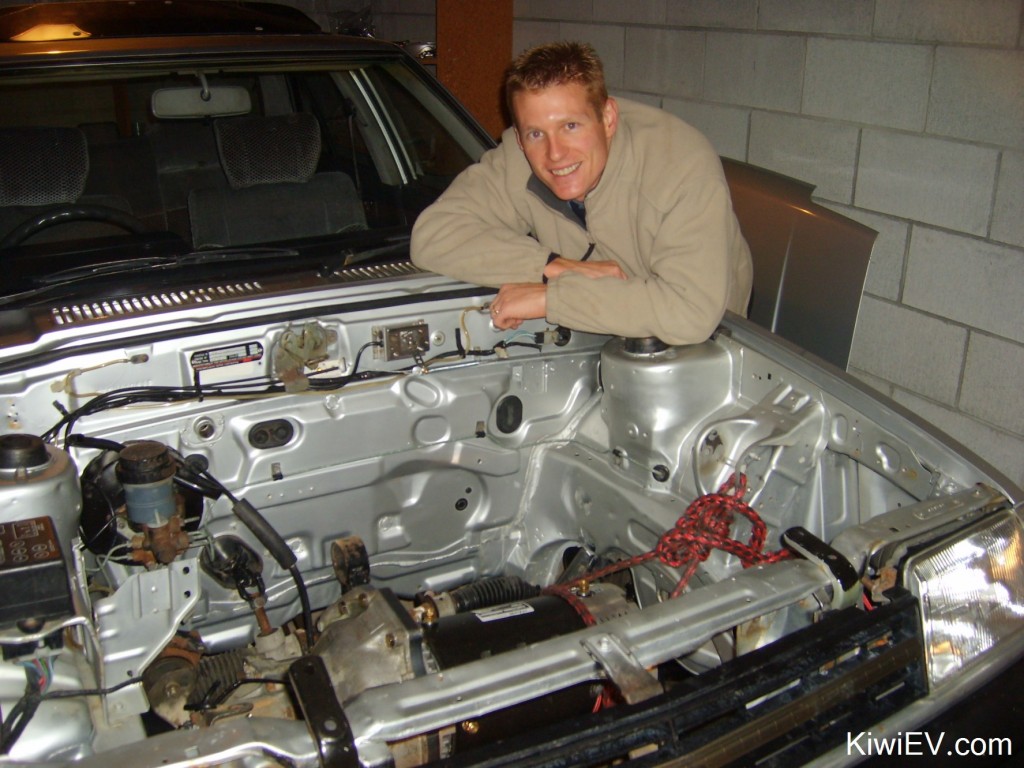
It’s the most satisfying experience of the conversion so far. It astounded me that I knew nothing of the processes required for removing an engine and gearbox, let alone replacing it with an electric motor, and here I am – with the motor in the car! You can only imagine how good that feels.
You can tell by the ear-to-ear grin in the photo below!
The motor was only connected to the gearbox so we used supports underneath it to reduce stress on the gearbox and gearbox mount.
Even so, I couldn’t resist putting the car in neutral and putting 12 volts to the motor just to see it spin for 10 seconds!
The sound of the motor quietly whirring away was music to my ears. Of course I couldn’t stop there so we jacked up the front of the car and did a few seconds with the front wheels hanging there, while in first gear!
You’ll have to see the video to see just how happy I was! Only 4 months into the project on the other side of the world and I had my motor spinning in the engine bay! Yeehaa!
Test drive!
After installing the motor, I couldn’t resist hooking up a couple of old 12 volt batteries together and taking the car for a (slow) spin up the road and back!
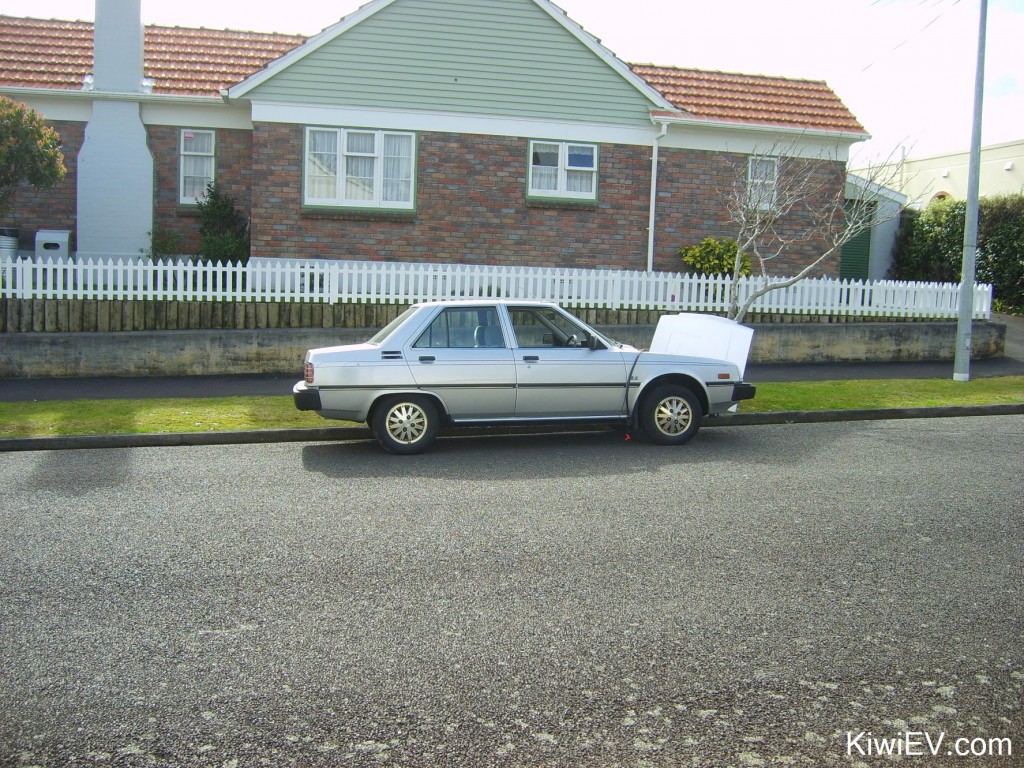
It’s technically a working electric car at this stage!
Next step: installing a heater.
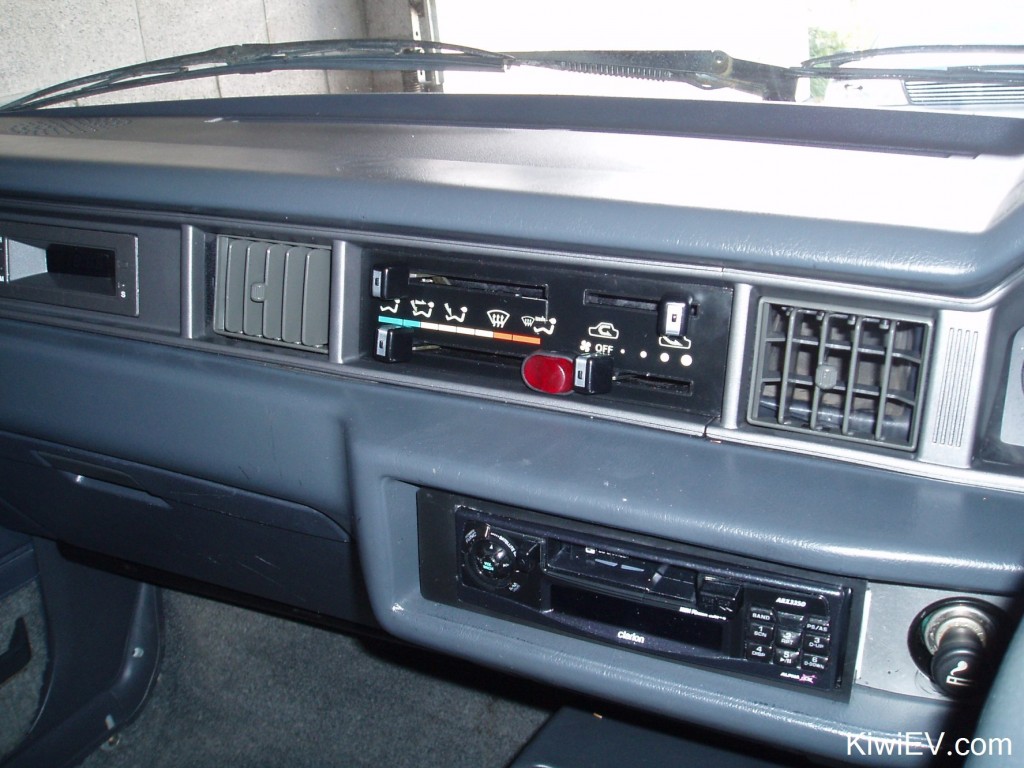
At first I was going to just order one from an EV accessories place on the internet but after speaking to a couple of people on EV forums, I found that it’s very simple. I mean with only 5 parts, how hard could it be?

A ceramic heater for my EV conversion
So, first step is to buy a ceramic heater. It must be a ceramic heater, not a metal heater. I found one at the local Mitre 10 shop for $32 NZ. Can’t complain with that.
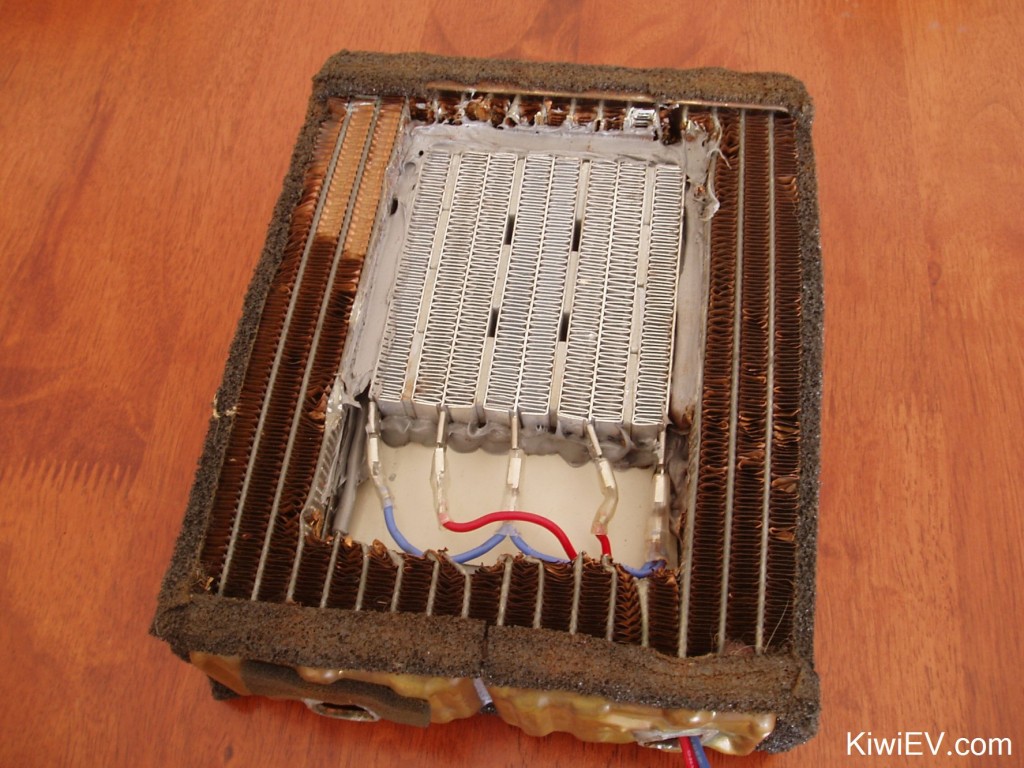
Now it’s time to remove the element from the heater unit and try to install it into your car’s heater core. Make sure your heater core is completely dried out inside. I took mine out months ago and let it sit in the corner of the garage drying out over 4 months.
Place your new (little) ceramic element on top of the original heater core. Mark onto your car’s old heater core the area that the new element will take up with a large marker pen or screwdriver. Draw a line around the outside of the new element. Make sure you leave enough room in your markings for the cables at the back of the element as you don’t want them squashed up against the edges of the heater core.
The next (and quite tricky) part is cutting the hole into the original core.
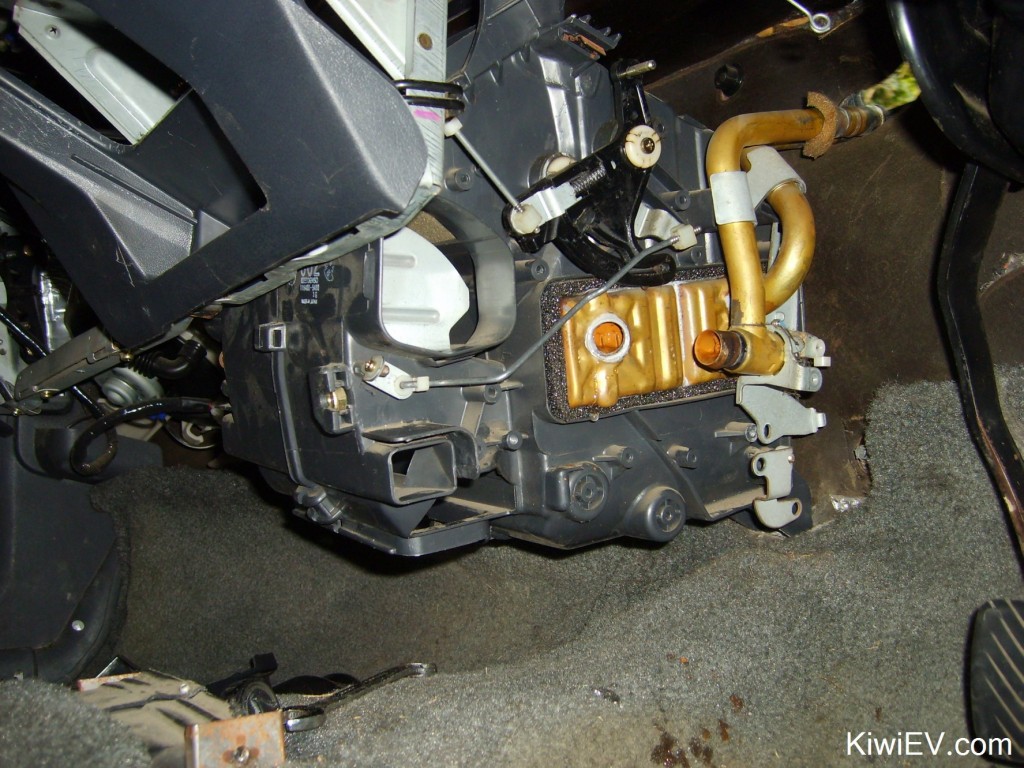
The heater core inside the car
Next, I removed the element from the heater and got ready to install it into my car’s old heater core.
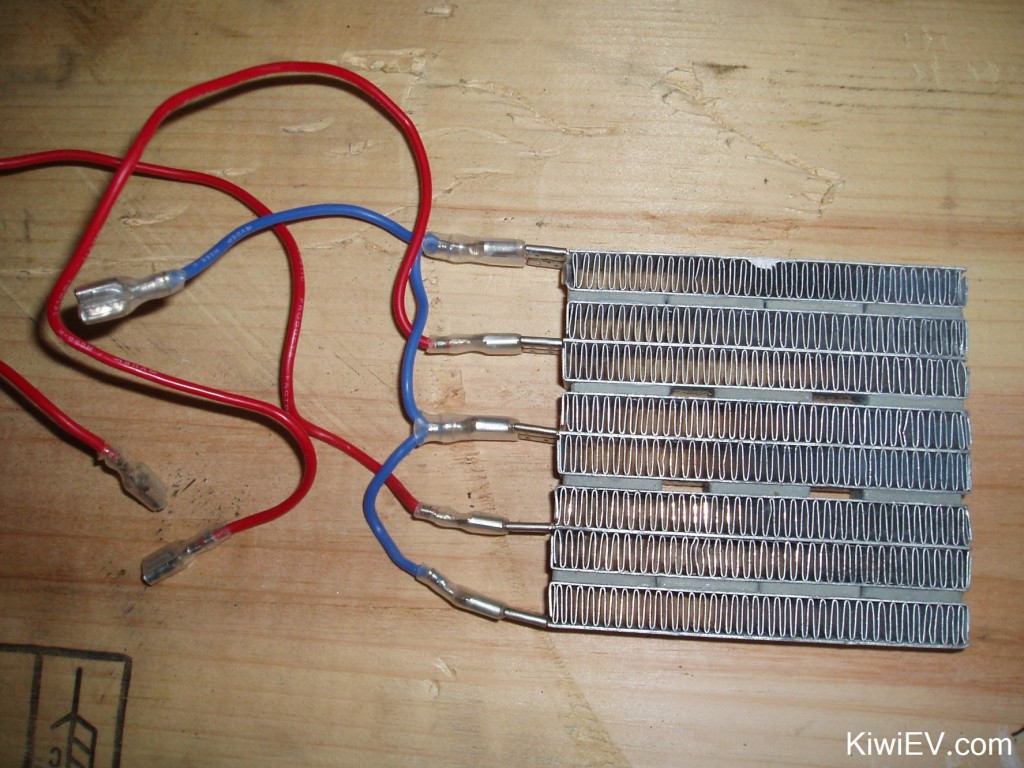
Ceramic heater core
After I removed the heater core from the car, I cut a hole out to fit the heater element.
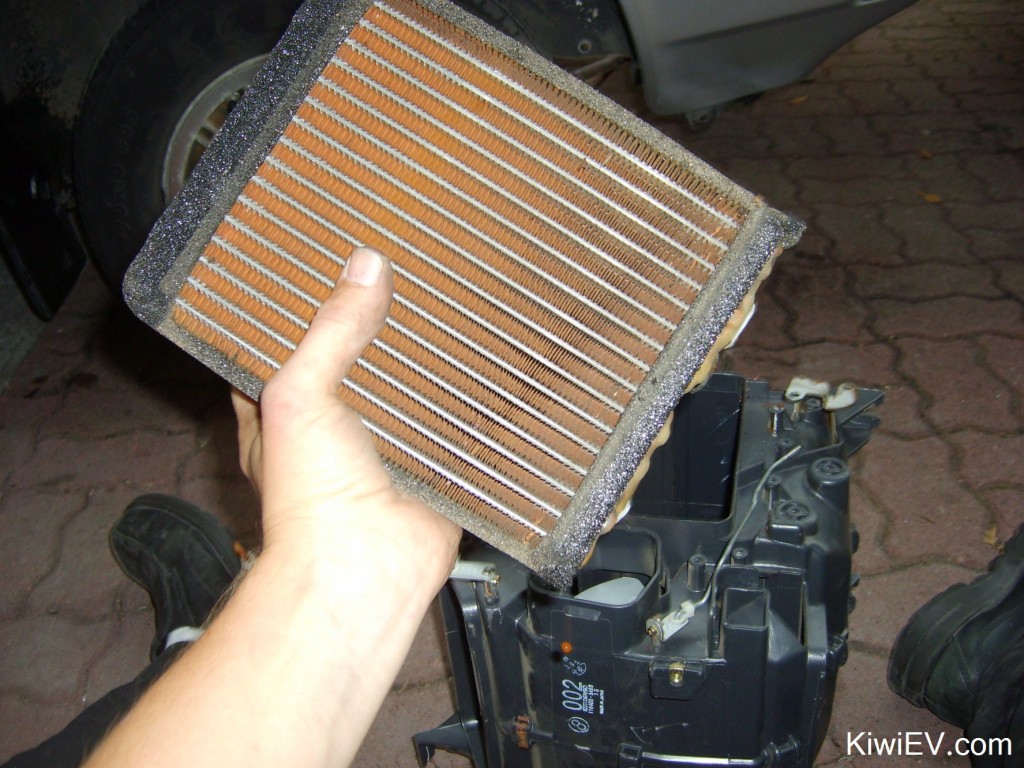
Heater core removed
I took the element out of the core and used a tube of high temp sealant (mine was a type of gasket sealant) to create a tubular wall around the element, and the core, then placed them together.
After those sealant “walls” have set, I placed the element inside the core and sealed it again, filling the space between core & element.
Once dry, the element will be set in snugly. I’d recommend drilling a large hole in the rear of the core and poking your cables through it, so that no cables come over the wall of the core. I also recommend blocking the large holes created where the cables attach to the element. Obviously the air is going to take the path of least resistance, and go around the element if there are holes there.
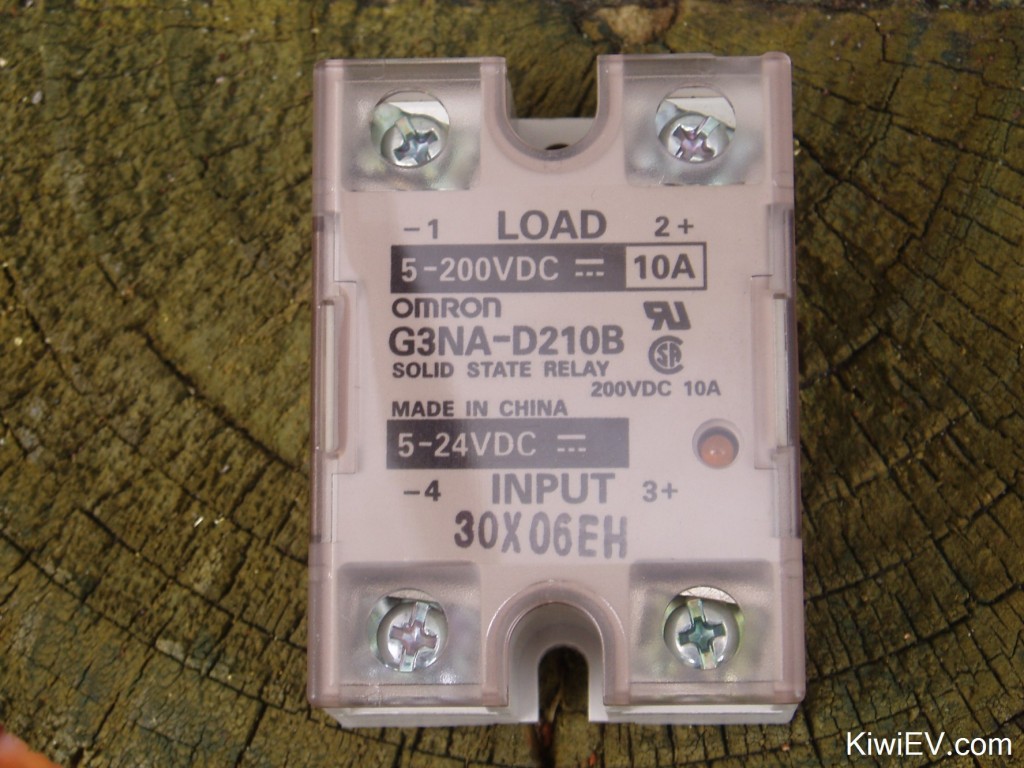
By using a high voltage relay it means I can control the whole thing with a safe 12v switch using the 12v from the fan motor. I don’t want 144v coming through to the dash switch. I’ve also used double-insulated wiring for the heater core. All for safety!
Now that the element’s in, I went about installing the wiring, switch and relay. You might have a better method, but I’ve gone for simplicity first and tapped into the “Full speed” fan motor input wire. From there I’ve taken the cable to the illuminated switch on the dash and from there it goes straight to the relay in the engine bay.
A simple 12v switch to turn on the heater. I use this relay + switch method for two reasons. Firstly, it means the switch that controls the heater will only work when the fan is running, so there’s no chance of the element sitting there with no airflow Chernobyl-ing it’s way through the dash.
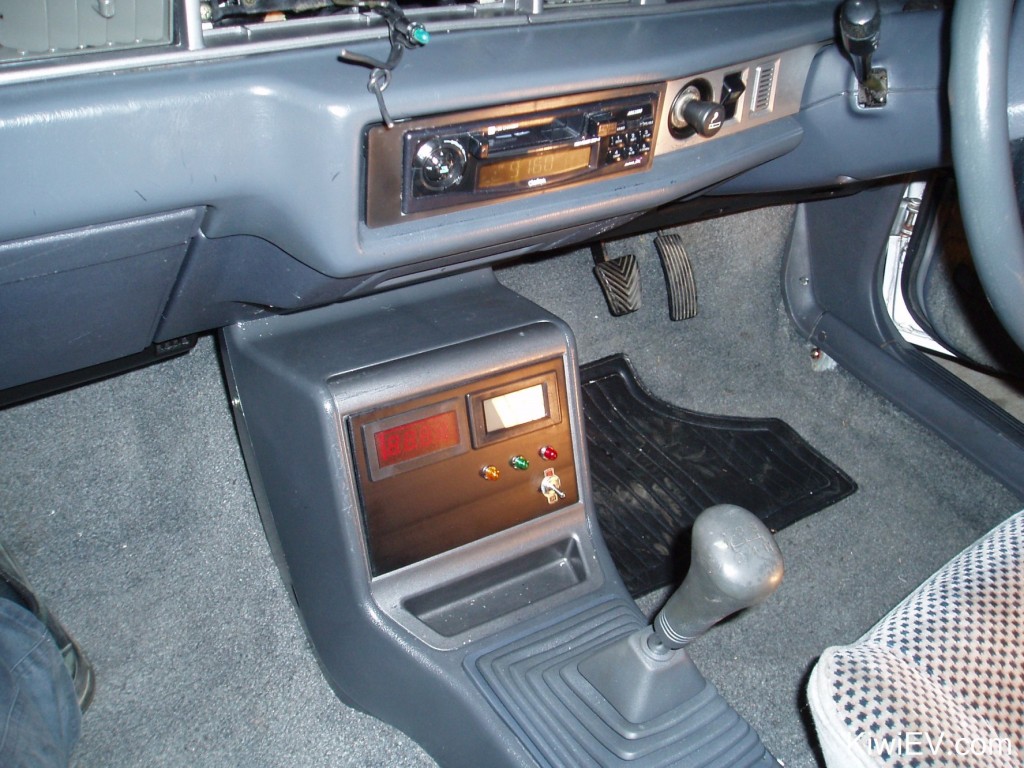
In the meantime, I installed a “control panel” with an ammeter and voltmeter into the dashboard.
I won’t be able to test my heater until my batteries are actually in, and that won’t happen until we get the racks installed, but things are going to happen very soon. Well, as soon as I can scrounge enough money!
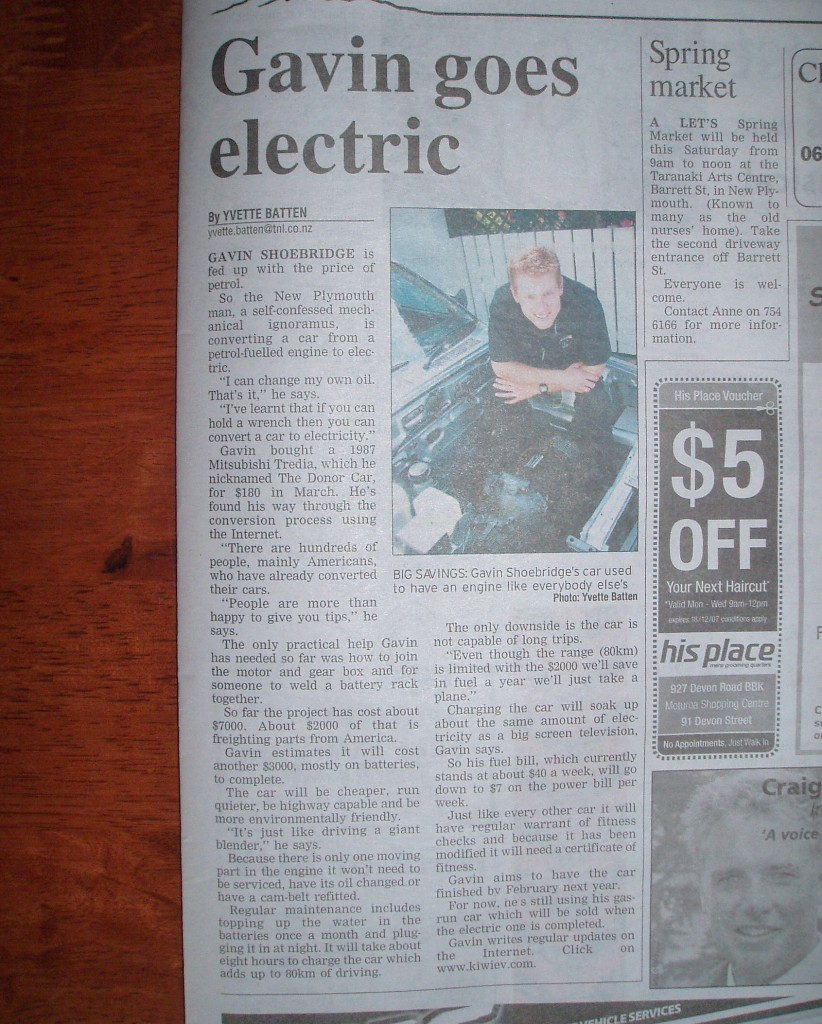
During all of this, the local paper got wind of my electric car conversion…
Here’s a video in more detail of my heater installation which may help you with your own install:
Time to install the battery racks!
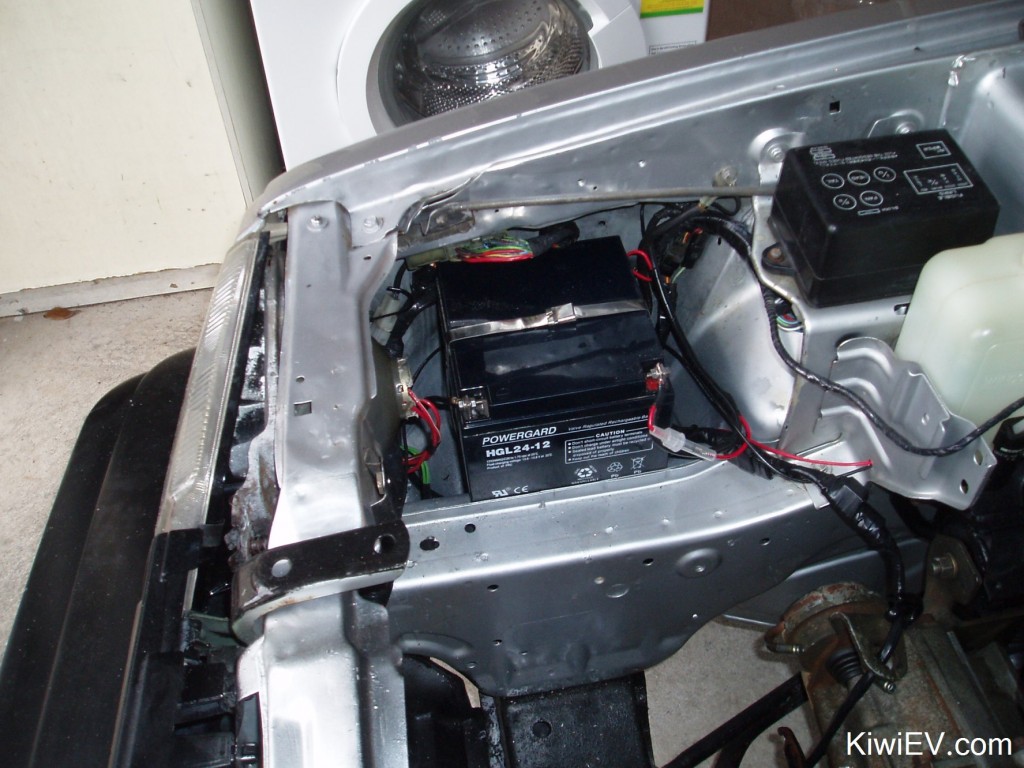
I began by moving the 12 volt accessories battery somewhere where it wouldn’t get in the way of the car’s high-voltage battery pack.
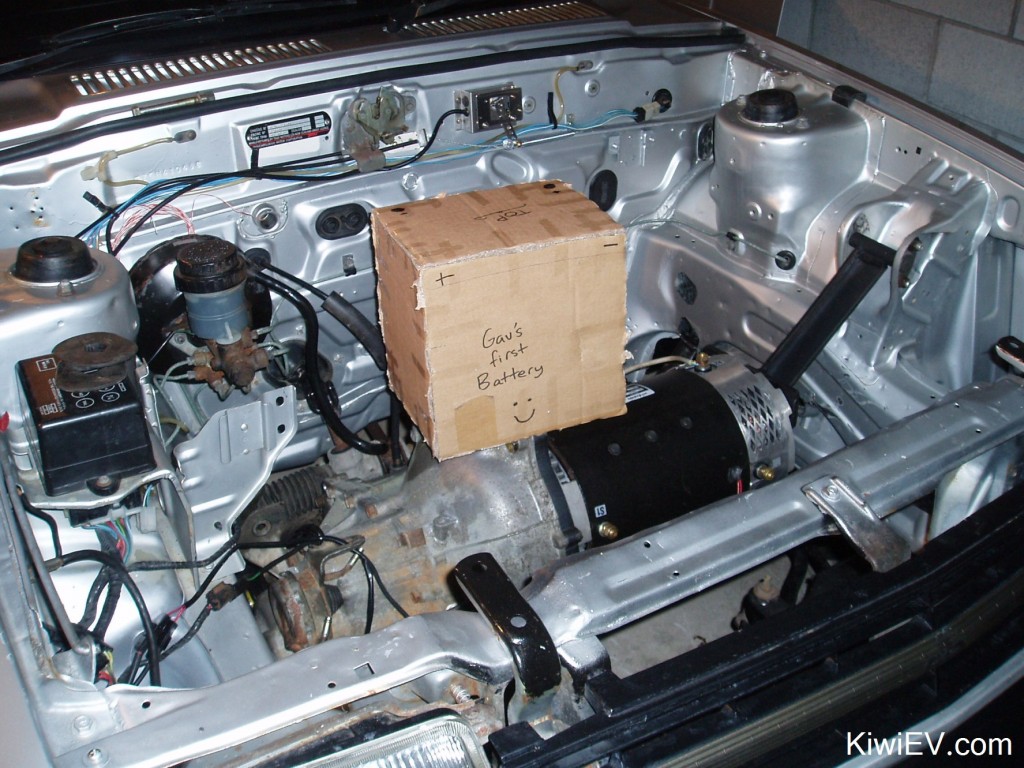
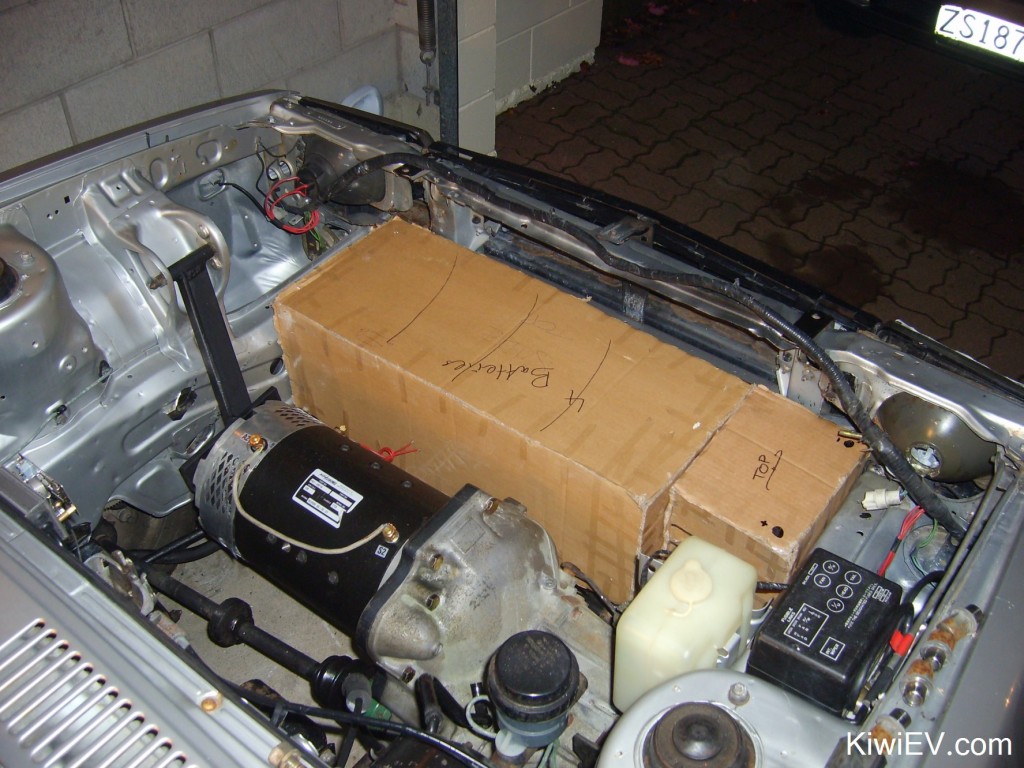
This is the next step in the conversion process and is so far the most brain stressing, trying to fit twelve heavy little cubes into an odd shaped metal & glass box (batteries into a car). Before I can build the racks to hold the batteries, I need to know which batteries I’ll be using.
After a few weeks of stressing and annoying battery dealers with quote requests I have decided which batteries to use. It’s a big moment in the conversion process but now that I know the details I can start building the battery racks!
I planned to use Hella Endurant MDC24/85 deep cycle batteries, rated at 85A/hrs and 525 Cold Cranking Amps (taken at 0°F or -18°C). More realistically on a hot summers day this will be closer to 940 Warm Cranking Amps (80°F or 26°C). You can see what your own battery CCA rating would be like in real conditions here. It’s interesting the difference that temperature makes. As long as these batteries fit, then I’ll buy them!
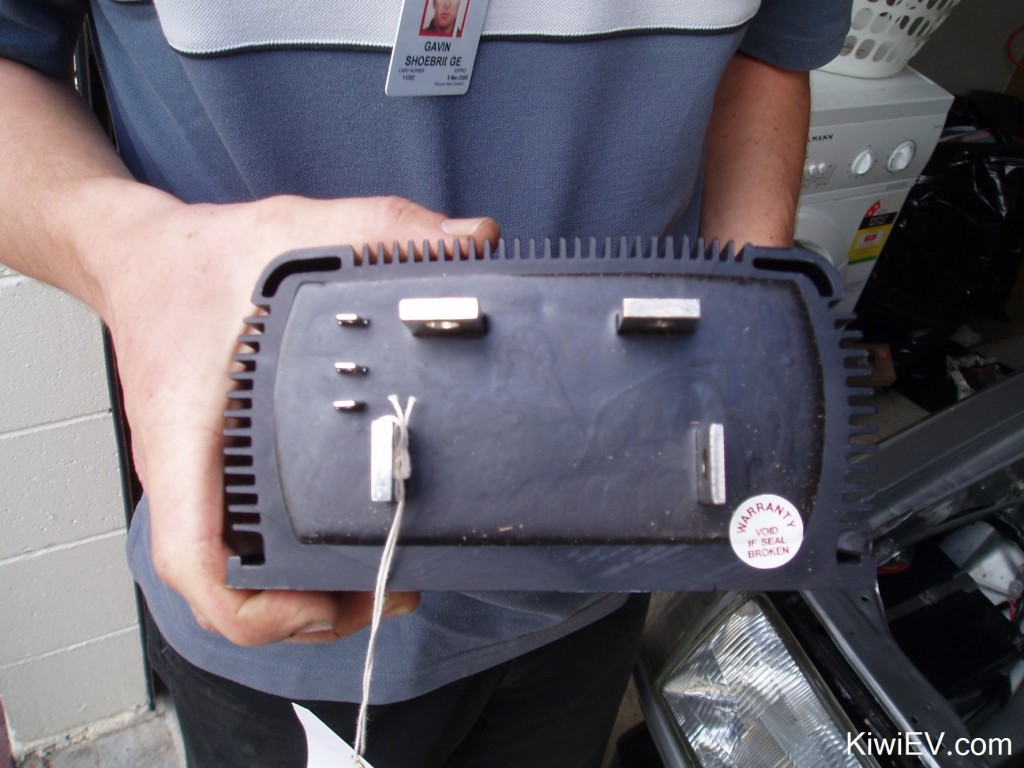
More good news too – I’ve purchased my Curtis 1231C controller from EV America. These are very popular & reliable controllers with a maximum output of 500 amps at 144 volts. As I’m using the FB1-4001A motor it should give me close to 60 horsepower (but with loads of torque!). Good stuff!
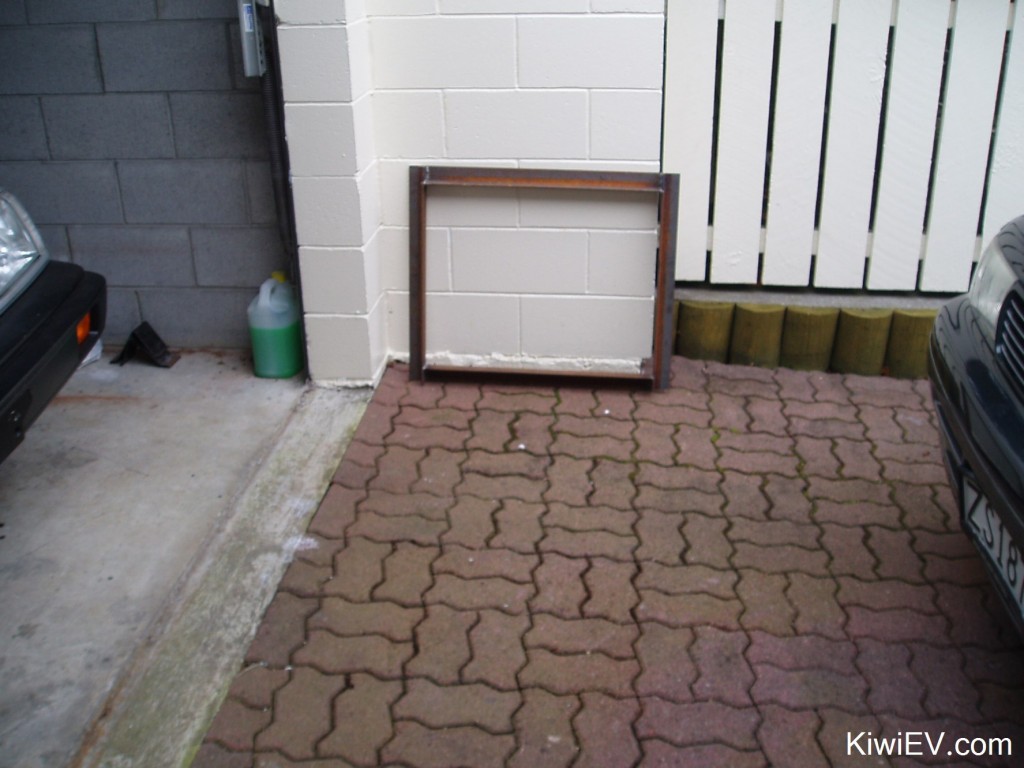
I’ve dropped the battery rack plans off to my trusty welding guy. My rear battery box will be mounted onto the boot floor.
While it’s more common to mount the rear battery box into the boot floor instead of sitting on top of it I must stress that this is to be a simplicity-first electric car and anything too difficult will be removed from the plans! Besides, with the height of the battery box, it would be poking quite a bit through the floor anyway so I’m not bothered. If I don’t like it, I’ll pay someone to put the battery box into the floor.
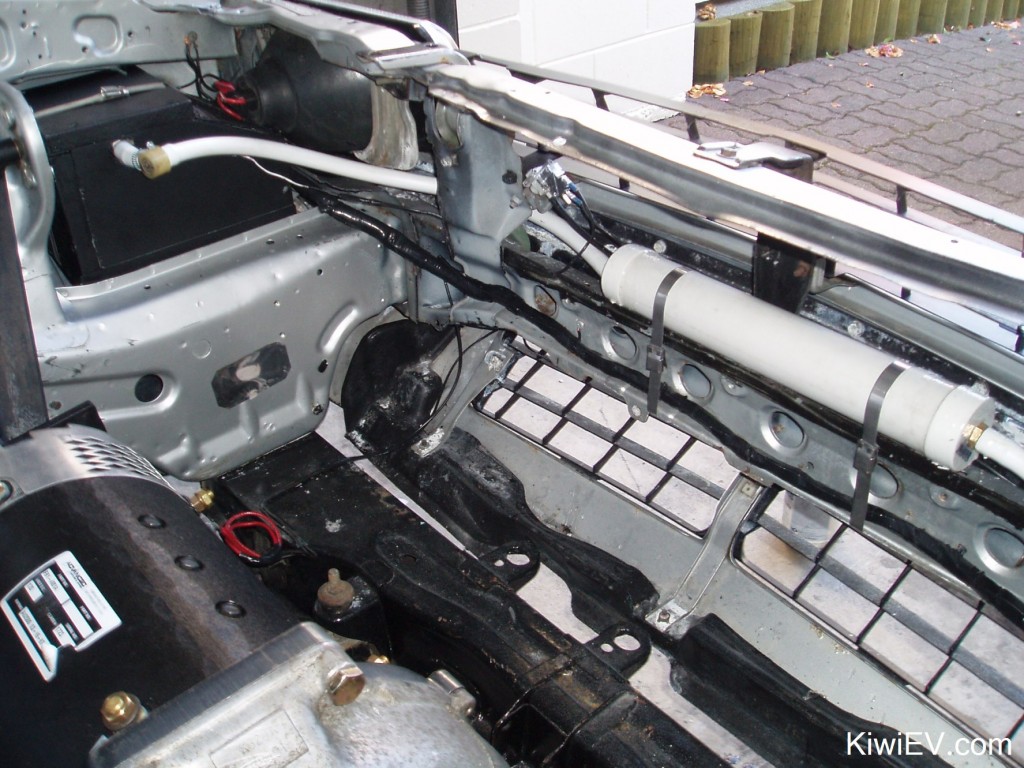
During the socket install my vacuum pump arrived from Pete Papas in Florida. This fantastic guy threw in a vacuum switch and a couple of vacuum-locking valves along with the pump at absolutely no cost. I couldn’t thank him enough – he’s saved me almost $150 NZ! Thanks Pete!
I couldn’t resist connecting the Thompson 12v vacuum pump up to a battery to see what it sounds like and whoah, those pumps are actually quite loud! I put it in a black wooden box and hid it in the corner of the car to try and minimise the noise:
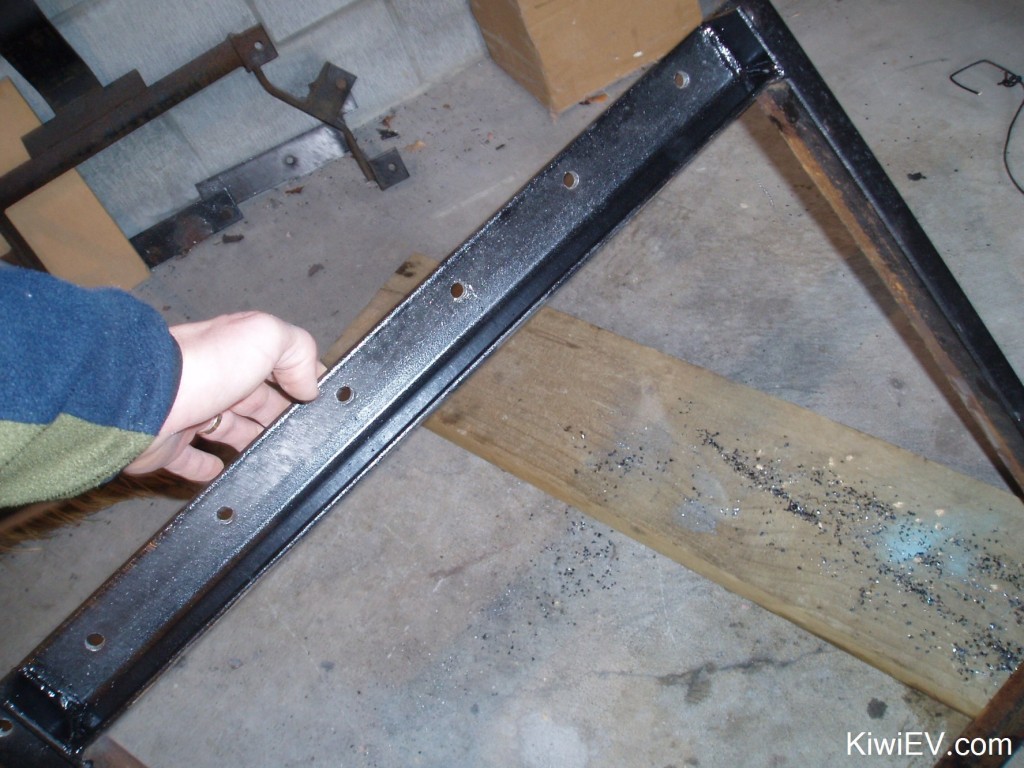
A few days later, my battery frames arrived!
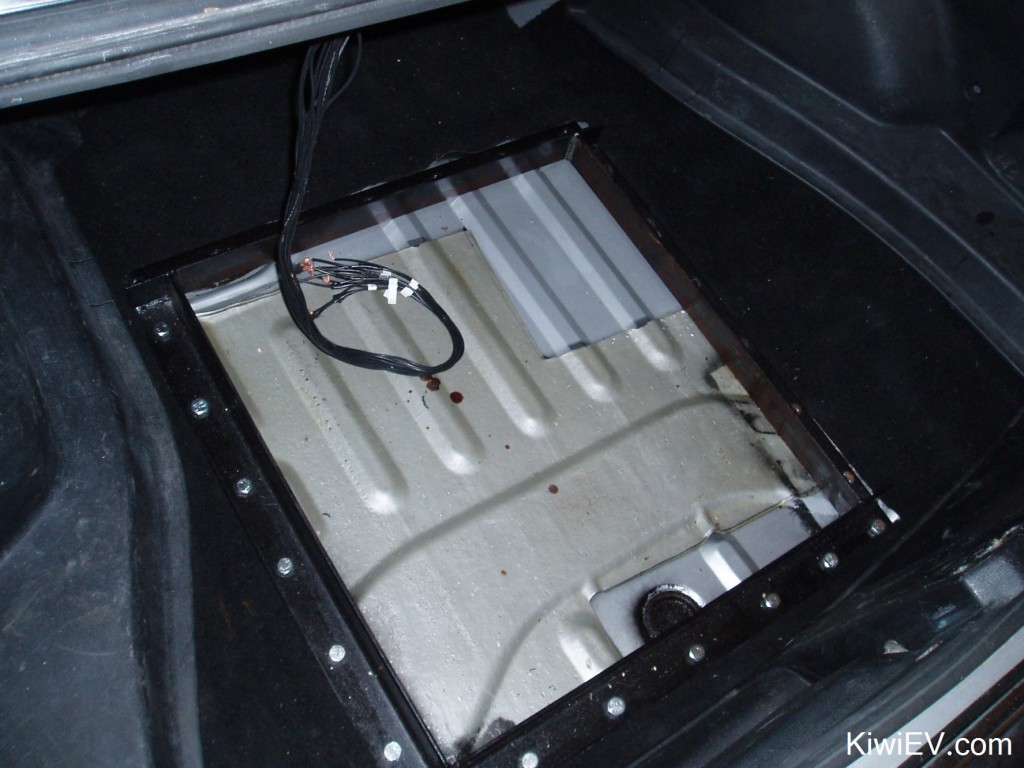
I took the rear battery frame and found a way to mount it into the back of the car. I decided to use simple bolts (and many of them) to secure it to the boot/trunk’s floor.
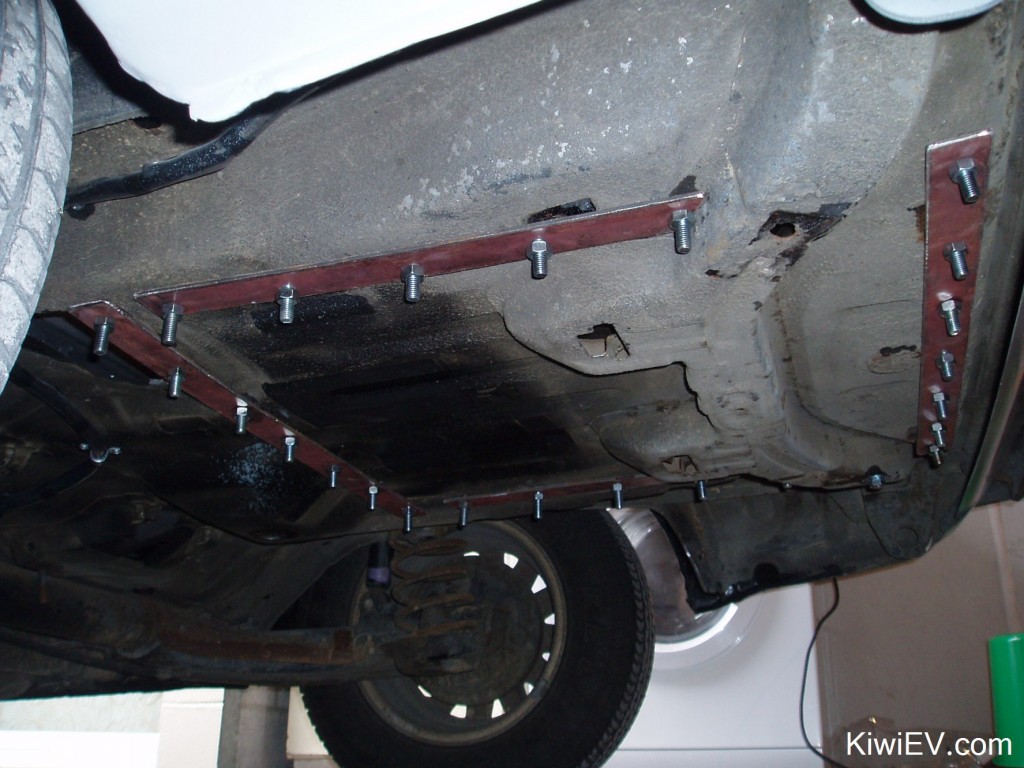
It ended up taking most of the weekend but I drilled and bolted in the rear battery rack all by myself! 26 big bolts later the rack was installed!
You can see the underside of the car (and the 5mm thick steel plates holding the rack in) in the photos at the bottom of the page. There’s no way this rack is going to budge in an accident. And it looks good too!
I can’t begin to explain what a relief it is to get those things installed!
Now that the rear rack is bolted in it’s time to finally get those (now resized) front racks installed.
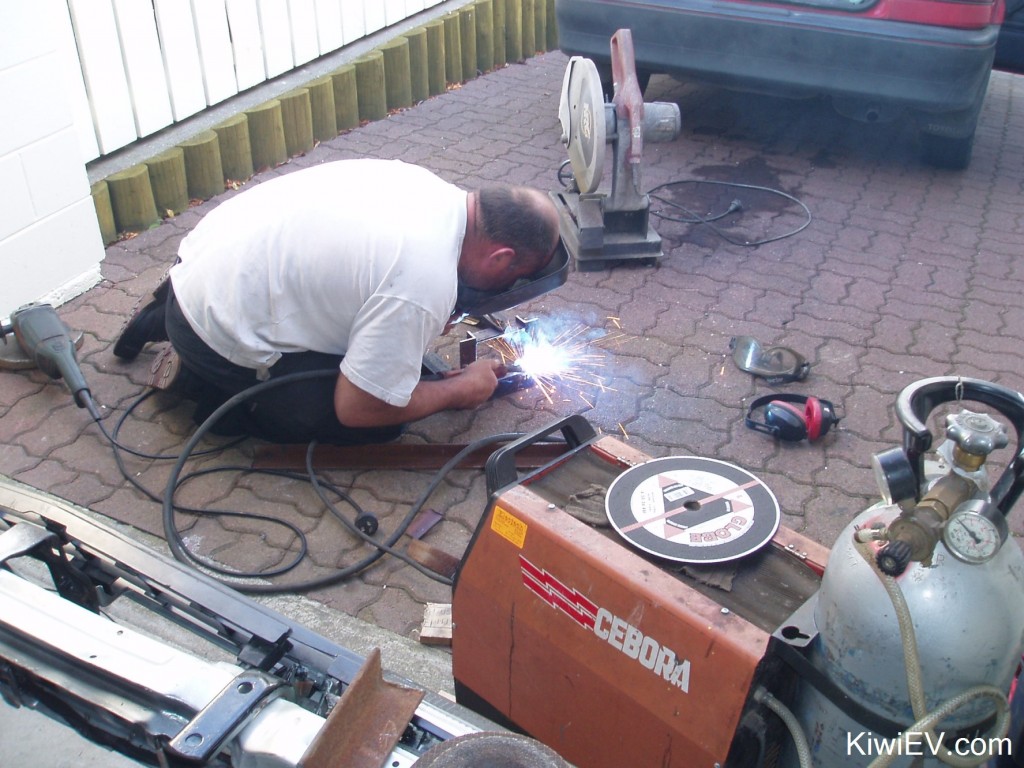
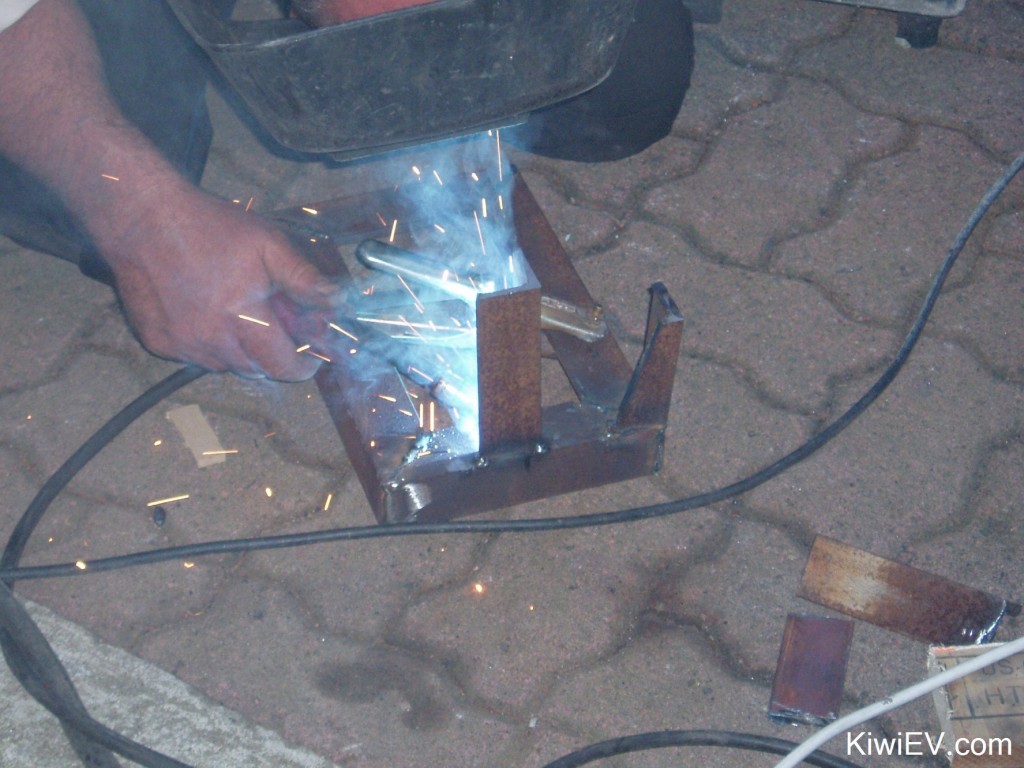
My trusty welder arrived with an army of noisy saw-drill-spark-smoke making tools and got stuck into welding up the front racks ready for the batteries. He’s used to working with restraint systems in cars and was confident that the racks are all installed much stronger than required by law. That should keep the EV inspector happy when it comes time to get the car legal.
The ultra-tough racks were resized and strongly welded in place to the chassis of the vehicle (not the sub-frame) to leave the crumple zones still able to crumple in an accident.
My welding guy adjusted the battery boxes and created “feet” to allow them to be installed securely to the car.
Oh sweet electrified Jesus, the racks are installed at last!
Now that the racks are in, I’m off to the bank to borrow $2500 for the twelve Hella Endurant batteries.
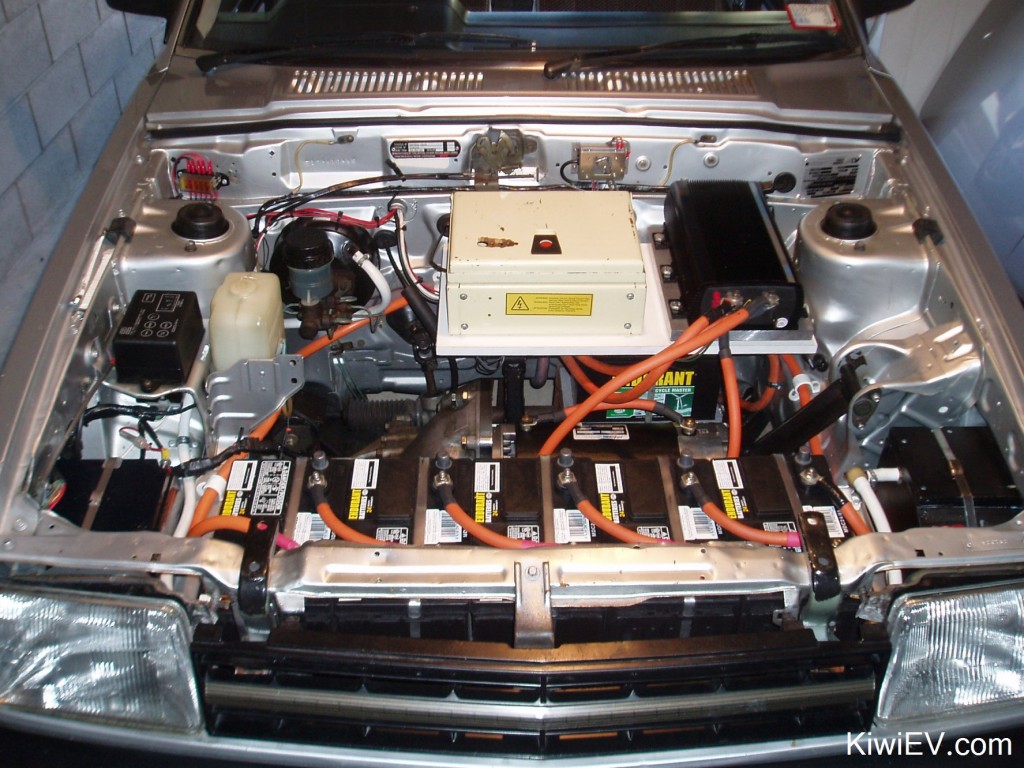
Now it’s time to install the electric car’s high-voltage components.
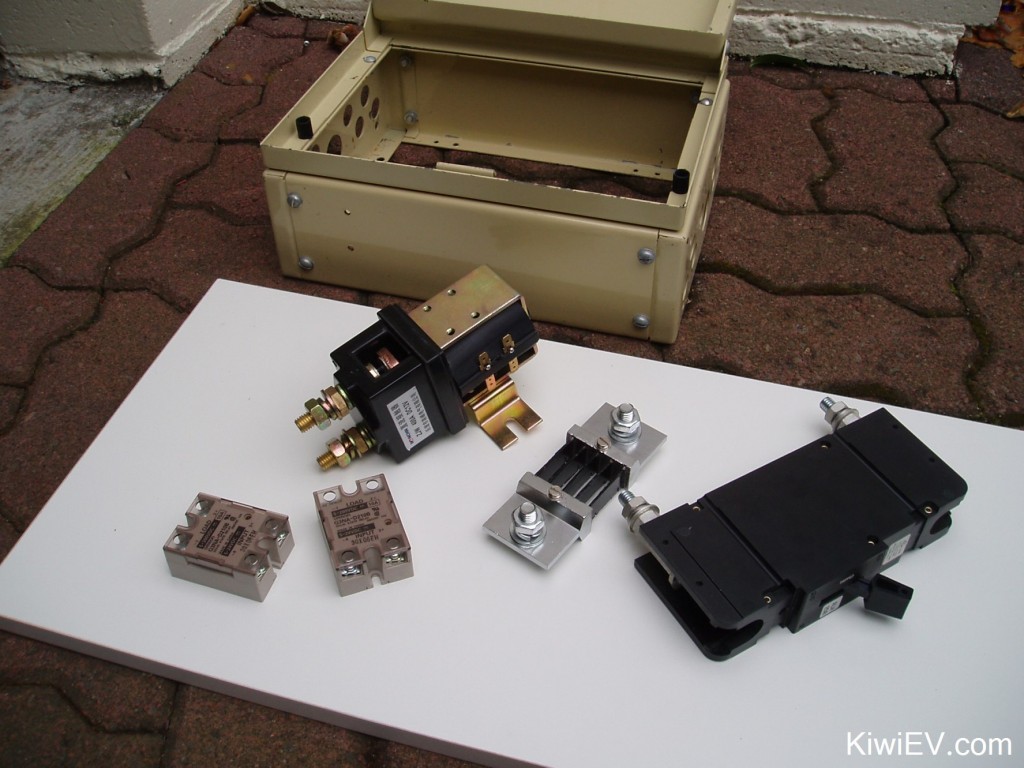
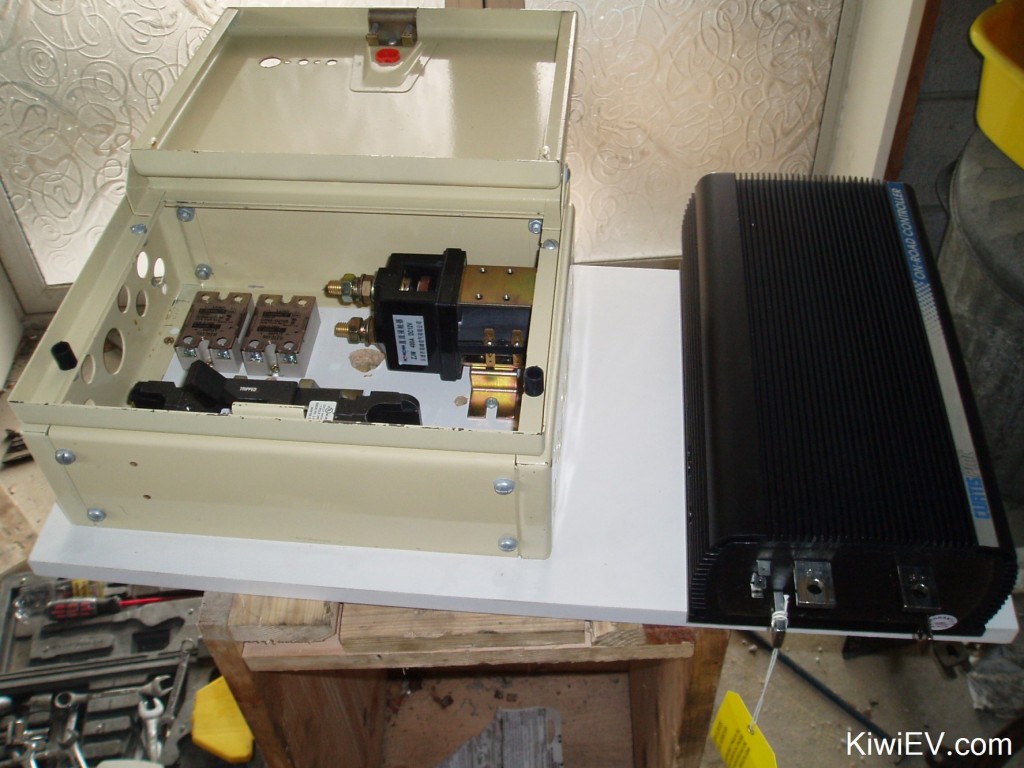
There aren’t many “main bits” in an EV compared to a gas car. The main components in my control box are:
– Main Contactor
– Circuit Breaker
– KSI Relay
– Heater Relay
– Main Fuse
– Shunt
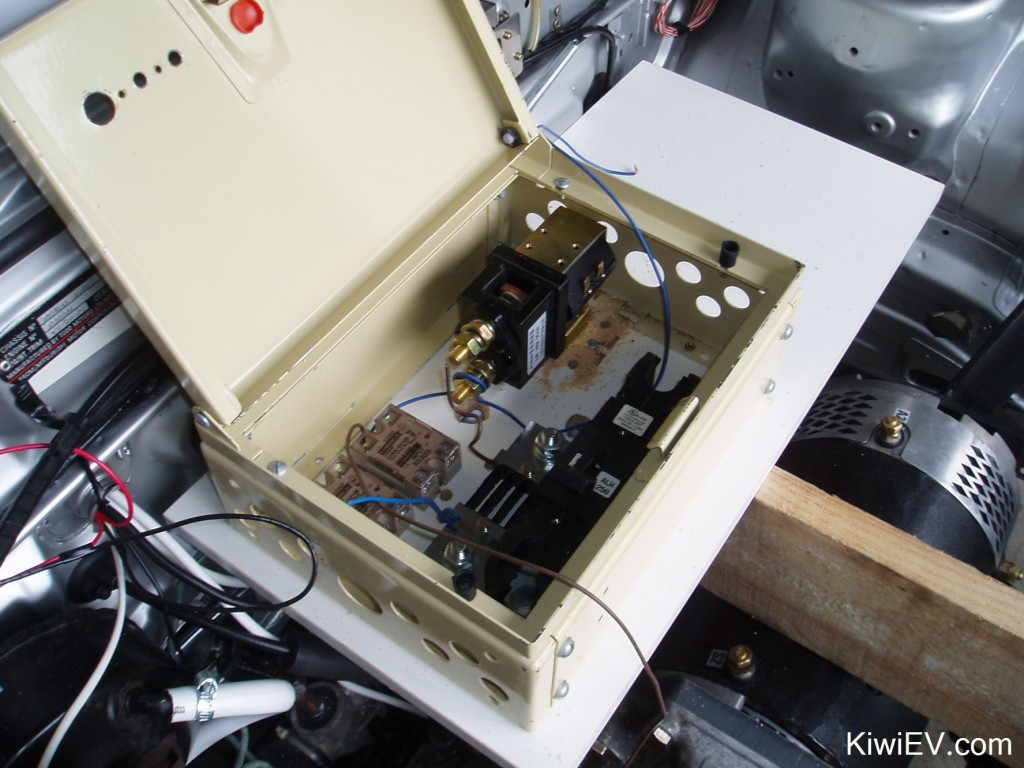
From what I’ve learnt, in a basic DC conversion these are the essentials for any control box or nerve centre. I found an old box which will house all these gadgets nicely with plenty of room for clearances and vital airflow.
I picked up a sheet of Formica board and some metal supports from the local hardware store, and set about creating my control shelf. After rearranging the main bits inside the box like a giant game of Tetris I managed to make everything fit in with room to move.
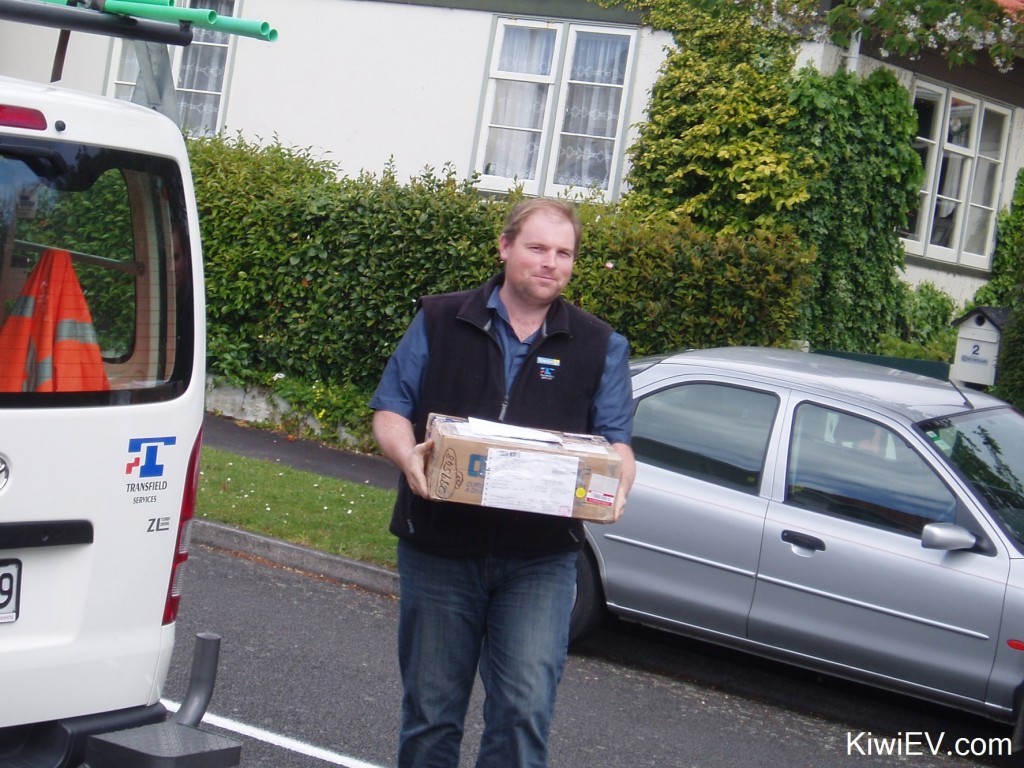
Some more good news arrived: Rob popped over with my Curtis 1231C Controller. He was up in Auckland over the weekend and collected my controller from my parents house.
With all the parts here, I needed to make them all fit into a tidy box somehow…
Once everything was the way I wanted it I drilled holes to allow the cables to feed up from underneath. To make the whole thing look good, I wanted as little cable visible as possible. By having everything enclosed in a box and all the cables running underneath it should look quite tidy.
After a few hours of connecting wires and securing the control board strongly, I’m essentially finished pre-wiring the control box. It’s 95% complete but I’m going to be held up while I wait for a replacement solid state relay for the 144V Kill Switch (built into the controller) and a couple of components
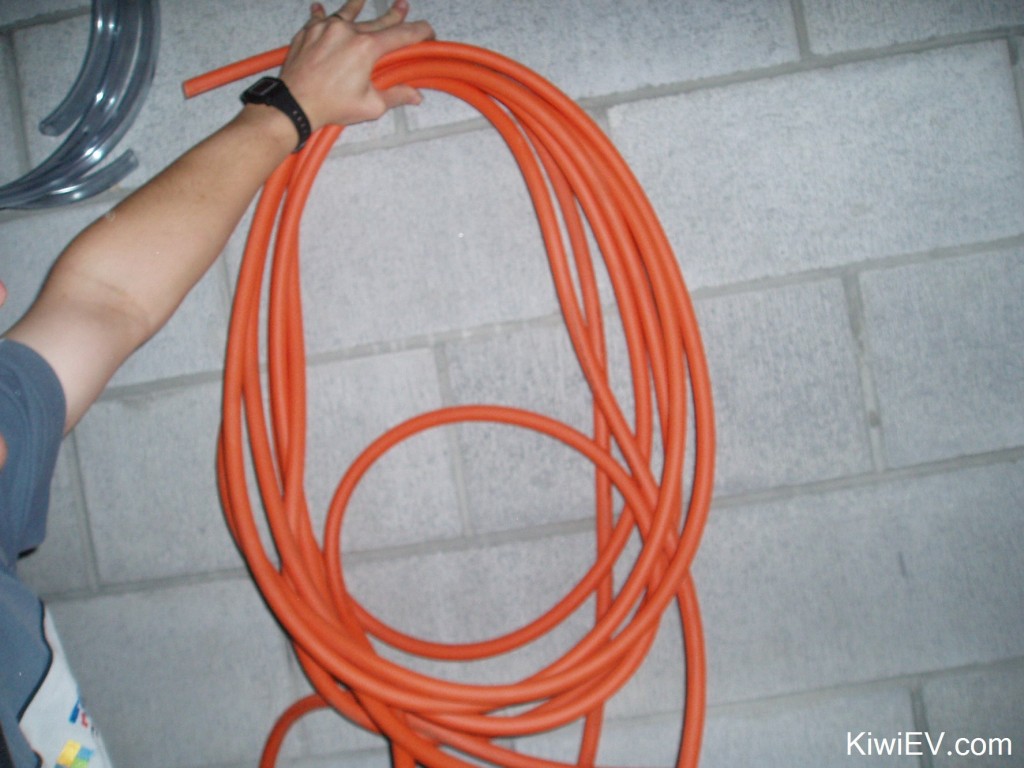
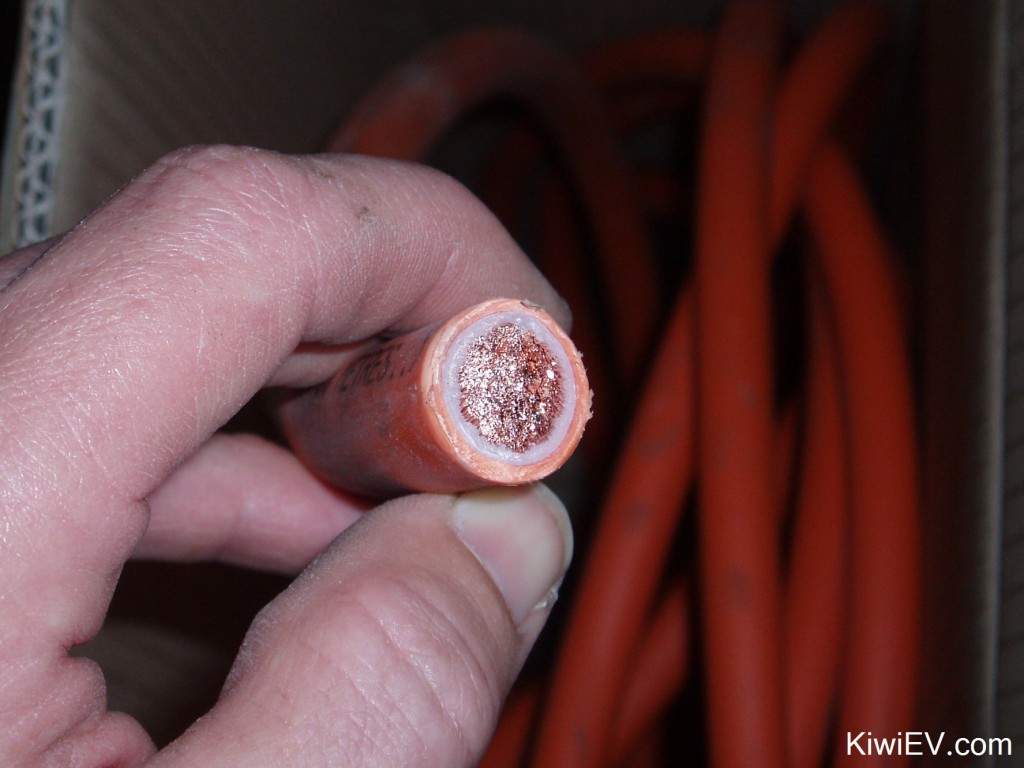
Next, my chunky 70mm² main power cable arrived, there’s no other components to buy (except the batteries) and the rest is comparatively straightforward. It’s basically connecting stuff and installing cabling – all things I can do myself.
That welding cable is THICK!
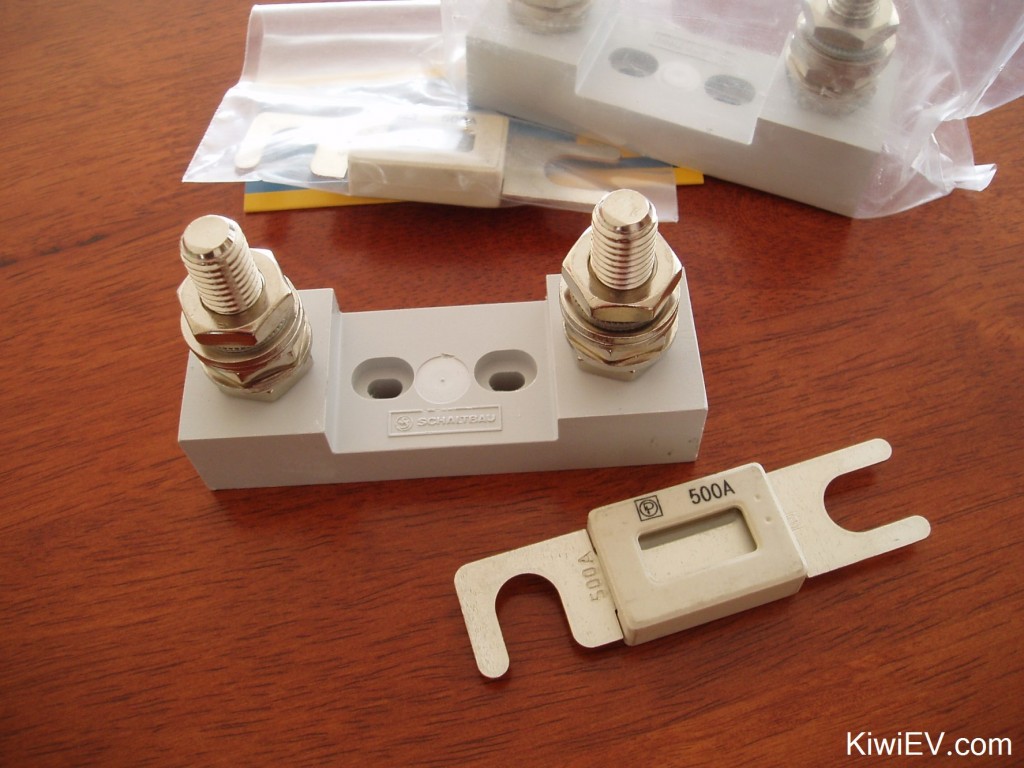
The last of the components arrived: my 500 amp electric car fuses. I’ll need these in case something horrible goes wrong, but here’s hoping it doesn’t!
Time for a video:
Sadly, sometime around 2008 my computer’s hard drive died. I lost everything that wasn’t backed up.
Then, to make things worse, sometime around 2010 the original version of this website was hacked by some bored kid and I had to rebuild it – without the good photos I used to have. 🙁
So, from here on there are only videos and a handful of photos that were saved in other computers. I’m really sorry about that.
Time to connect the batteries!
It all looked good. We’d followed all the advice given to us correctly so we gave the circuit the all-clear. First we checked we had pack voltage at the circuit breaker… check. I flicked the circuit breaker to “on”. Good, we were now getting the 153V of pack voltage at the contactor. I did another double-check that all cables were correctly positioned and with my breath held, I turned the key.
Click.
The connection had been made. My voltmeter showed nothing however… I knew what the fault was; the negative lead for my voltmeter isn’t connected. Whew, I can do that tomorrow.
Everything else seemed to check out ok, there were no strange noises or smells. The controller was doing nothing odd.
So I pressed my foot onto the accelerator. Nothing. I pressed down a little more. Still nothing. At this stage the pedal was down about 25%. I was a bit worried but I decided to push a little more… Instantly a high pitched, violin-like sound came from the direction of the controller! I pressed further still and the motor started spinning! I pressed just a little more and WOW does that motor spin easily!
I put it in gear and went through the same process to find it did exactly what it should! No problems at all! I tried all the gears, watching the ammeter draw small sips of power getting the wheels to spin in mid air. I was just brimming over! The feeling of 8 months of work evolving into a successful test spin must been similar to Neil Armstrong walking on the moon!
I checked out the heater too. At first nothing happened. I noticed a 3 amp drain on the battery pack but no heat. I left it running for a minute while I checked things in the engine bay and when I came back it the air was warm from the vents! It works!!! The heat that comes out of it isn’t blisteringly hot, but warm enough for driving through winter mornings to be enjoyable!
With the car running it was time for a sneaky (non legal) test drive!
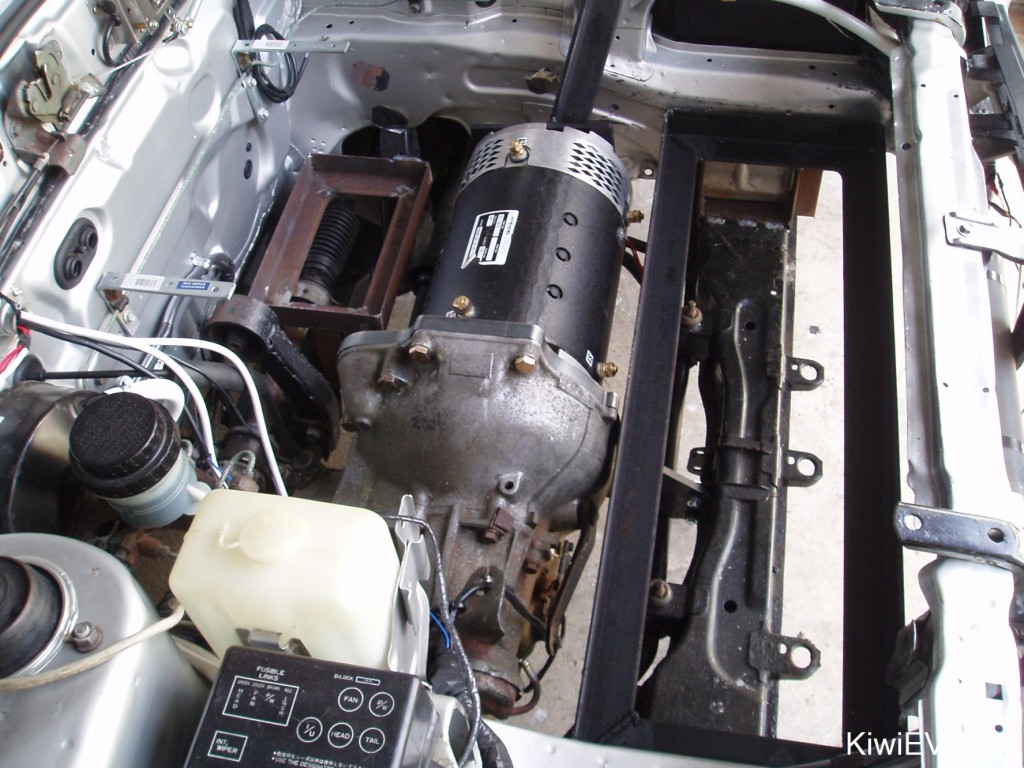
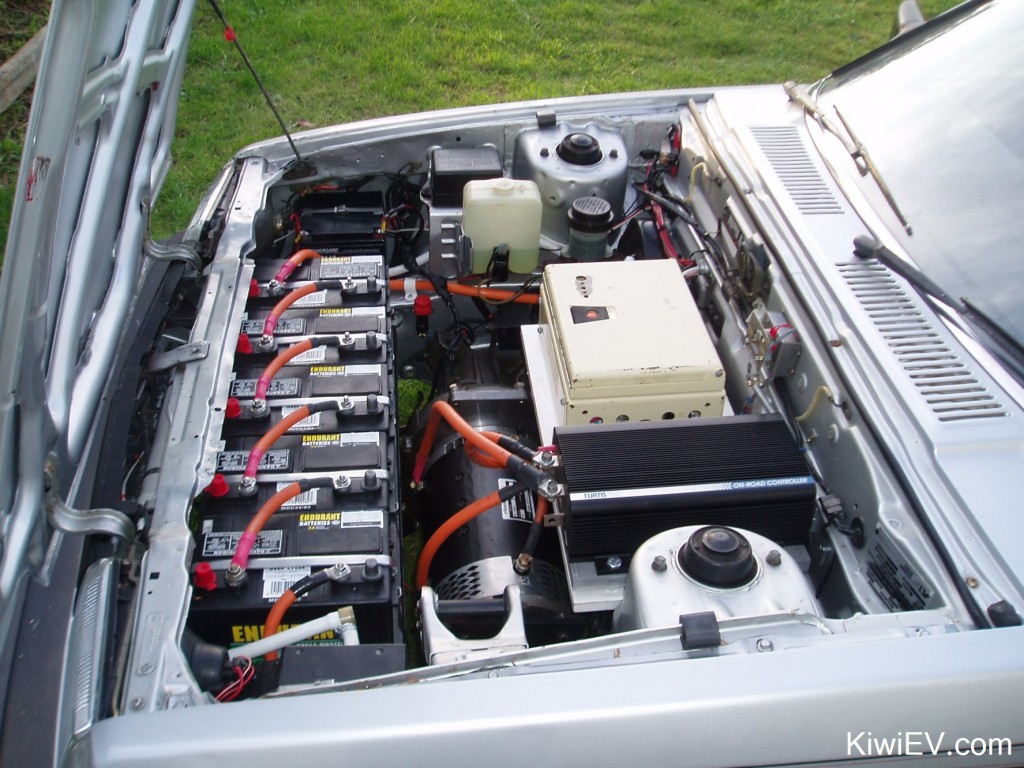
Here are some photos that survived: a picture of the electric car’s motor installed and wired up.
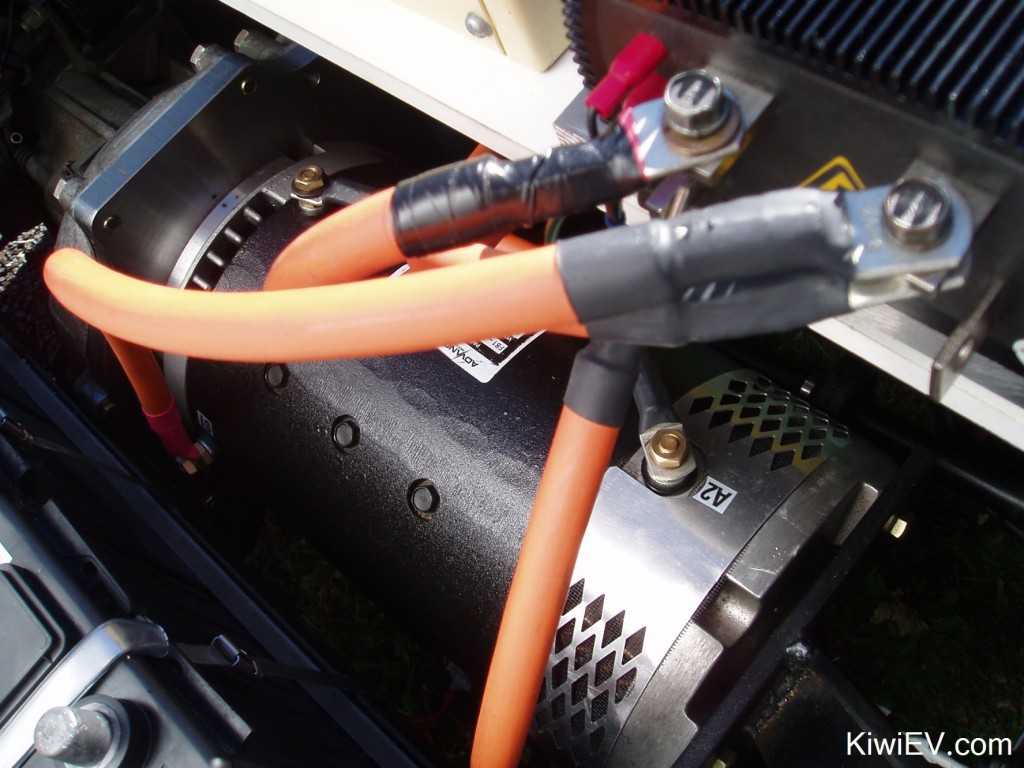
The electric car’s motor and controller
Here’s a photo which shows the Curtis 1231C controller connected while sitting on its elevated heat sink, which is just a slab of aluminium raised above the control board.
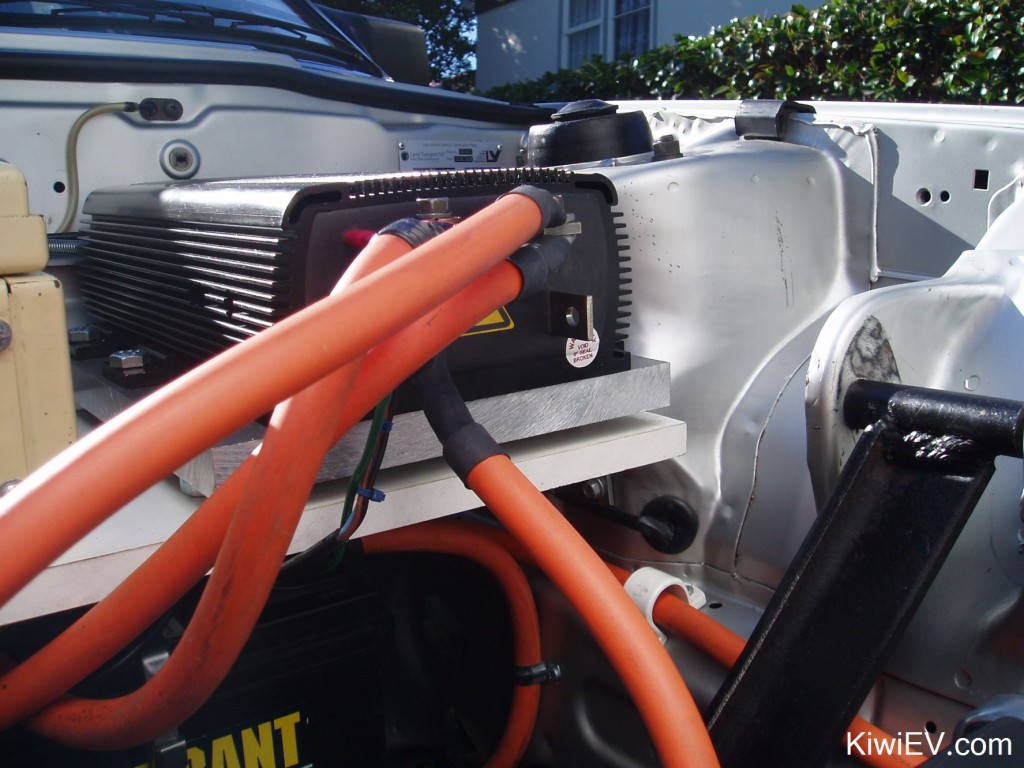
The controller on its aluminium heatsink
Now, enjoy the first video of the car’s trial run!
Now that the car works, it’s time to create the charging system.
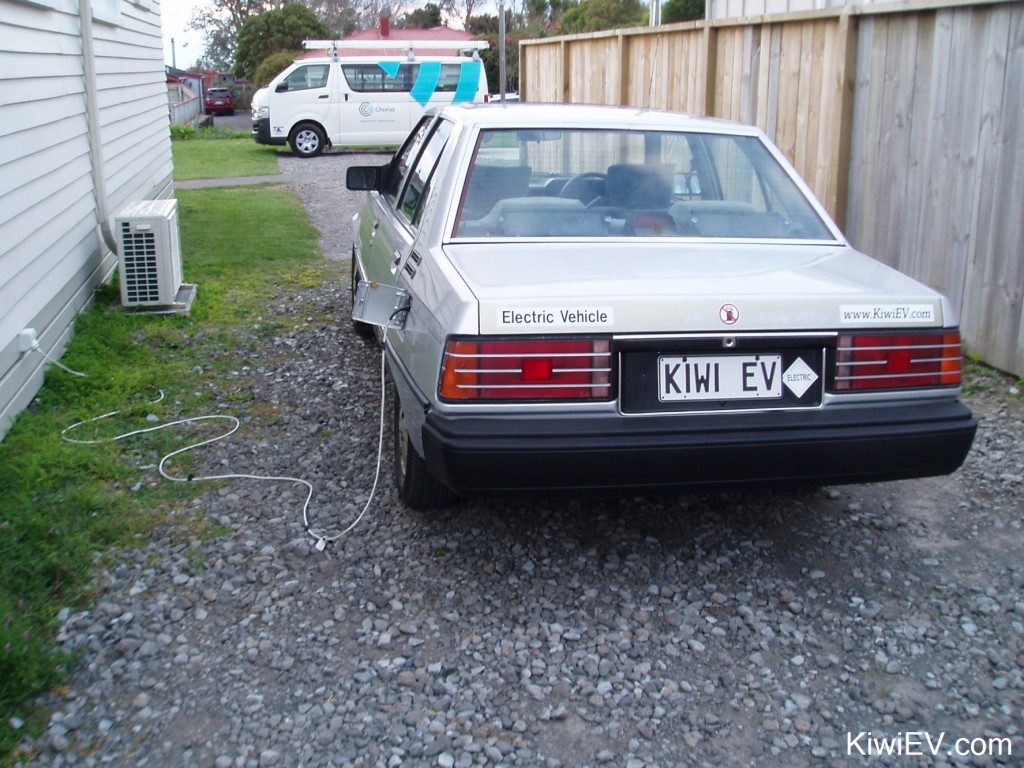
I have all the chargers I need now. I have twelve 3.5 amp Australian made Calibre chargers and will be charging each battery individually through the 28 pin plug installed where the fuel filler used to be.
I’ve chosen this method because it’s very cheap ($2000 cheaper than a single pack charger), and it allows every battery to be charged and balanced individually, without the need for an expensive battery management system. It’s a win-win for simplicity!
In this final stage of the conversion process, I’ll be transporting the car to Auckland (4.5 hours drive north) to have it’s final inspection done. After that, it will finally be roadworthy. That is of course if it passes the inspection! I can’t see any reason why it would fail but it’s not up to me. I’ll be having the car certified with John Brett Technology Ltd on the premises of VINZ which is located in Mt Wellington, Auckland. Because EV’s are a rare thing in NZ, there are only a handful of garages nationwide that can inspect and certify electric vehicles so there’s no way out of the big haul to Auckland!
It’s LEGAL!
I’ve had the chance to compile the latest video of life with the Tredia. It’s just a simple video of everyday driving and events throughout the small town of New Plymouth here in New Zealand. Check it out by pressing play!
General life with an electric car? It was just like any other car, but it didn’t need the gas stations!
I’ve had a few interesting occurrences while driving the car, especially in underground car parks where you just can’t hear the car when it’s coasting at low speed. The controller makes that “interesting” whining noise when you’re applying power at low speed, but as soon as you take your foot off the gas it goes into stealth mode! You have to keep your eyes open as people actually walk right in front of the moving car! It’s happened a couple of times so I’ve learnt to coast with my foot right above the brake pedal just in case!
Life has been carrying on since the conversion. I topped up the water in the batteries and have been turning heads regularly:
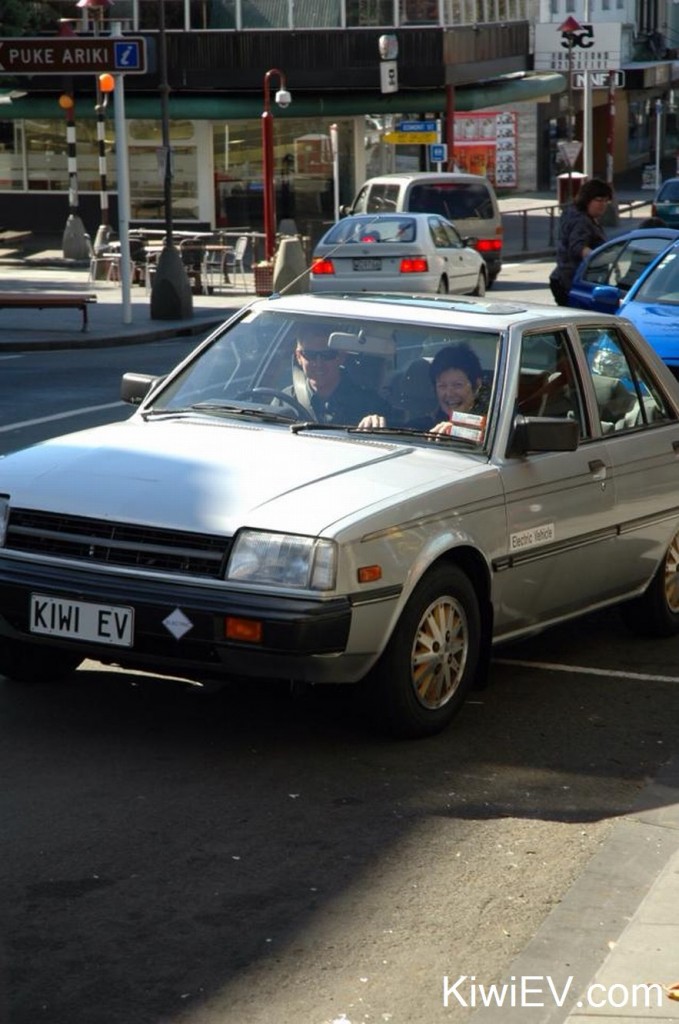
The electric car has been ferrying us around town for a year without any major issues. Here’s a photo of me taking my mum for a drive through New Plymouth city. I’m still not sure what was so funny!
We took it all over New Plymouth, in fact my ex ended up driving it more than me because I had a company van.
The car wasn’t completely without its problems. After a year it developed a scraping noise at the gearbox & motor coupler.
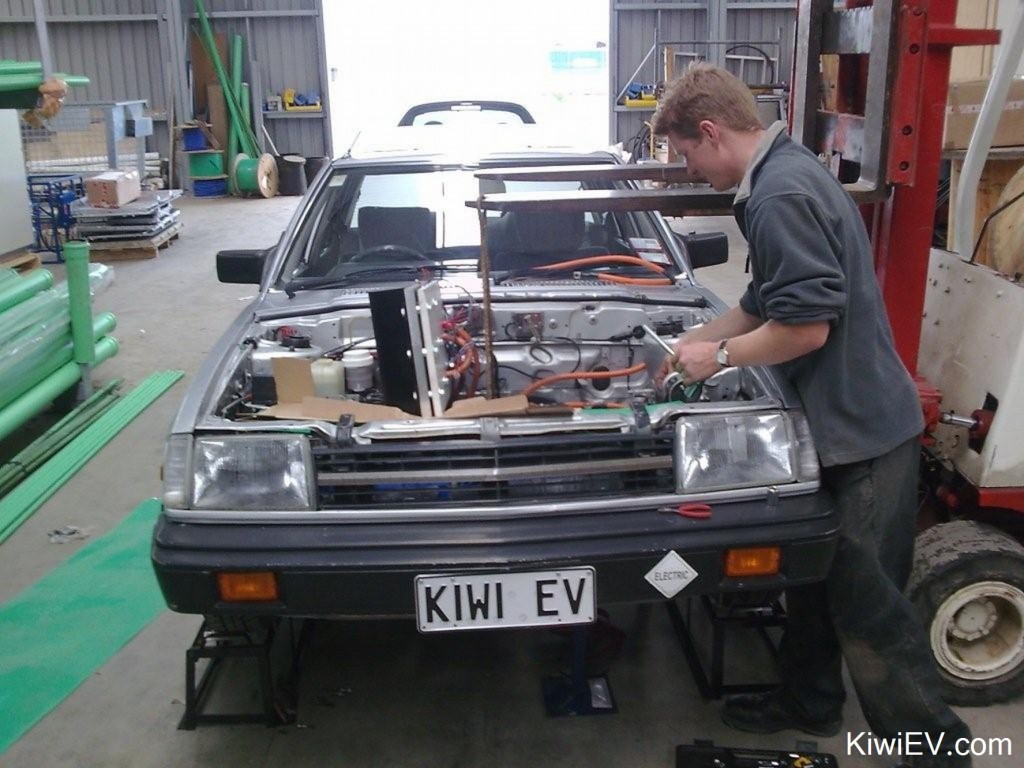
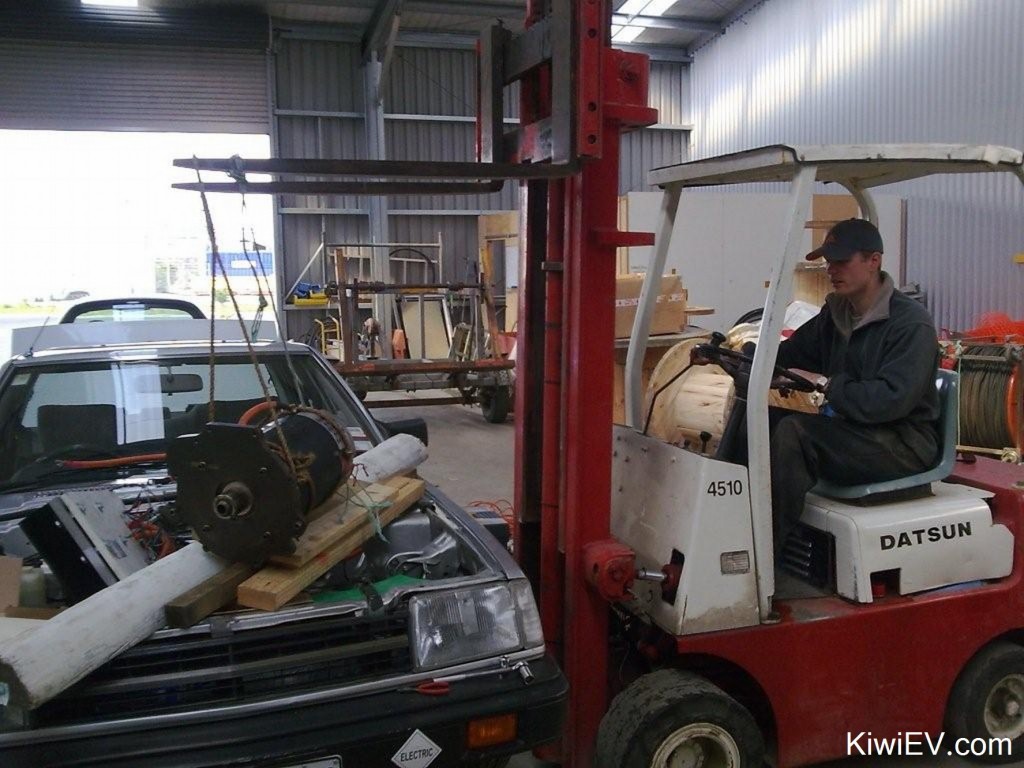
I had to take it to my work depot and use a forklift to lift the motor out to inspect the problem.
As this rare photo reveals, the coupler moved a couple of millimetres, developing a scraping noise. I moved it back, but it only solved the problem for a few days.
The car turned heads everywhere it went!
Life continued on as normal, although eventually, like all good things it came to an end in 2009.
Life “Between” electric cars:
After being without an EV for all those years, I got to drive another EV at last!
I would have to say that the experience from the electric car conversion was life changing, and in a really good way. The “EV fever” that I caught when converting the car has never gone away either. This meant that when I was in Auckland and met with fellow EV-nut Ross Webster he let me drive his iconic electric Fiat 126.
So that’s it.
That’s the story of the rise and fall of the original Kiwi EV electric car conversion.
In 2011 we moved to Slovakia to live (my ex-wife’s country) where I lived for seven and a half years (and owned another electric car, making heaps of new adventures) until I caught her sleeping with another man. It devastated me, but I got therapy, a divorce, learned to move on, and I’m very happy to be back in New Zealand, looking towards the future.
