I love going camping, but I don’t love leaving my creature comforts behind. So, to solve this problem, I’ll be installing a kitchen in my electric car!
The problem is… where to put it.
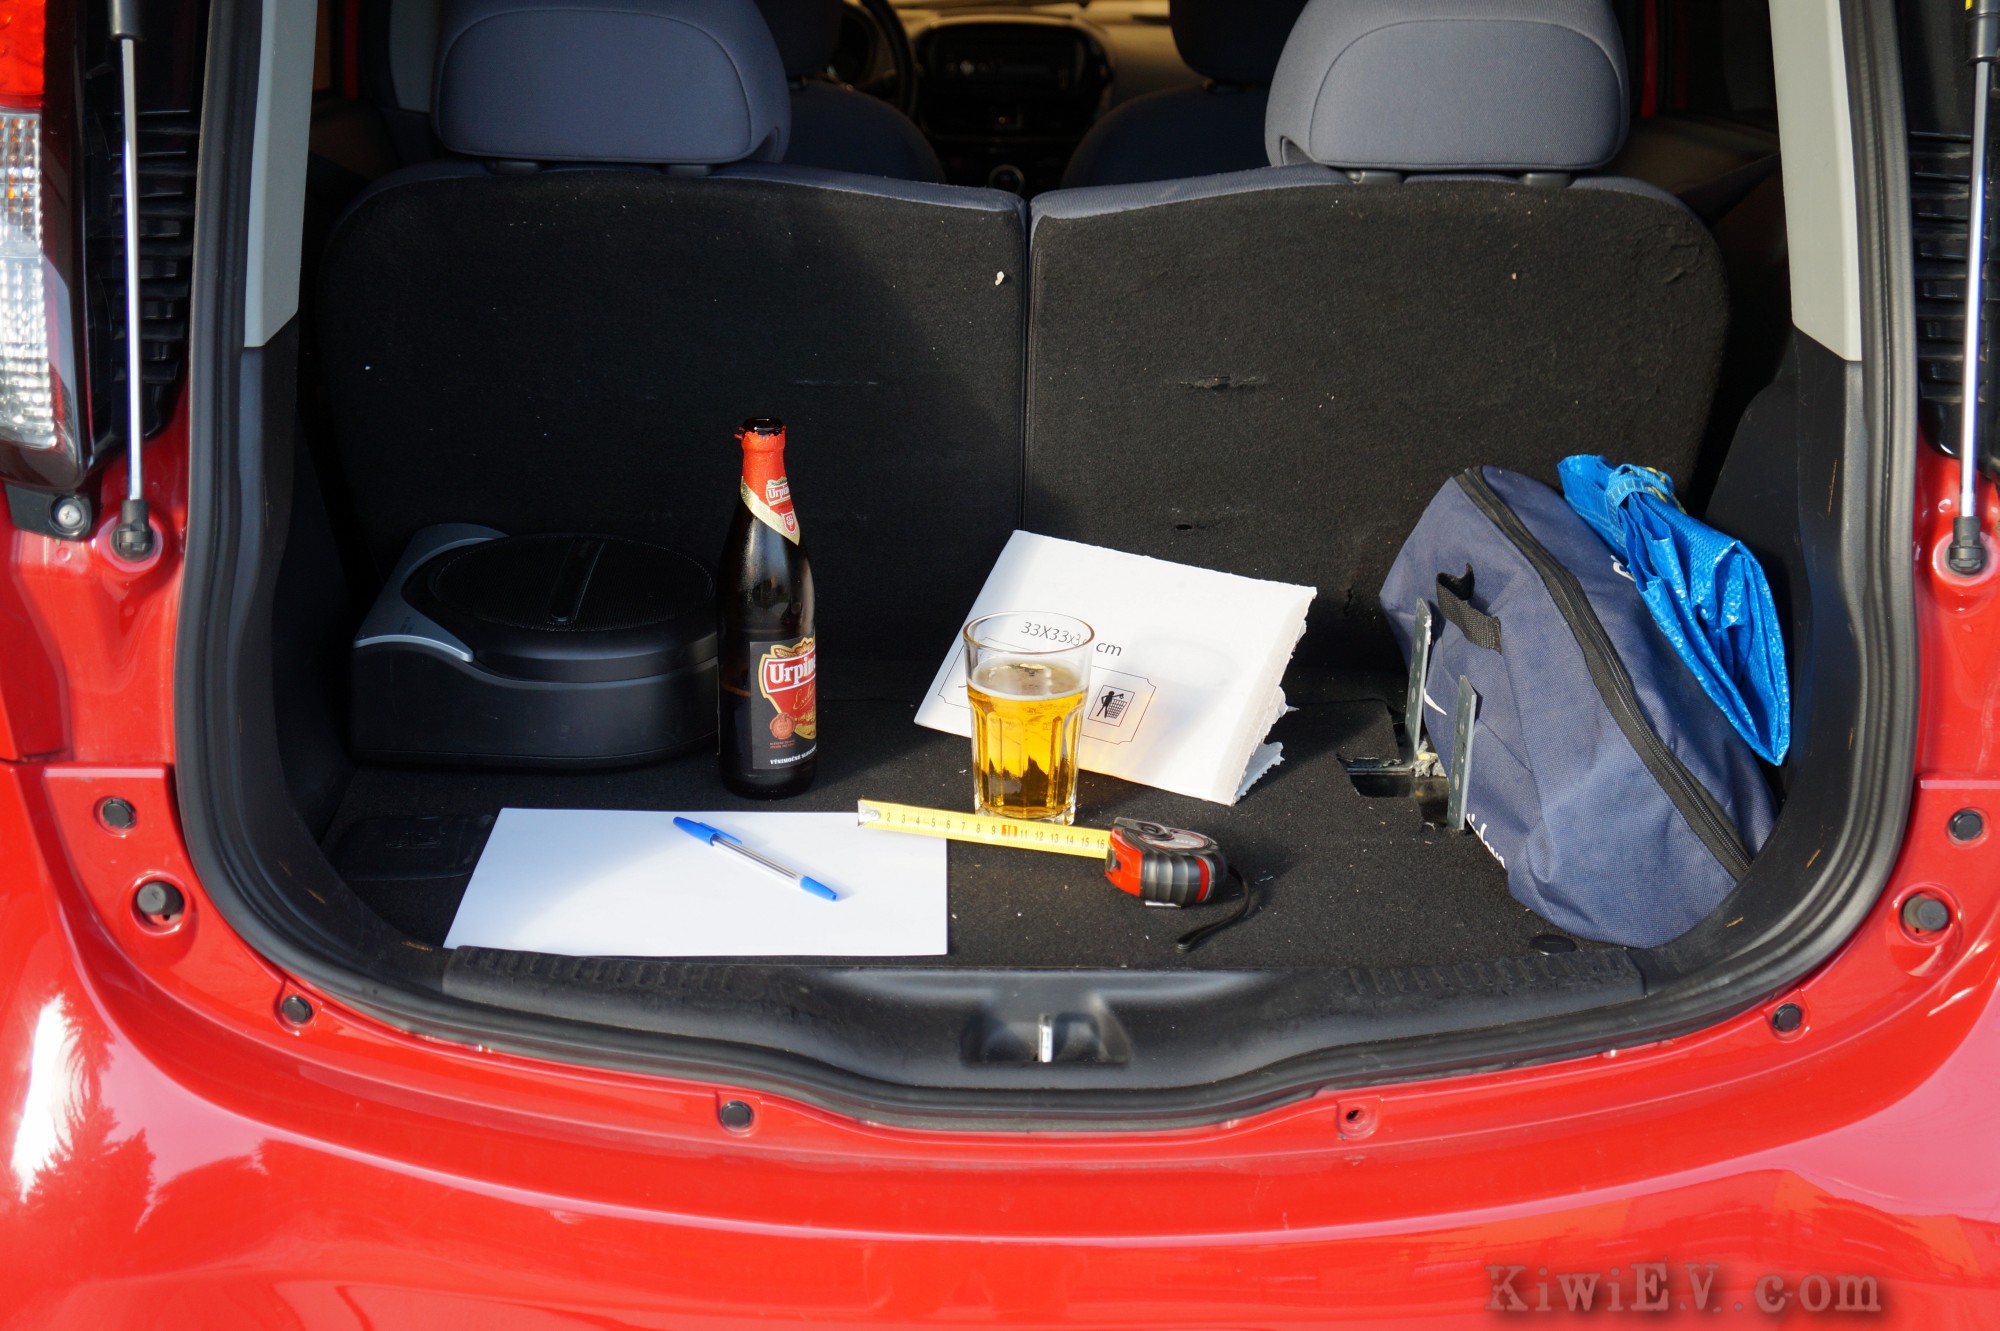
The world’s smallest kitchen?
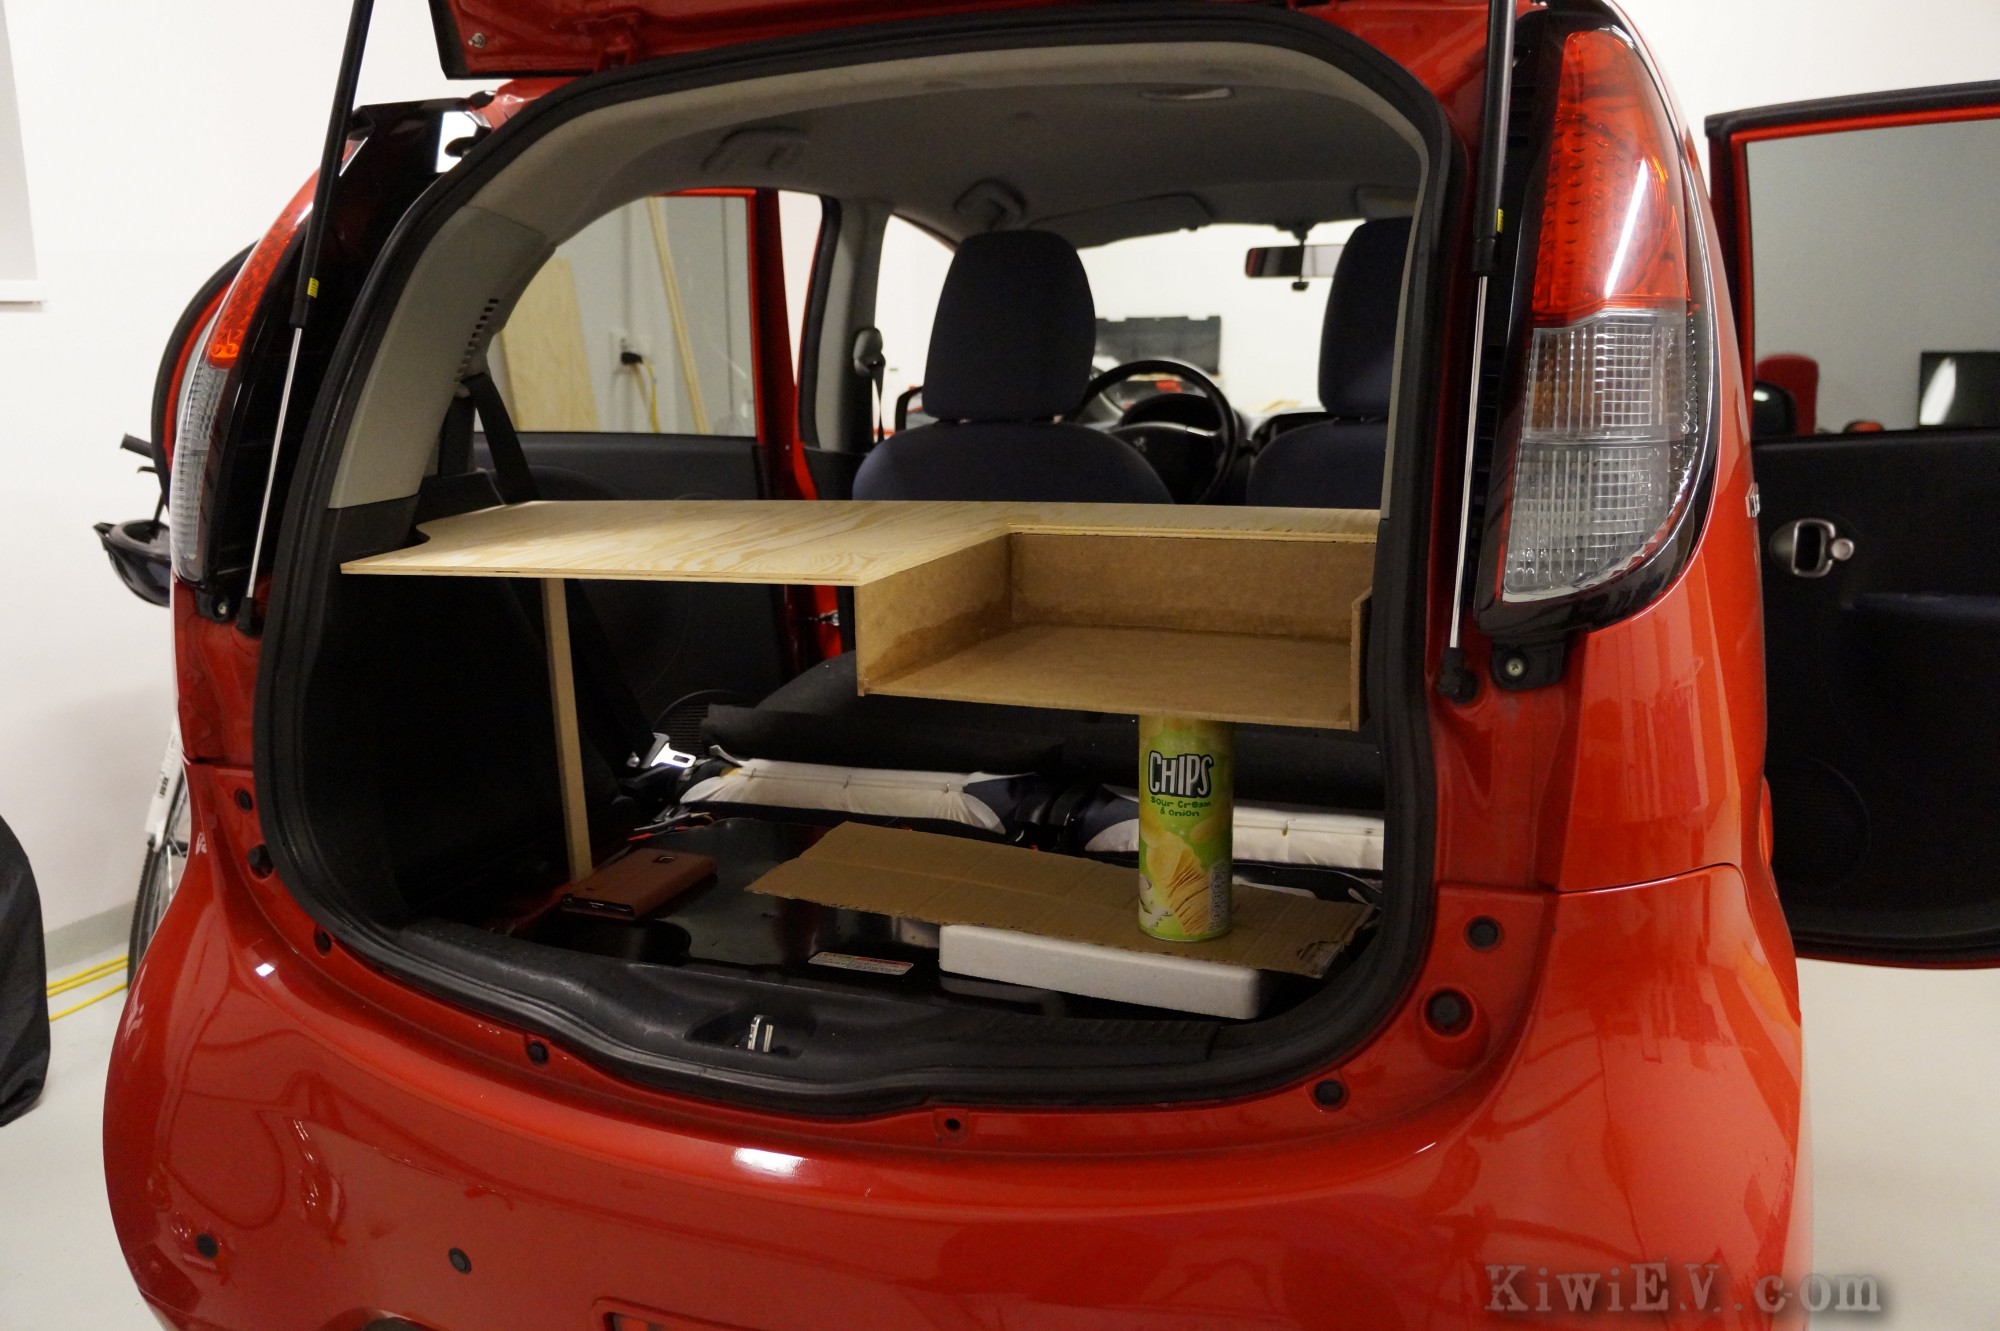
I realised that if I’m going to do this, I need to do this properly, with all the creature comforts of home. The problem is… the size of the boot in the Peugeot iOn electric car is – there’s no other word for it – tiny. The car’s inverter and electric motor are right under the car’s rear luggage area which results in a fairly high floor, and a cramped space.
Just like the Tesla rear-facing seats!
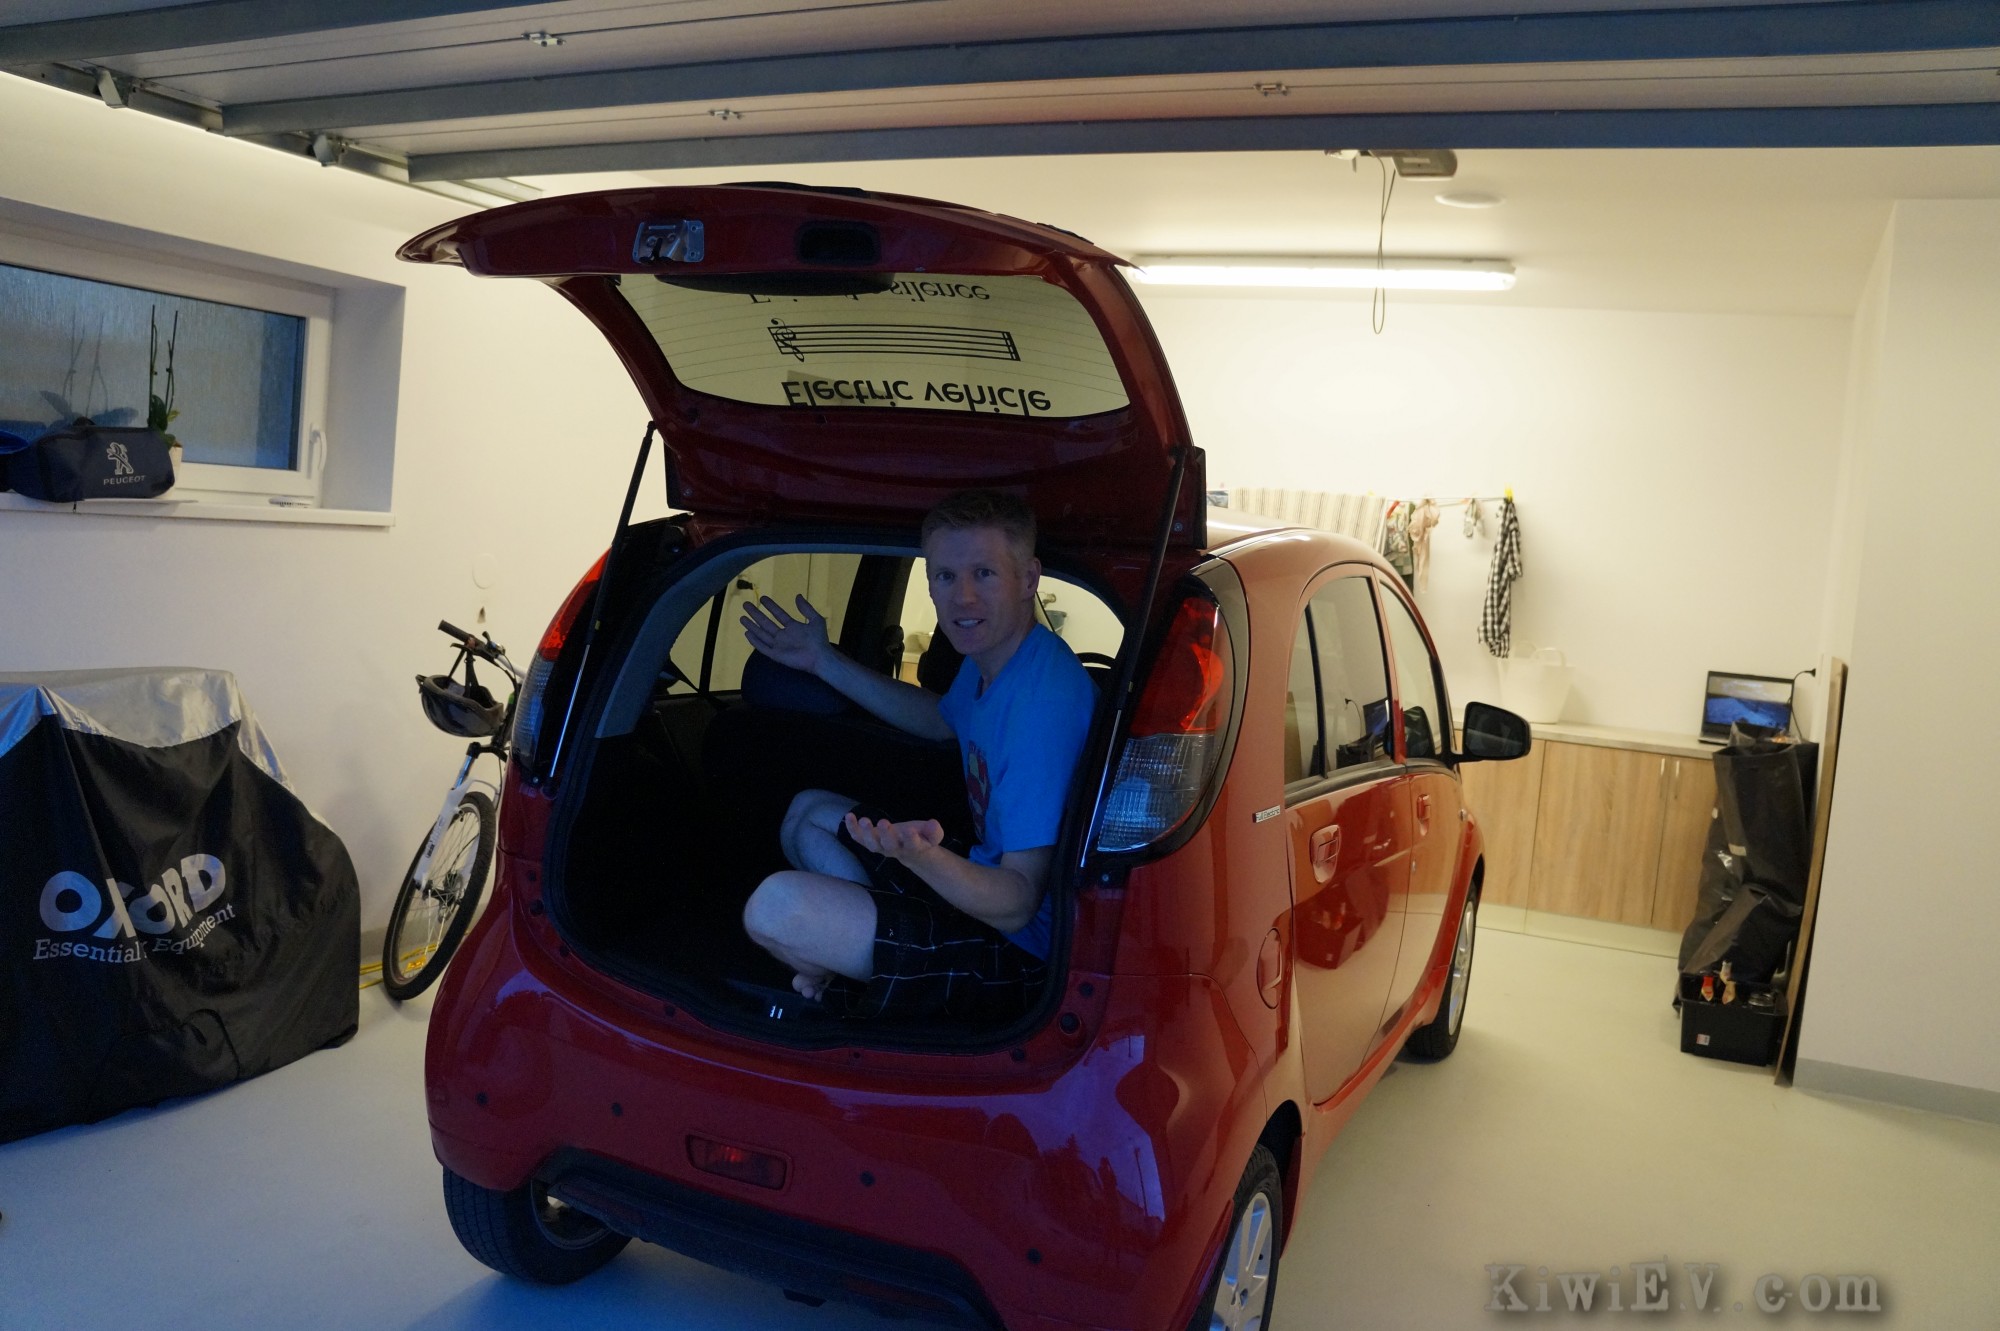
See? I wasn’t kidding. That rear luggage space is microscopic. How on earth will I fit a cooker, refrigerator, sink, faucet, fresh water and waste water tanks in there? Most importantly, how will I do it tidily?
This is going to be one heck of a jigsaw puzzle.
Undeterred by these challenges, I cued the A Team music and got busy in the garage, measuring and juggling, in order to make one of the smallest usable kitchens in the world.
As I mentioned, I wanted to have a fully-functional kitchen because, as embarrassing as it is to admit it, I’m a city boy who’s not a big fan of ‘camping food’: That means I don’t want to find myself crouching on the dirt, reheating baked beans on dry bread. No thank you.
I’d rather have lovingly prepared meals of freshly steamed vegetables and ravioli with grated parmesan and stewed tomato paste with capers and olives, followed by pan-fried crepes with fruit compote & cream for dessert – along with freshly brewed coffee, of course. Now, the problem with camping – and I mean real camping – is that these sorts of culinary delights are left at home.
Well, not if I get my way…
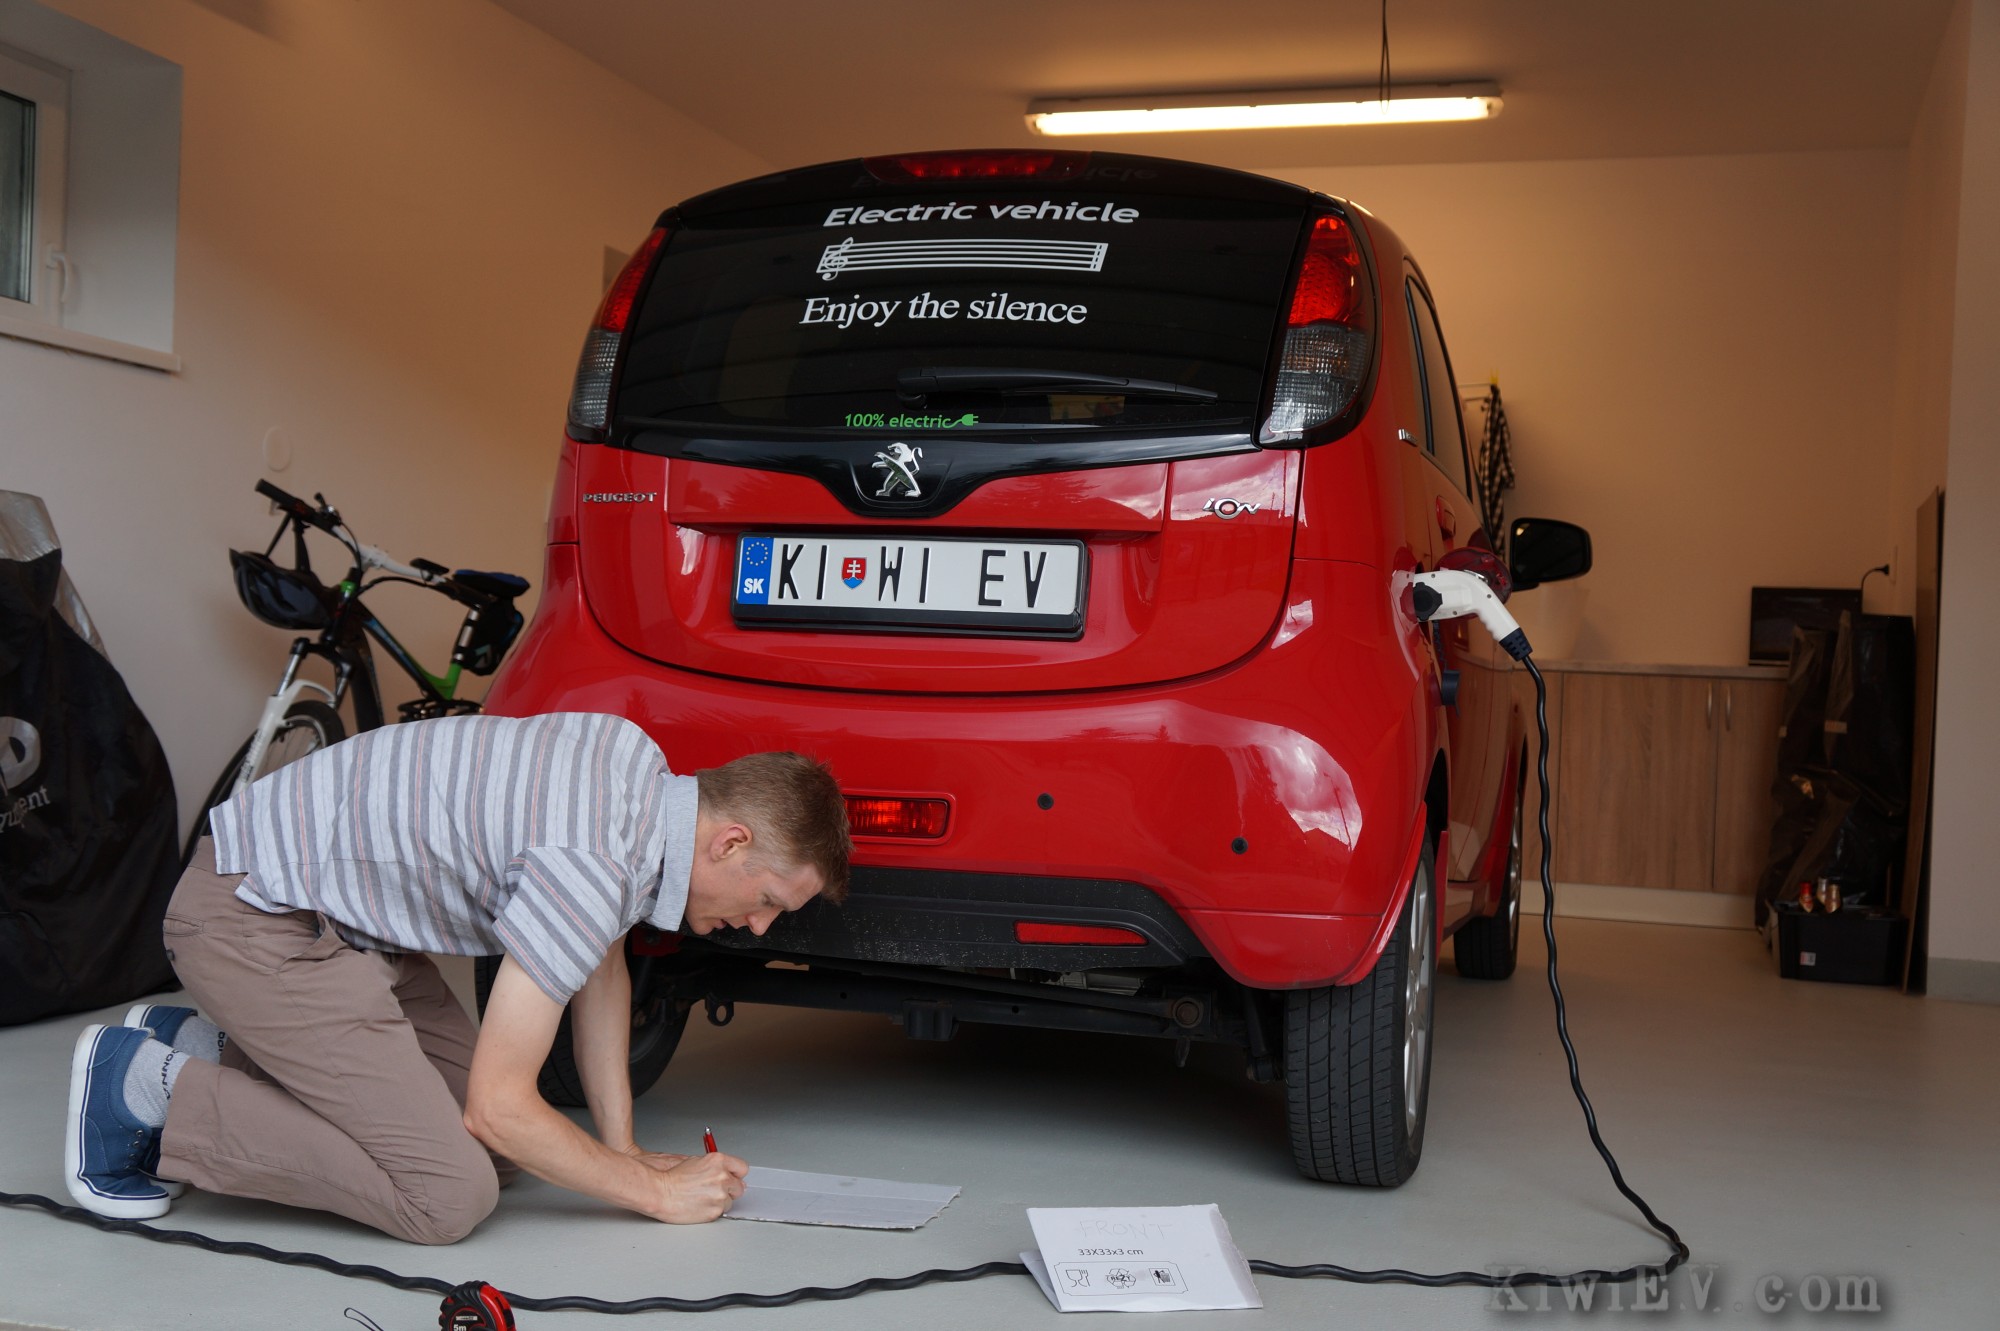
The world’s worst location for a kitchen…
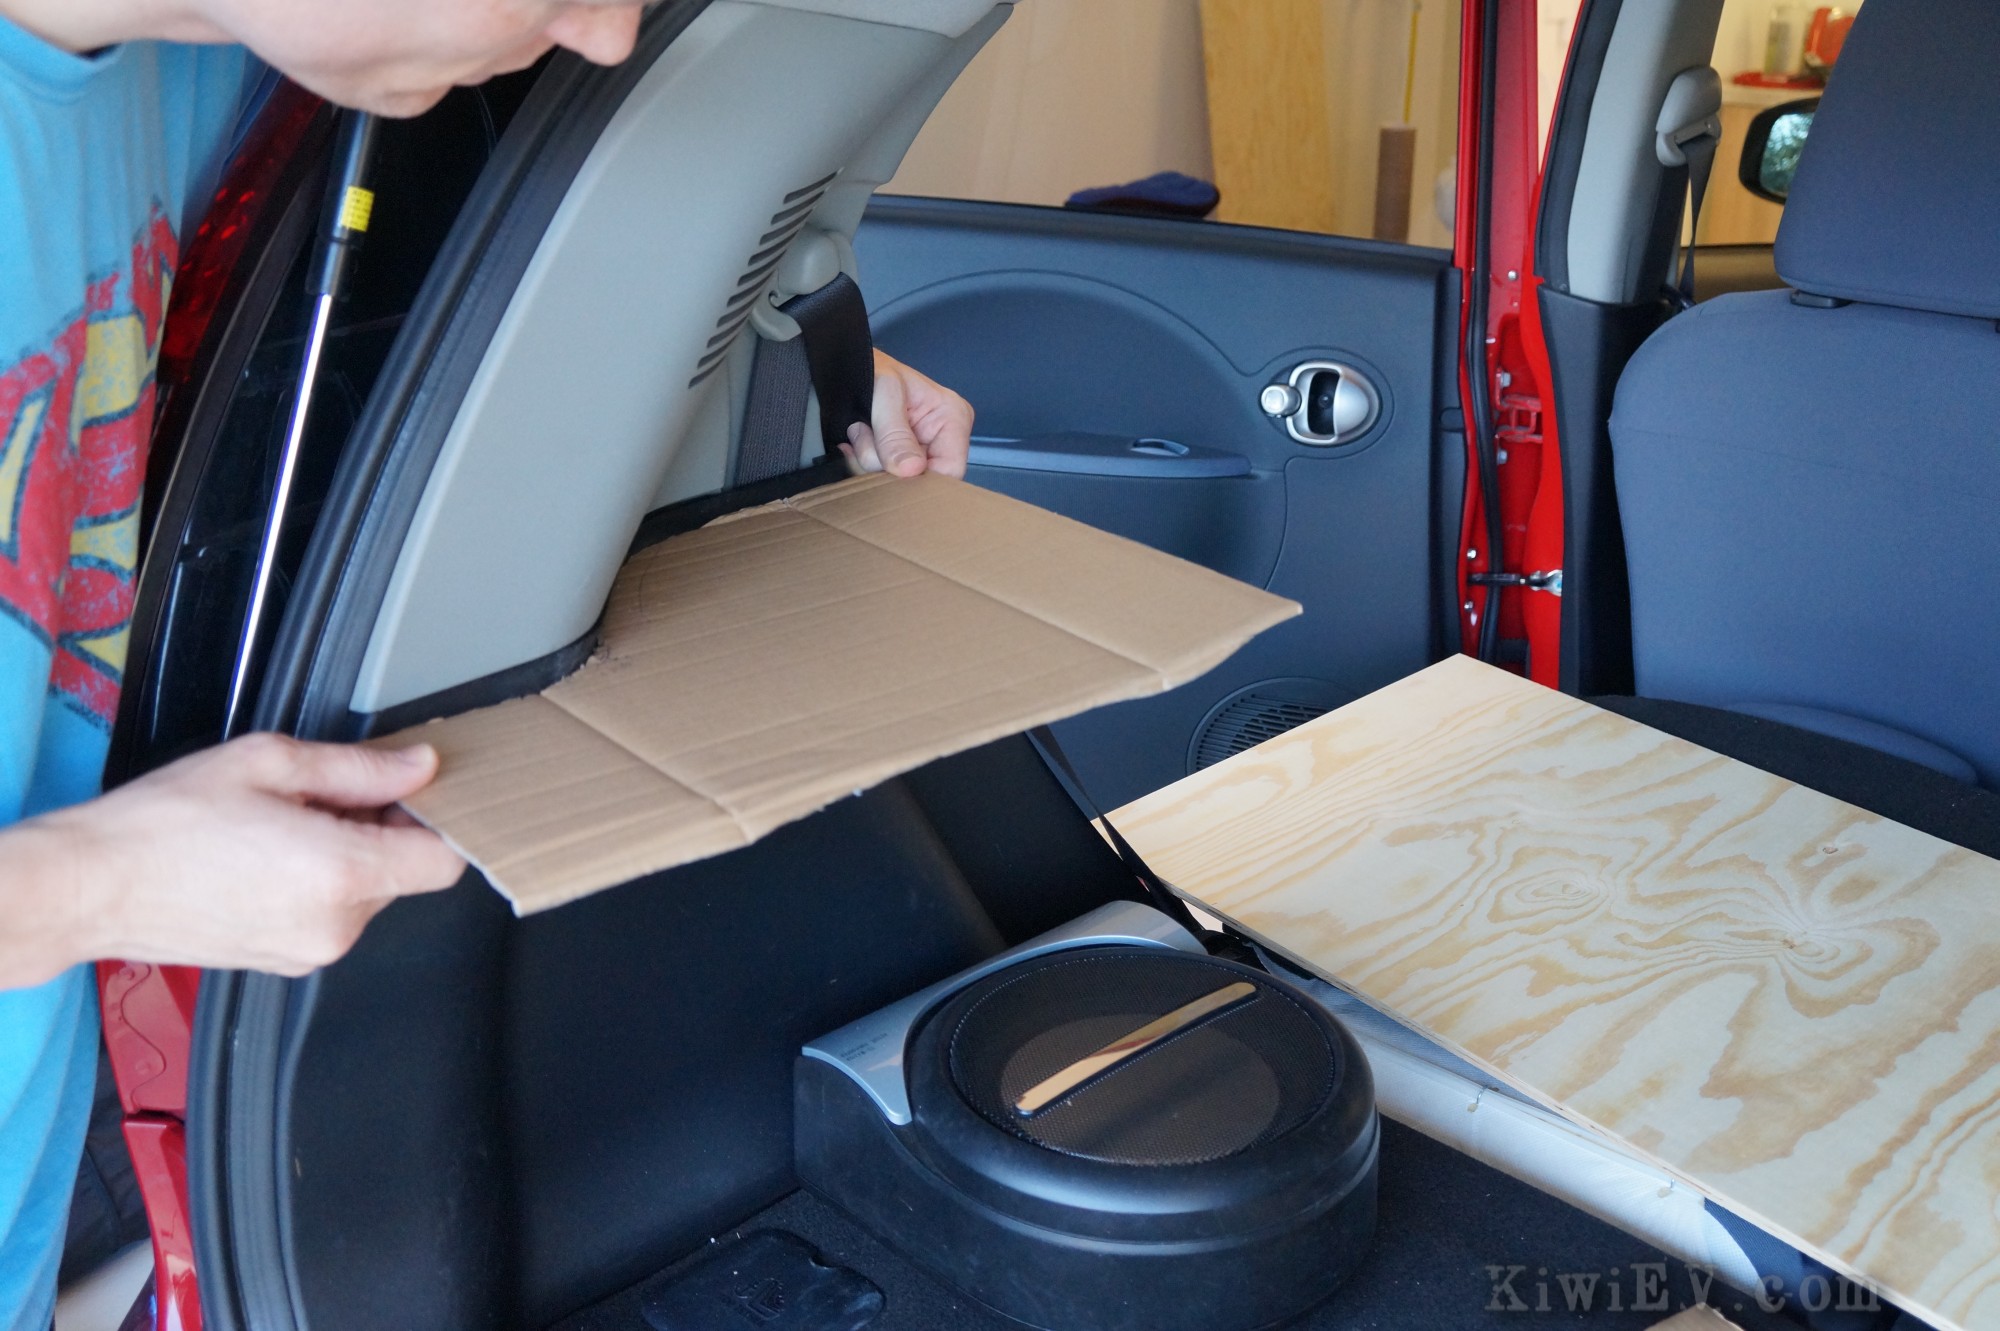
Once I’d measured out the dimensions, I started tracing the contours of the car’s boot. I’ll be honest: this was a pain in the butt because the boot (or trunk, if you’re a yank) in the Peugeot iOn (actually a Mitsubishi iMiEV in drag) is smaller than an IKEA ice cream. But, I had to get started because the first of my new toys had already arrived!
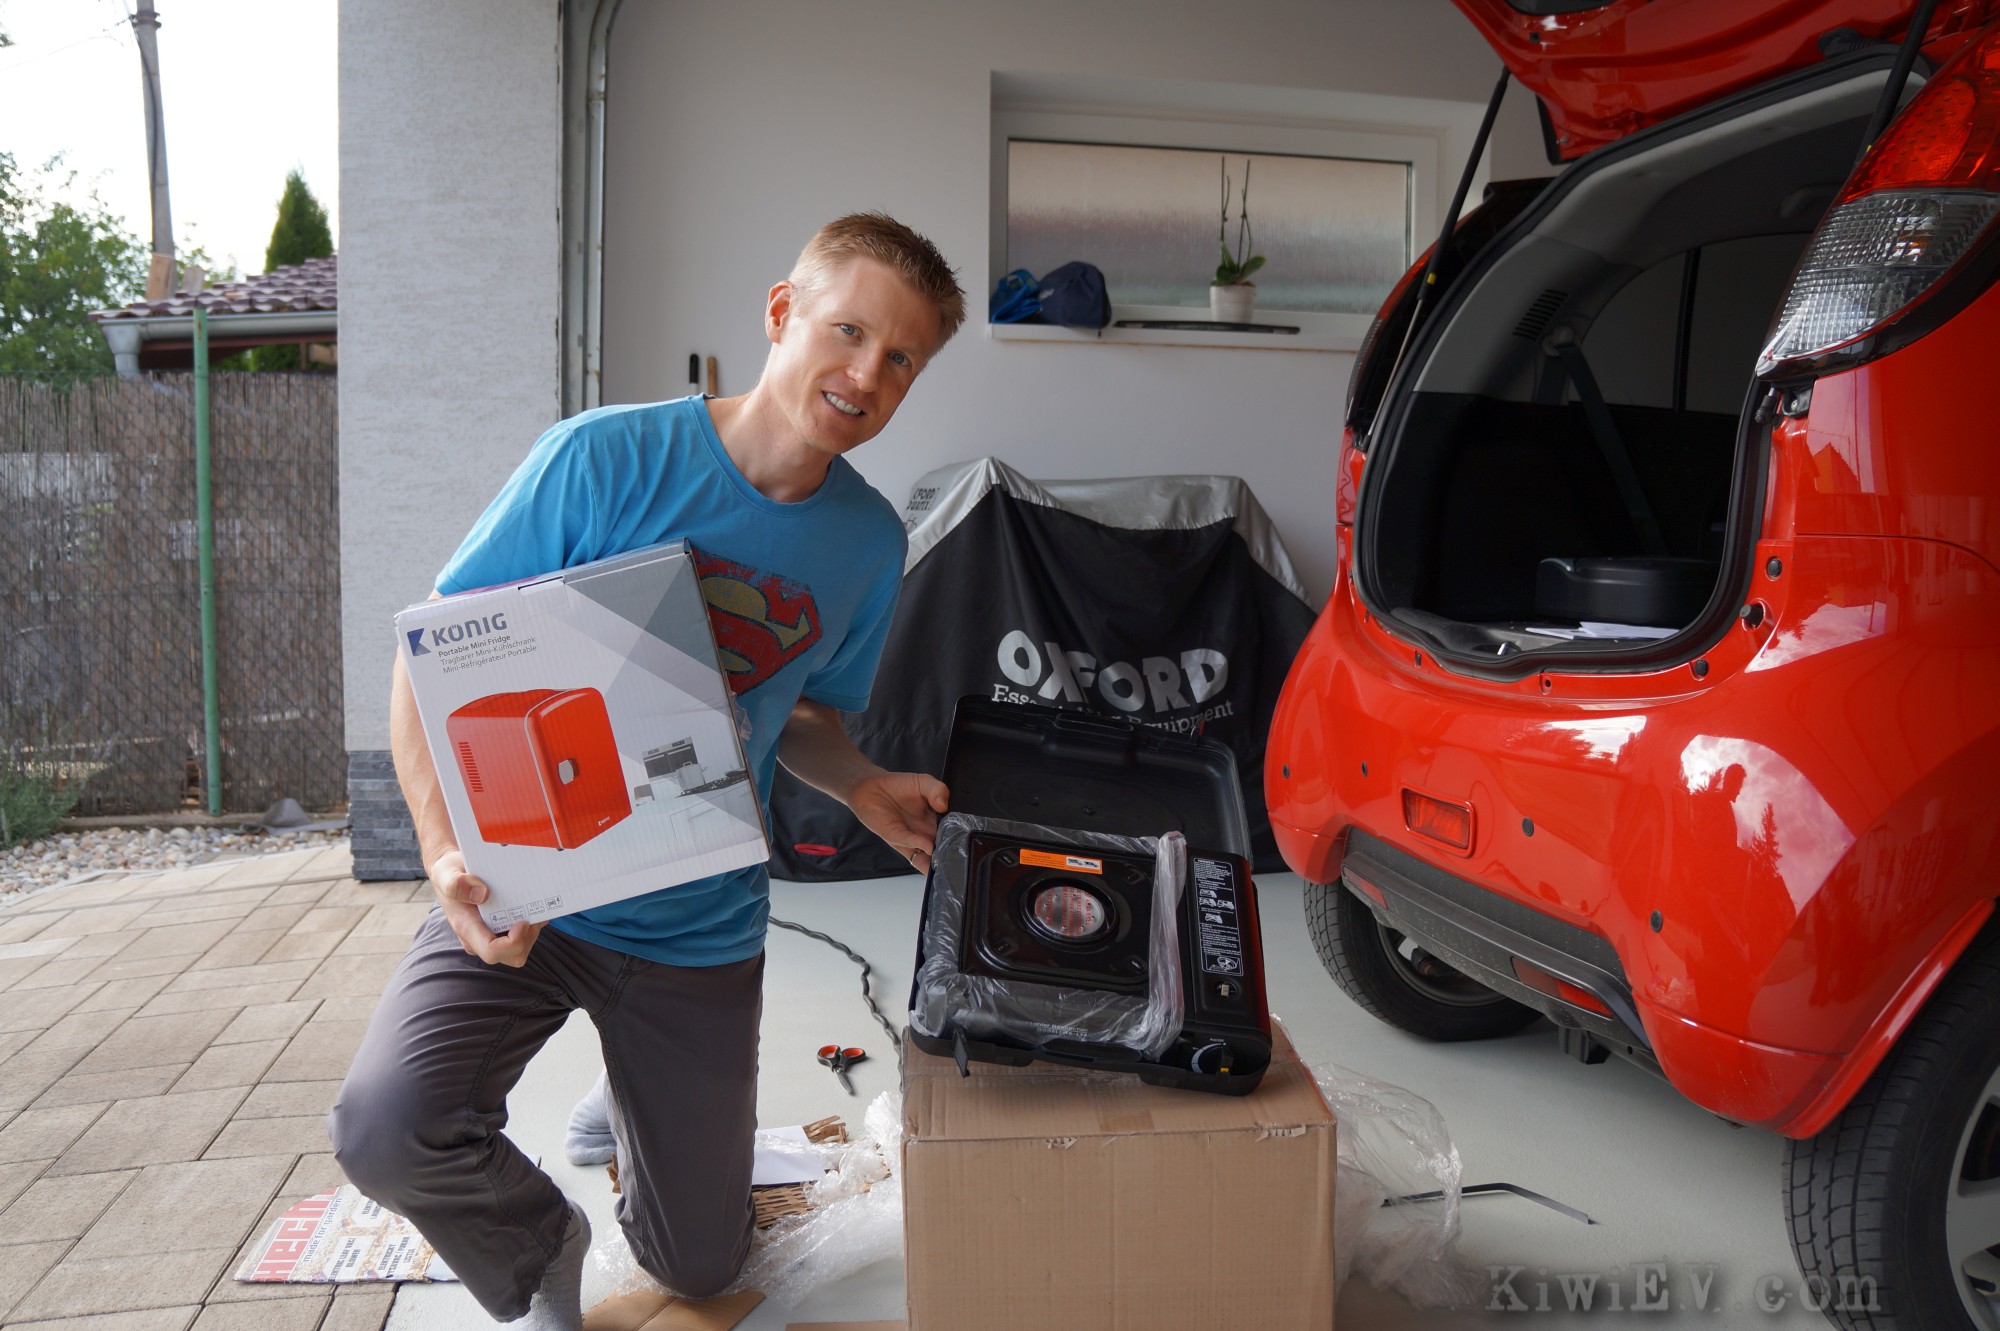
The camping fridge and gas cooker arrive!
My tiny 12 volt fridge and my portable butane gas cooker were delivered by courier. This was good, because I needed them to work out their exact dimensions and how they’d fit into the car.
Progress on my car kitchen!
Because I wanted the car kitchen to be as close to a house kitchen as possible, I lowered the level of the gas cooker to be flush with the bench top. It was partially for aesthetics, but also for safety as I’m somewhat terrified of having open flames in the car, which is a rational, healthy fear. This means I paid a lot of attention to where the heat from the flames would be in relation to the car’s interior, and where I should position things during construction.
The result was the cooking area being lower and further away from the car’s ceiling than the rest of the kitchen area. Also, I ensured there was room for my fire extinguisher to always be nearby, though basic caution and common sense should mean I’d never need it. Anyway, enough of the doom & gloom; it’s time to install stuff!
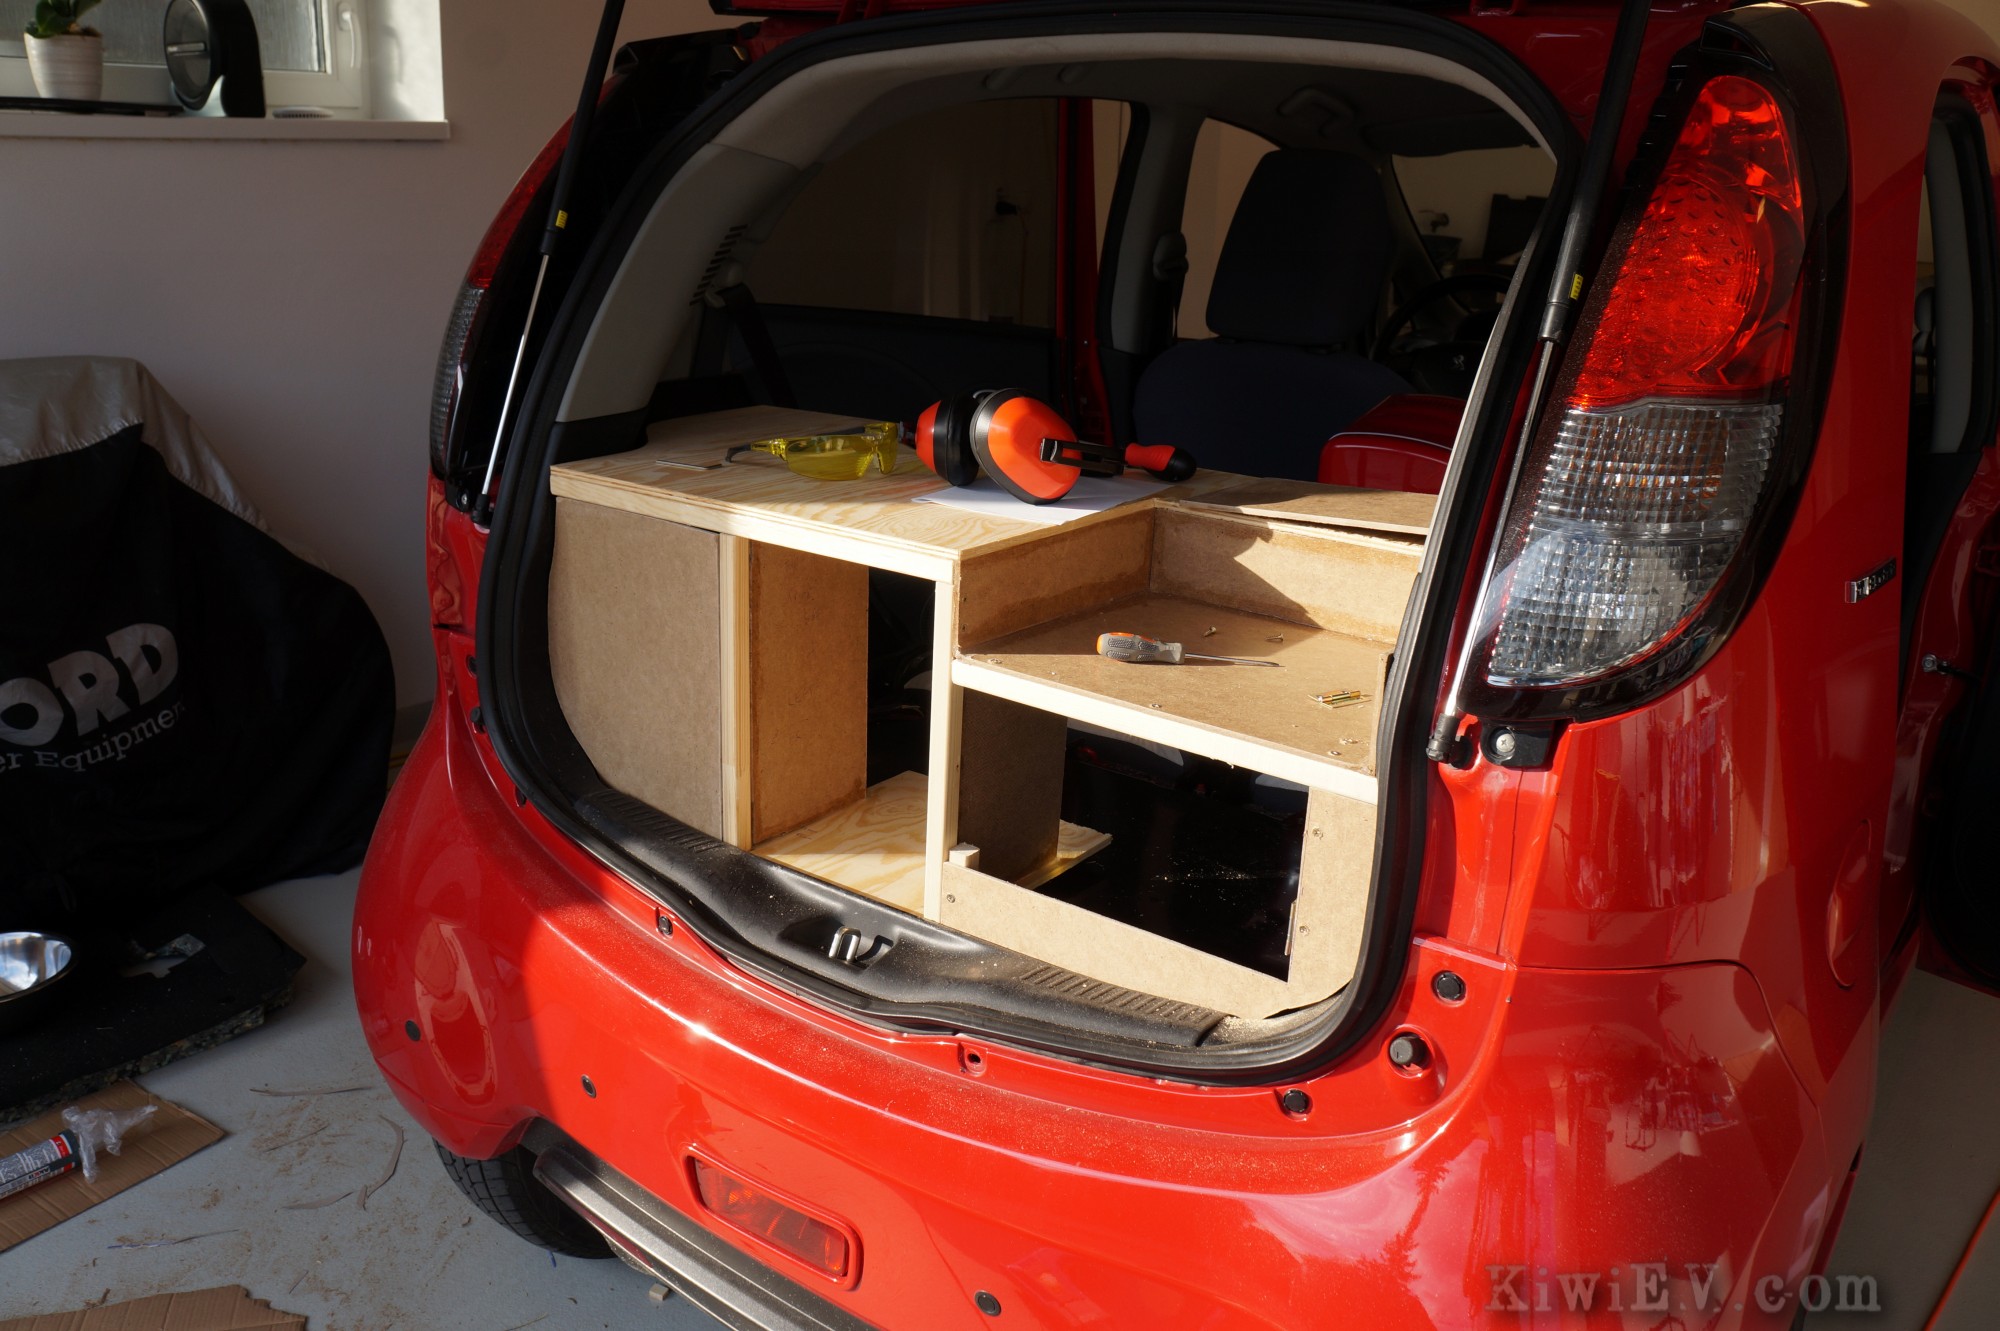
Car kitchen progress!
It’s actually coming along really nicely! Now, at this point I must explain that I am by no means a craftsman. None of the joinery I’ve created is perfect, but the entire structure is holding together strongly and it looks fairly acceptable (from a distance, at least).
I’ve been busy cutting out and installing the cabinetry, and in that time I’ve learned that hinges are the tool of the Devil. My god, hinges are an utter nightmare, created by the spawn of Satan. I must have spent two hours lying on the ground, trying desperately to align the damn hinges. If I never have to install a hinge again it’ll be too soon.
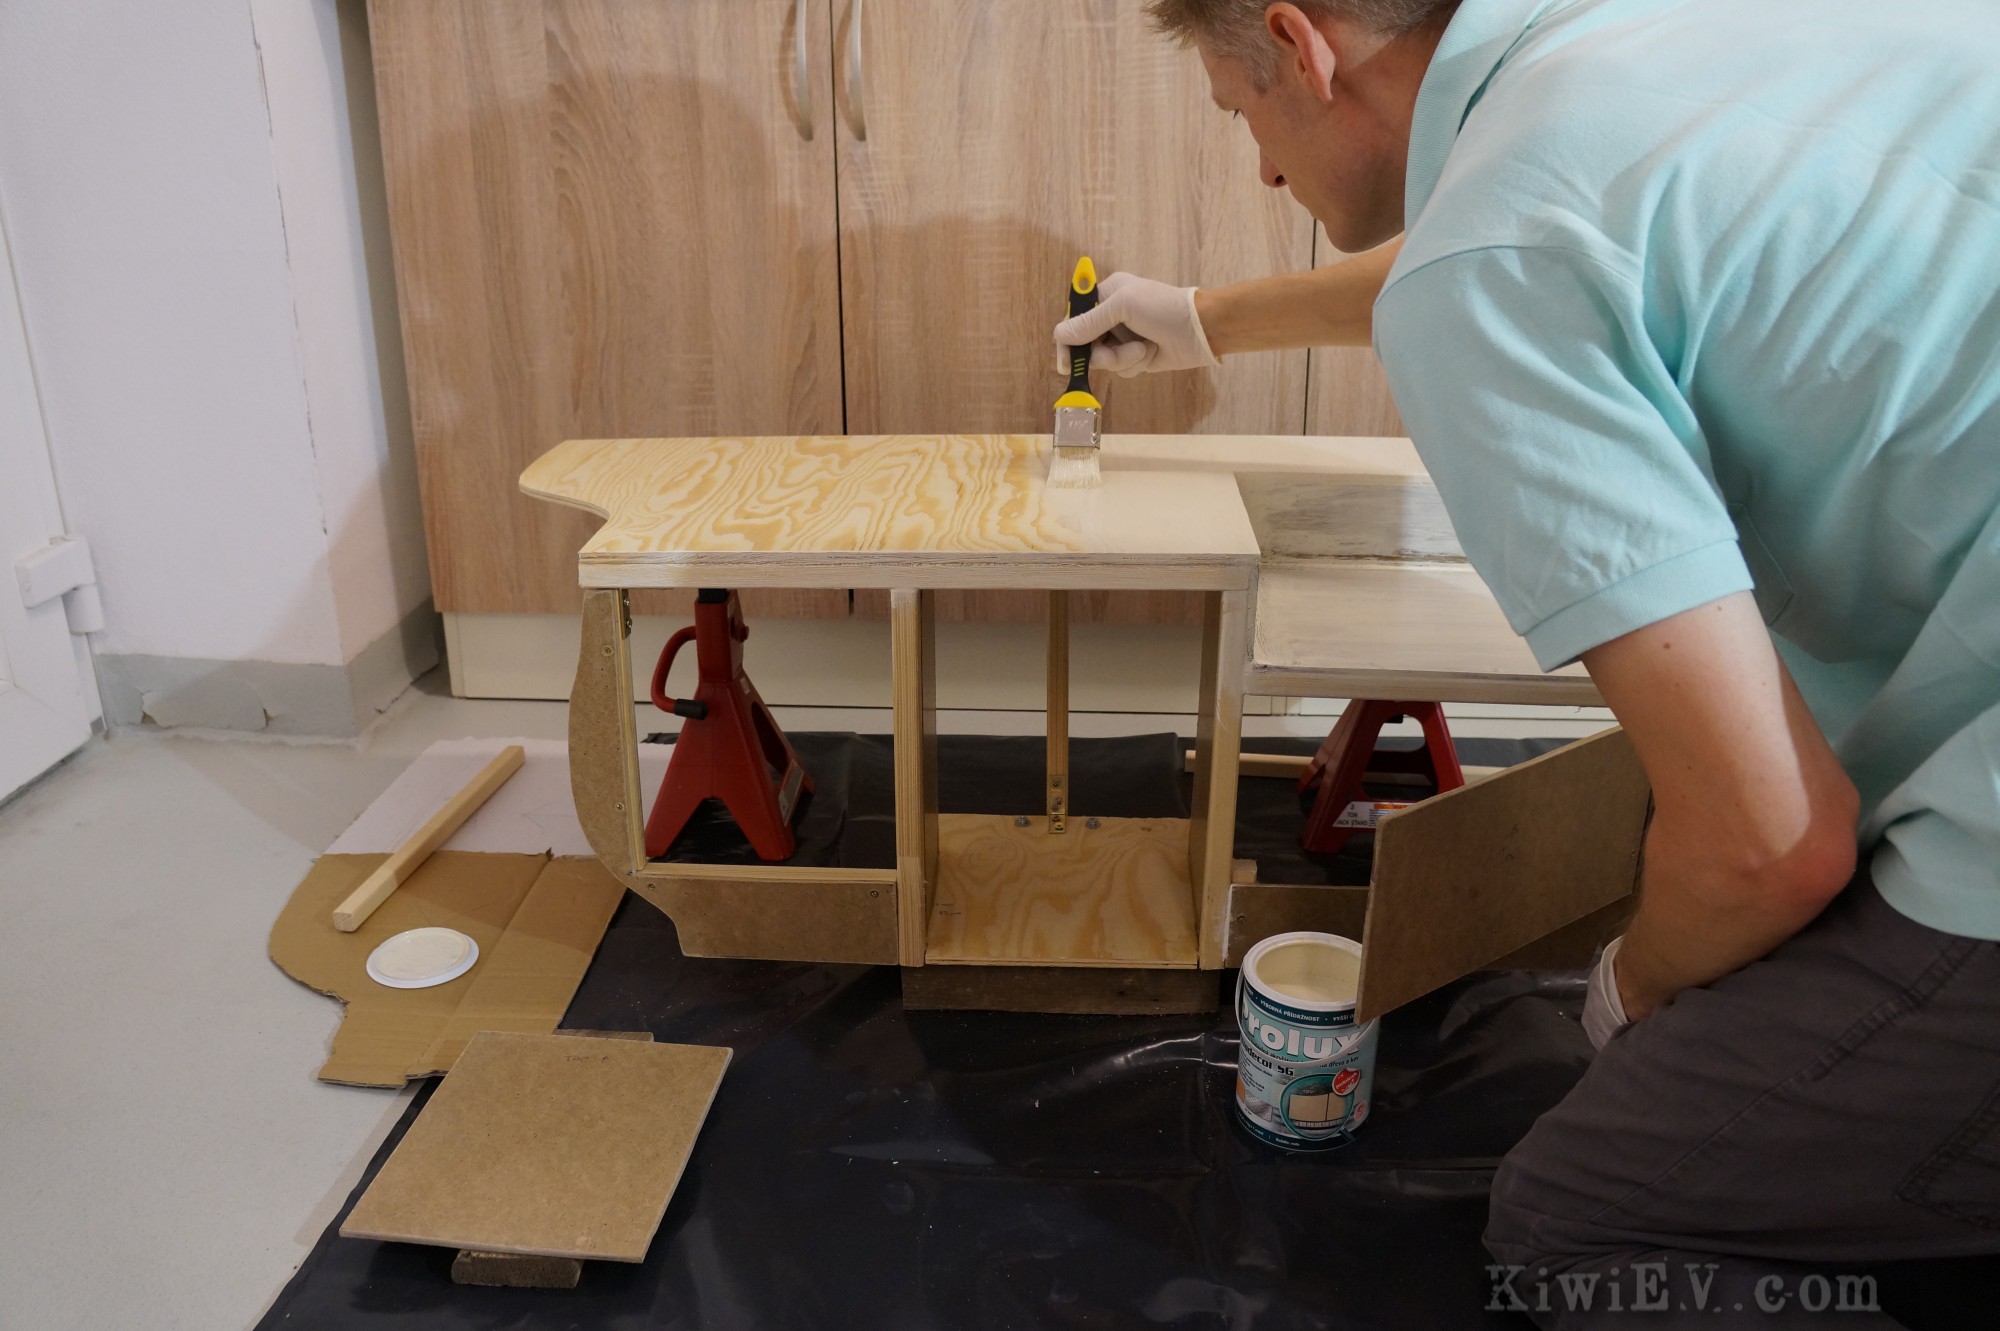
Painting the car kitchen
With the cabinetry mostly installed, I began giving the wooden frame a coat of paint. I did this to help me see where any imperfections may be, but also to give the final vinyl laminate coating something to stick to.
The thing is, I want the final bench top to look just like a real kitchen, so I bought a few metres of adhesive wood-grain laminate to adhere to the car-kitchen counter top, so that it’ll look just like it came from a modern home.
Installing a sink in the car kitchen.
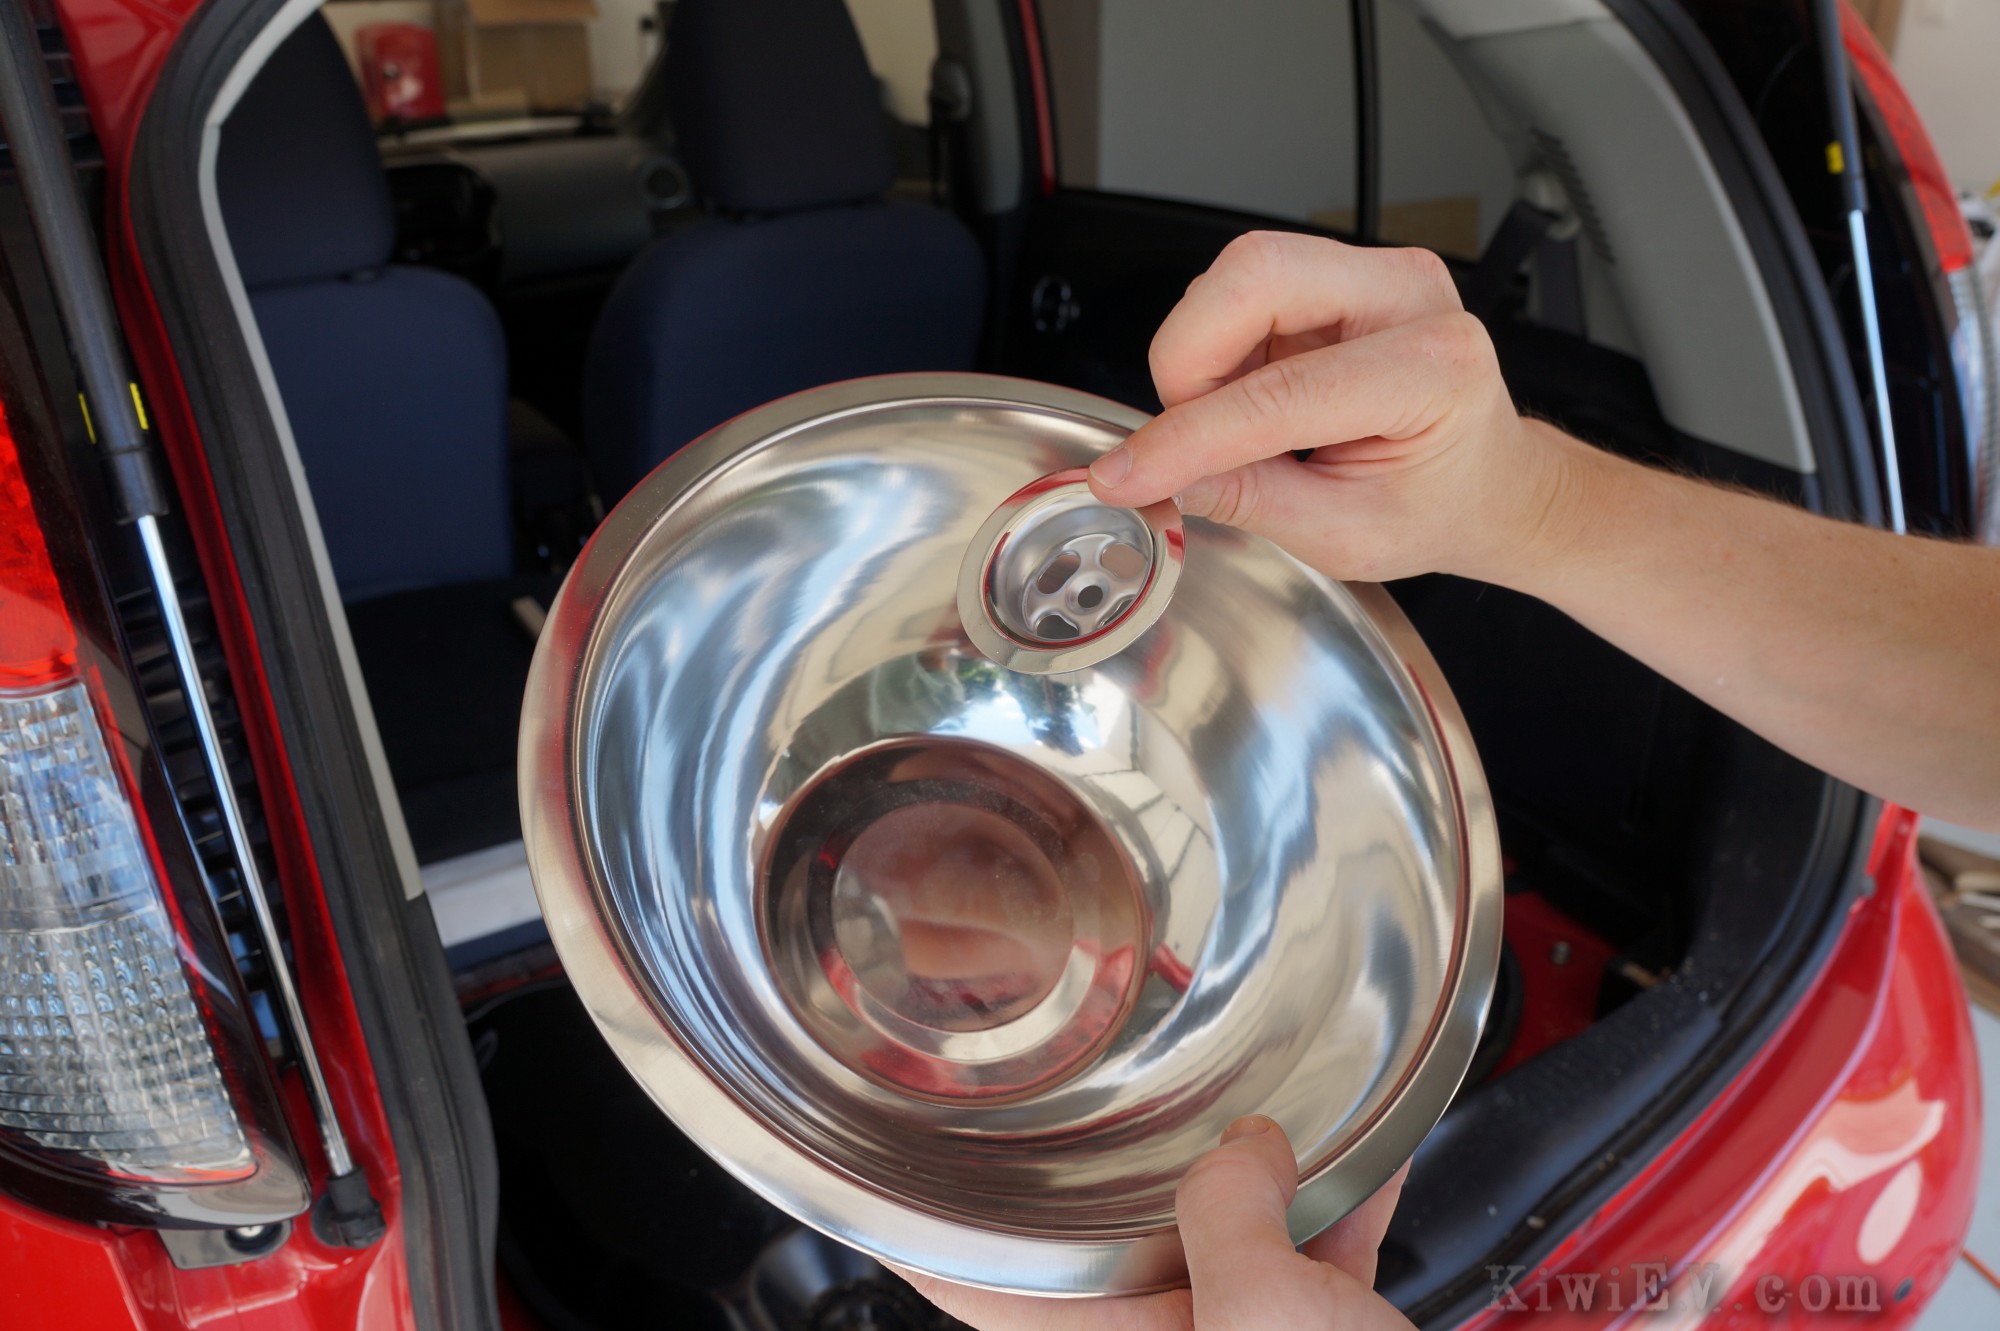
But first I need to install a sink! I bought a $3 stainless steel bowl from the supermarket and a $1 plug hole from the hardware store and joined them together with a combination of drilling and rubber sealant, as you’ll see in the video at the bottom of the page. Then, I placed everything outside in the sun to speed up the drying process.

A sun-dried car kitchen
Before cutting the hole for the sink, I carried everything out of the garage and placed it on the paving stones in the hot summer sun. In the meantime, I went around the structure with a tube of silicone rubber sealant, giving it a little extra strength and flexibility.
Installing the sink
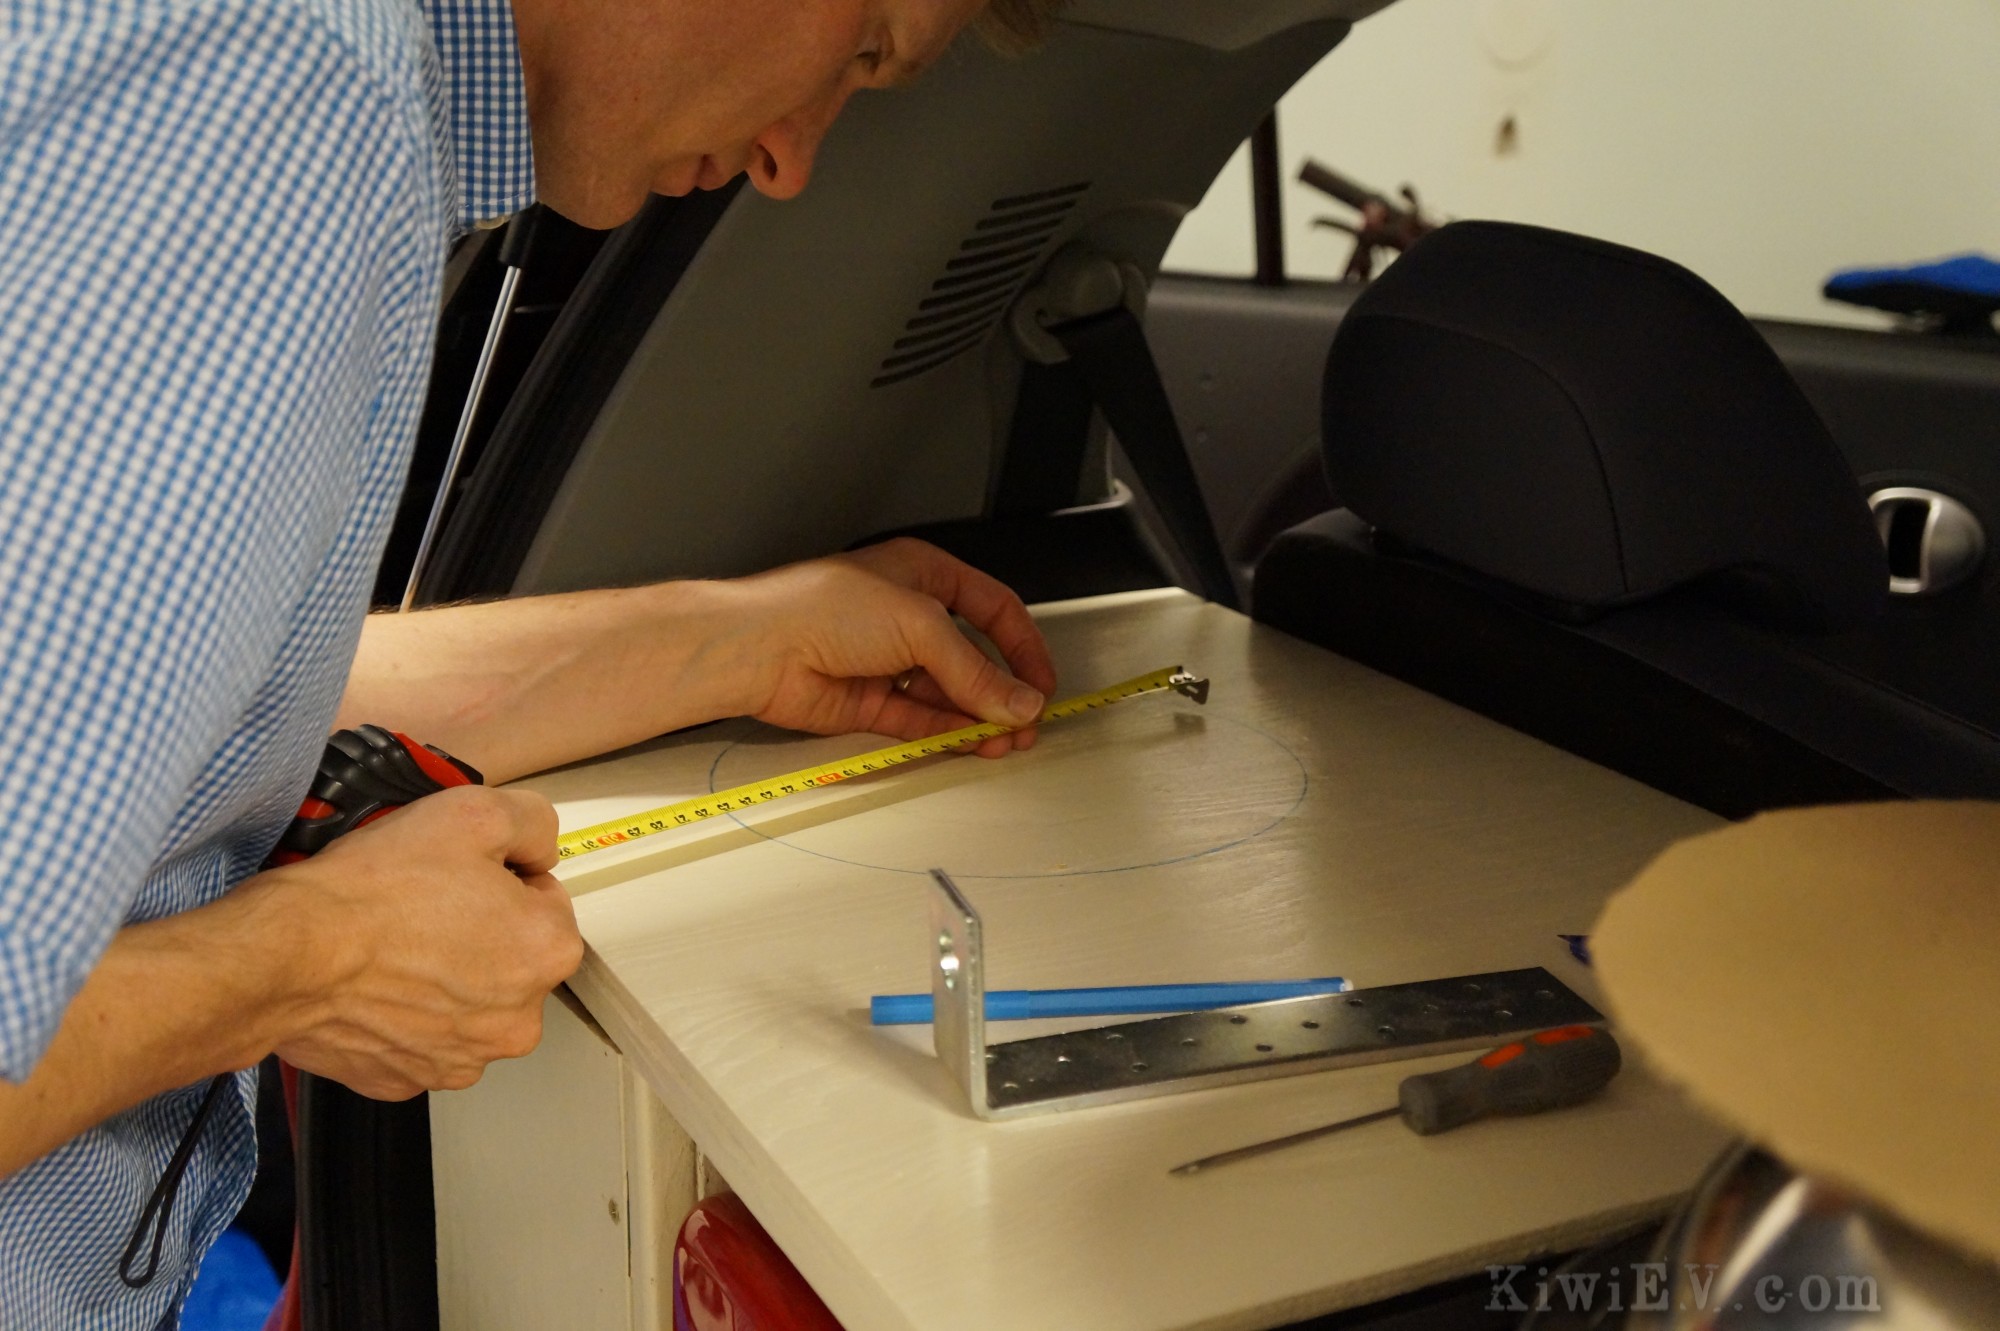
With the paint dry, it was time to measure out and install the bowl -uh, I mean the sink. This meant cutting out the right sized hole which allow the sink to fit to the left of the bench-top, while still giving me enough room between the sink and the gas cooker to cut vegetables and prepare food. Did I mention this car was small? 🙂
Unfortunately it was around this time that I caught my wife of ten years cheating. The kitchen project (and my life) ground to a halt for seven months while I gradually put my life back together. Recently, however, I’ve met someone new and wonderful. She has spurred me back into life, literally and metaphorically. Hence, I’m finishing what I started, with new enthusiasm! So, onward with the car kitchen!
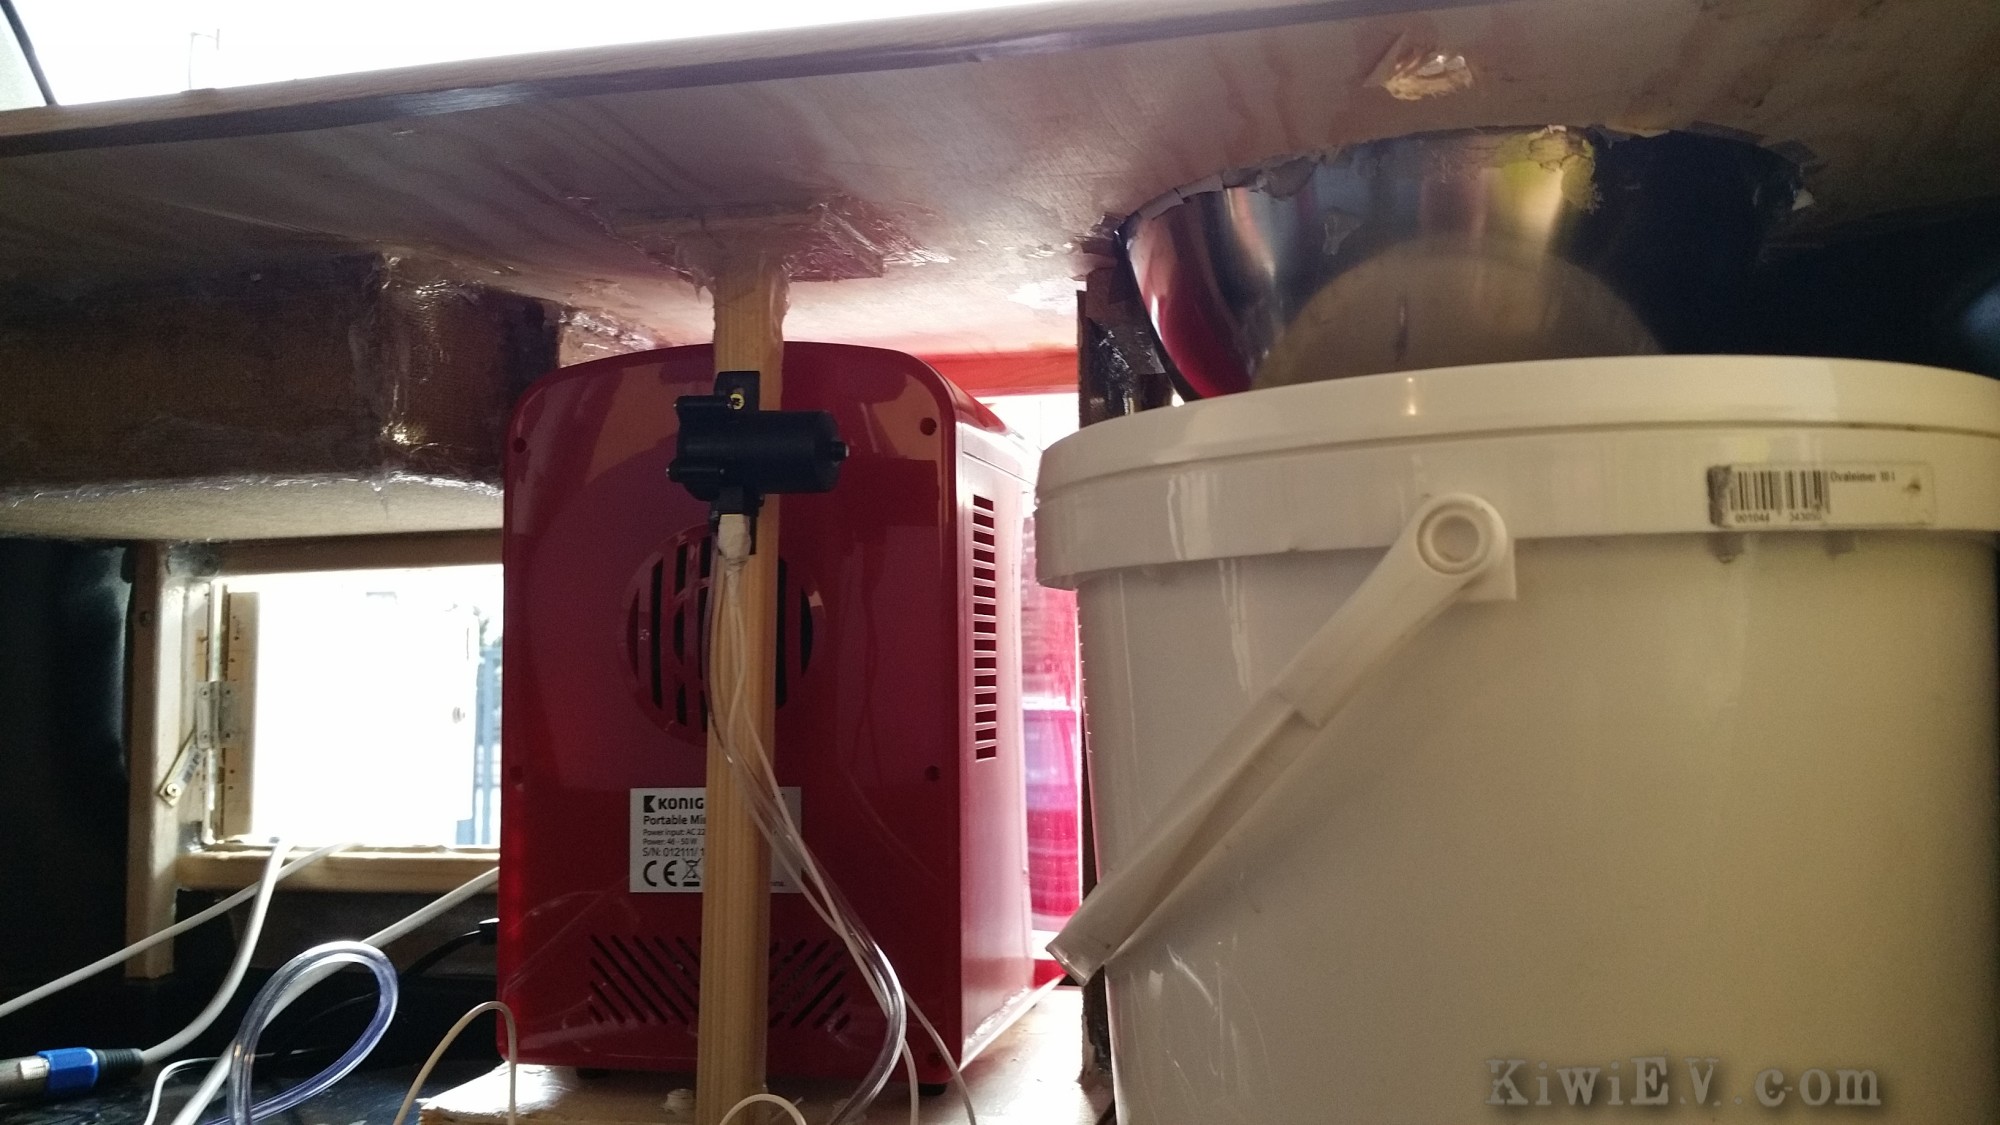
The water pump and “behind the scenes”
I installed the kitchen sink and a wood-grain vinyl laminate on top of the kitchen counter to give it that real “home” look and feel. I also installed the mini refrigerator and stove and wastewater container, as you can see above. One of the trickier parts was connecting running water to the kitchen. For this, I just used a 12 volt windshield washer motor and a 5 litre container of water, connected to a cheap tap I bought off eBay. The result however looks spectacular:
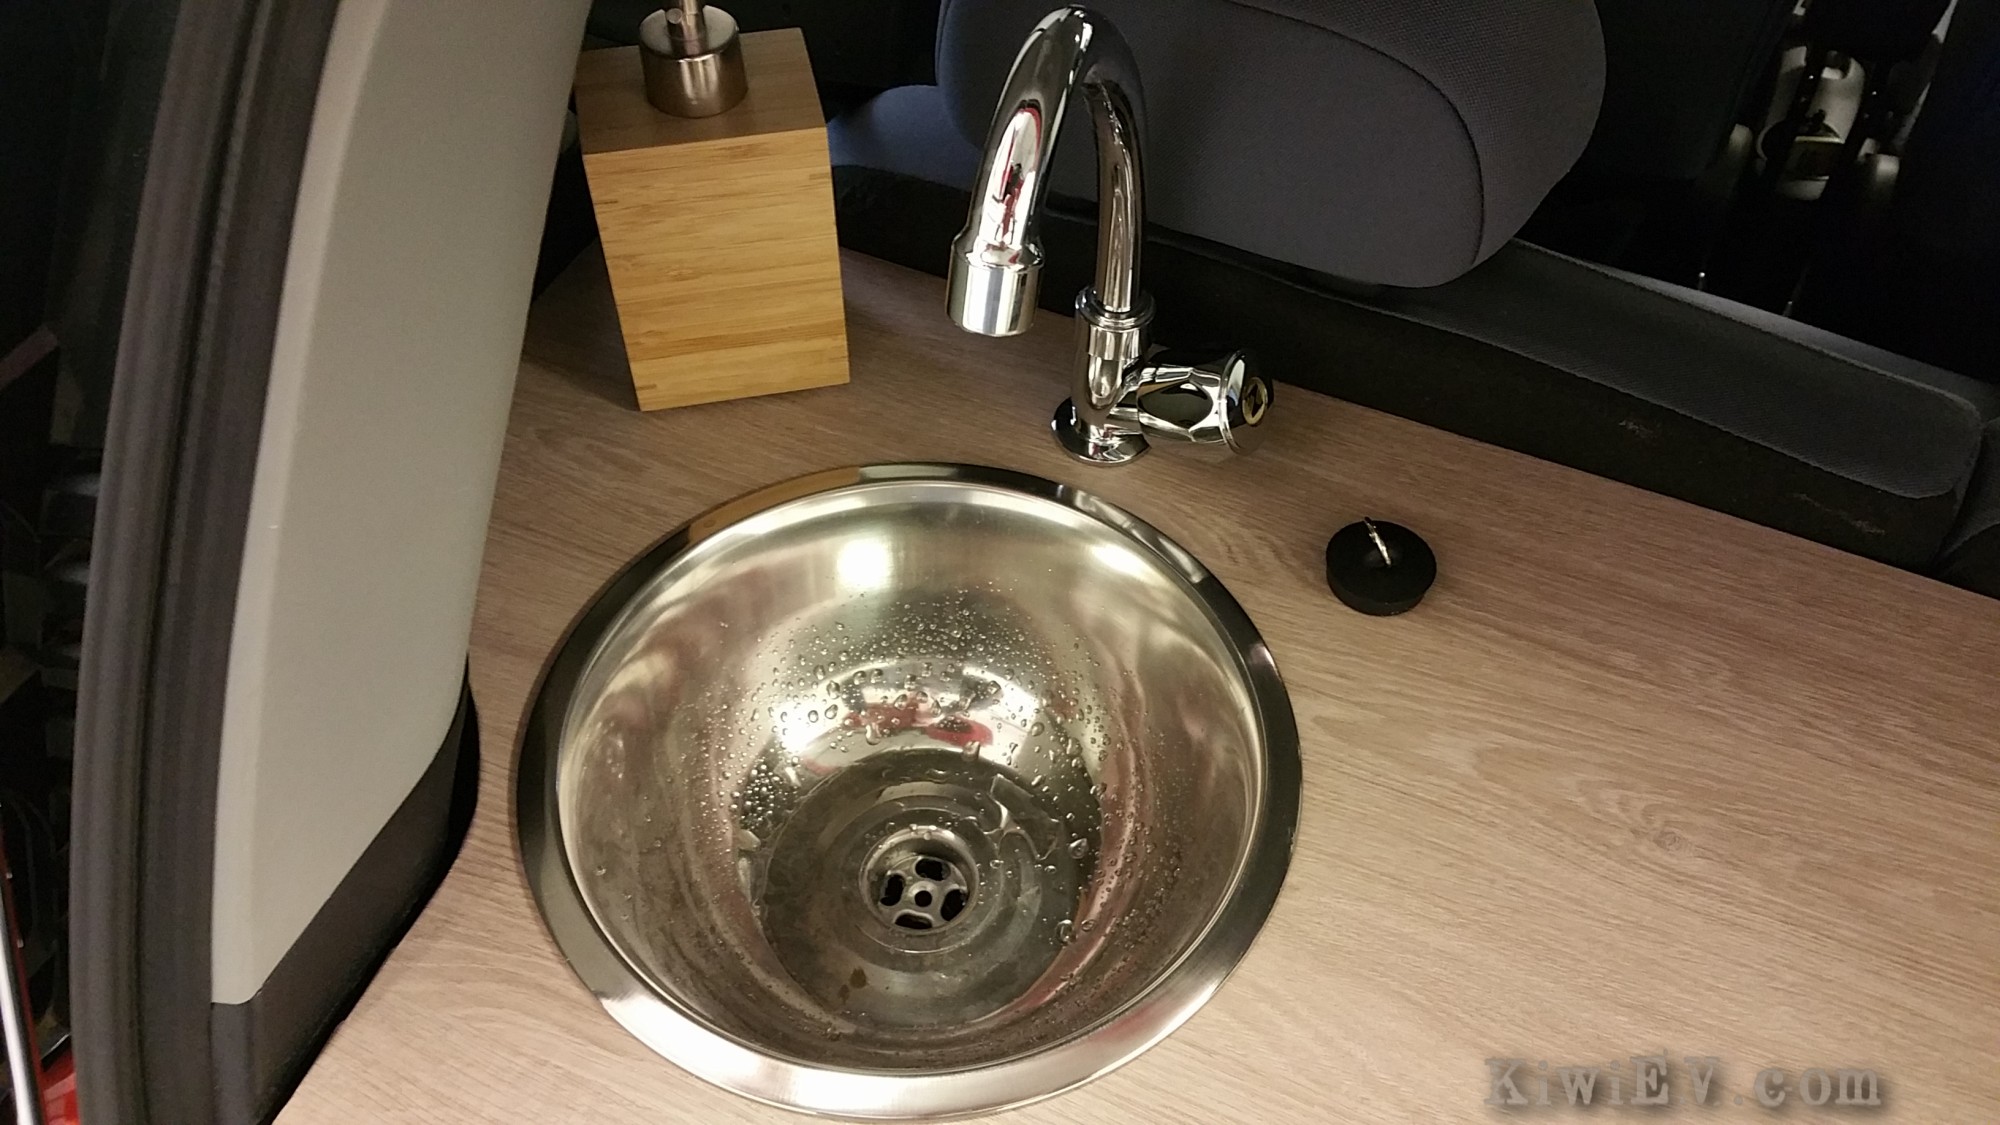
This car has everything – even the kitchen sink!
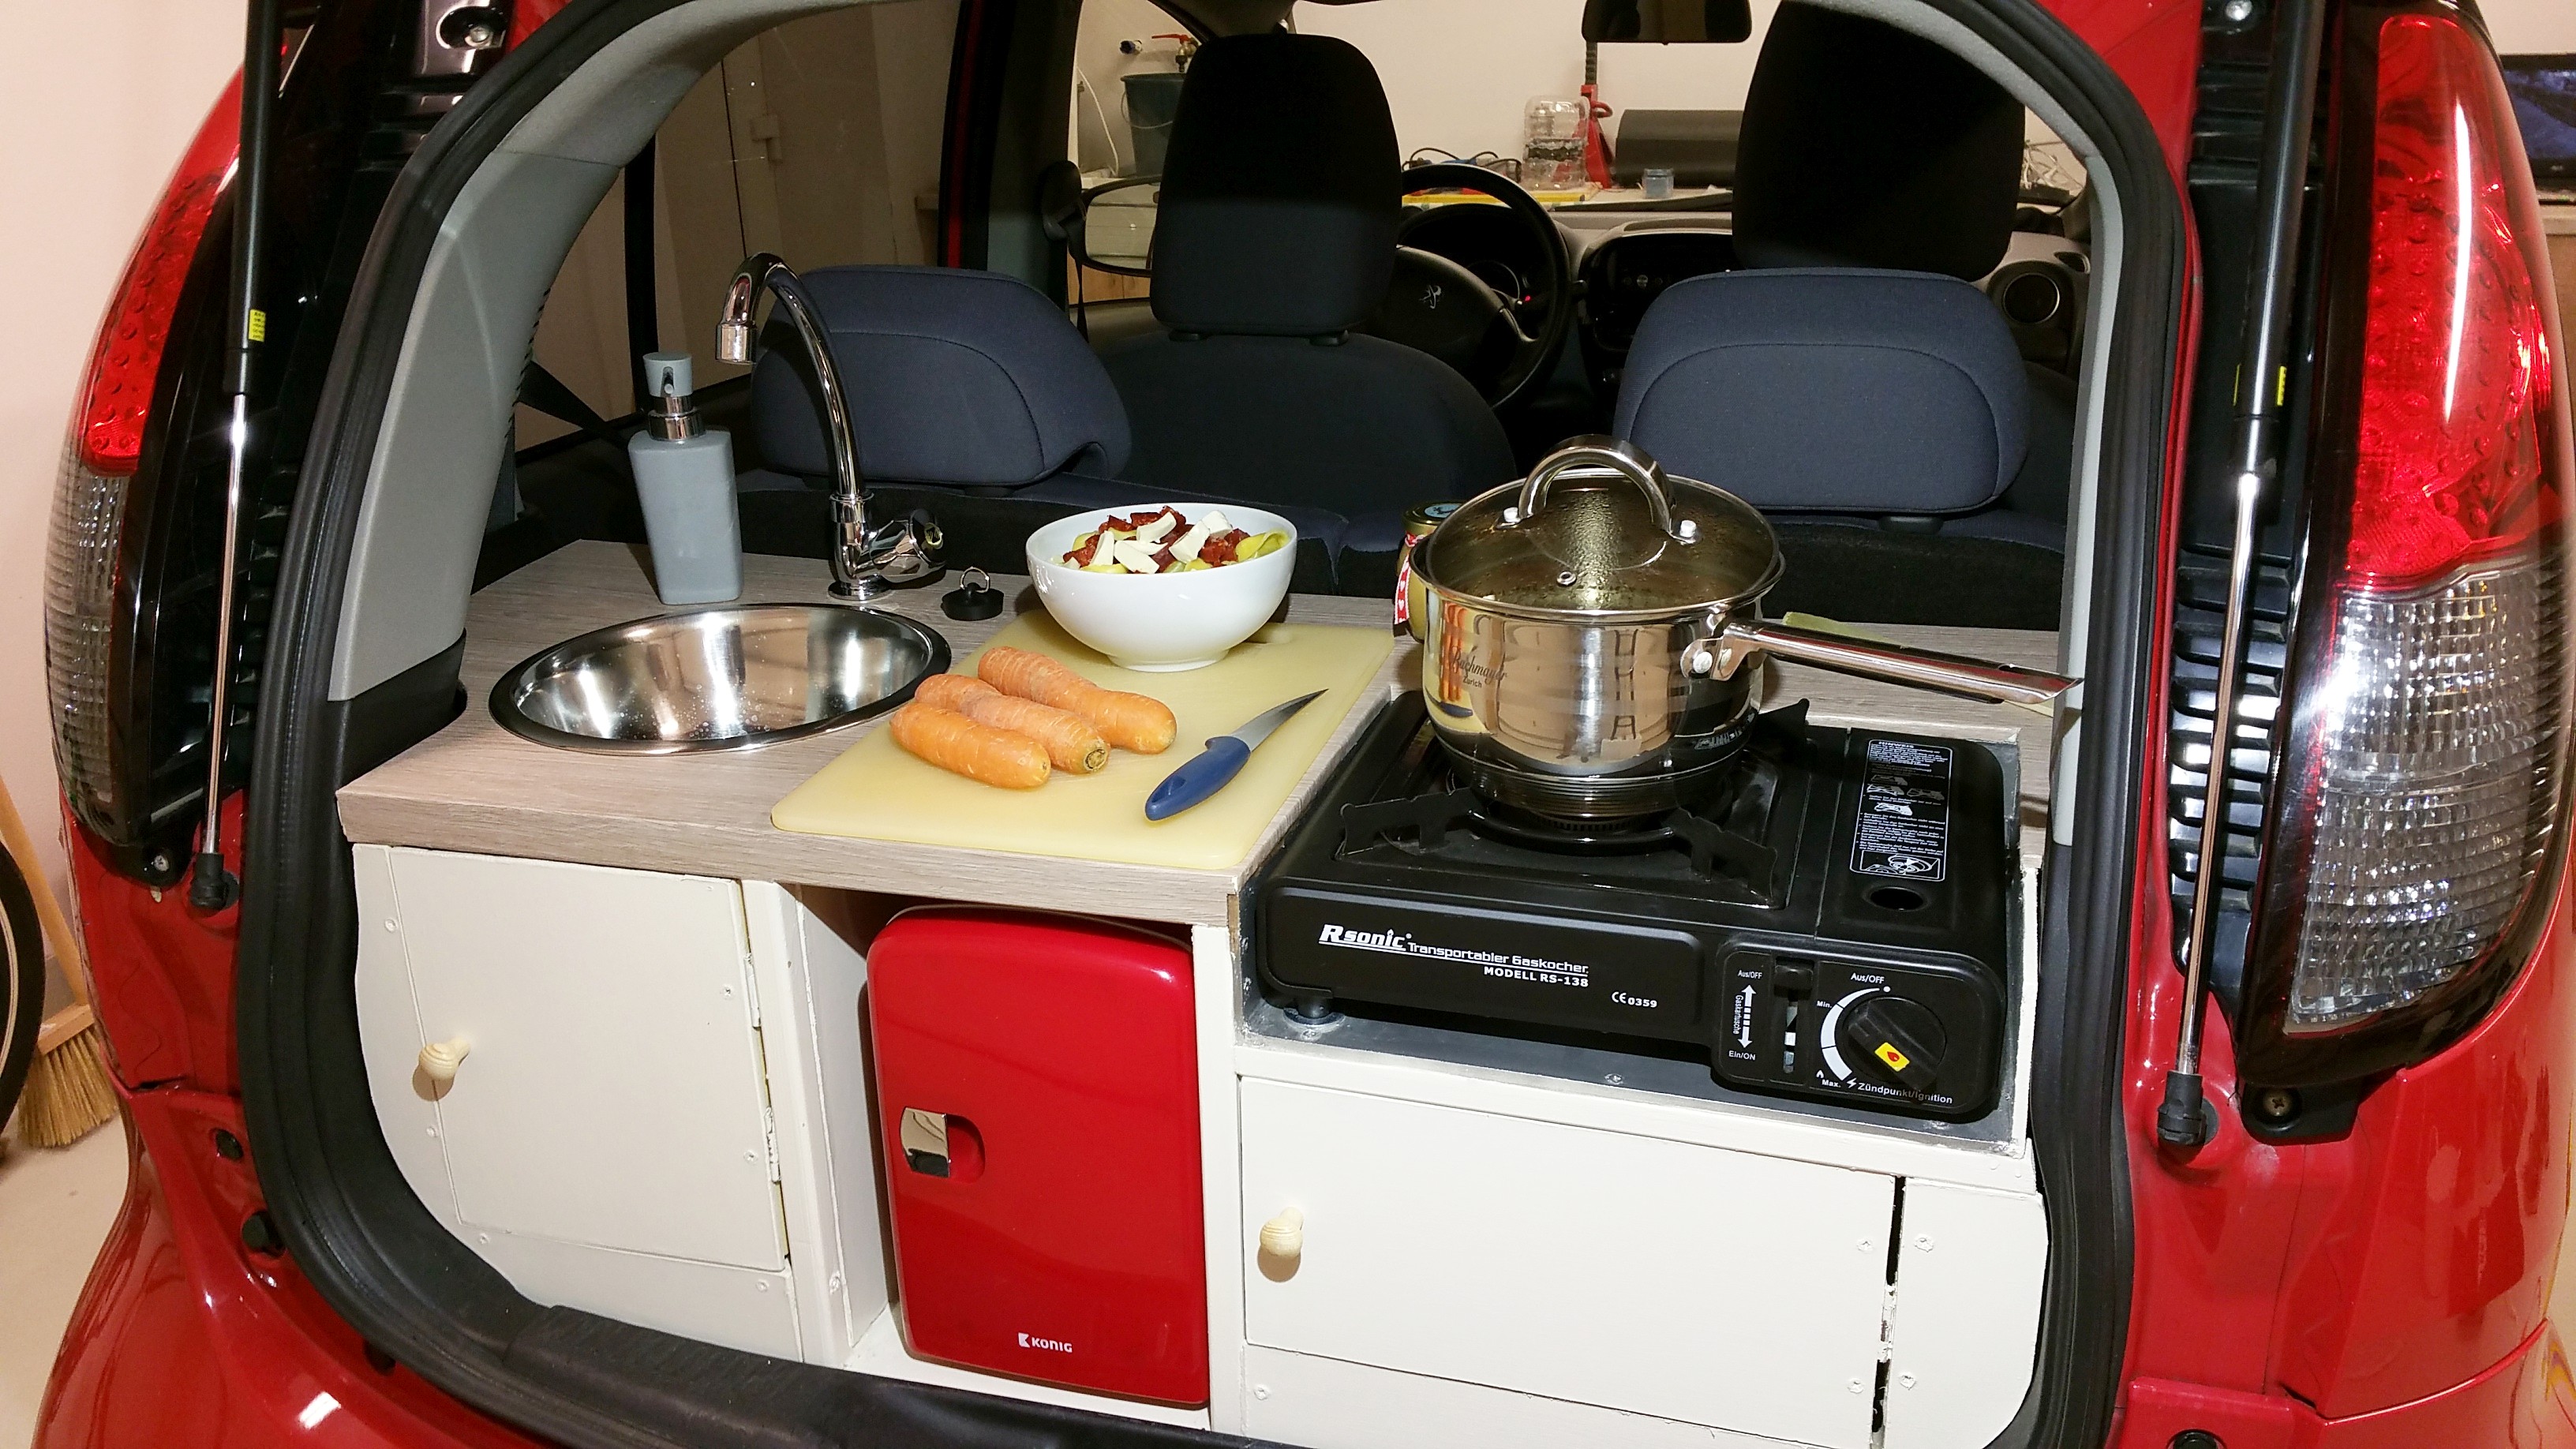
Having running water just makes the whole thing seem more real. It’s just brilliant. Running water takes the project from a fun talking point to an actual useful setup. I can’t wait to try it out this season, either for camping in luxury or perhaps just making a cup of tea while waiting for the electric car to recharge.
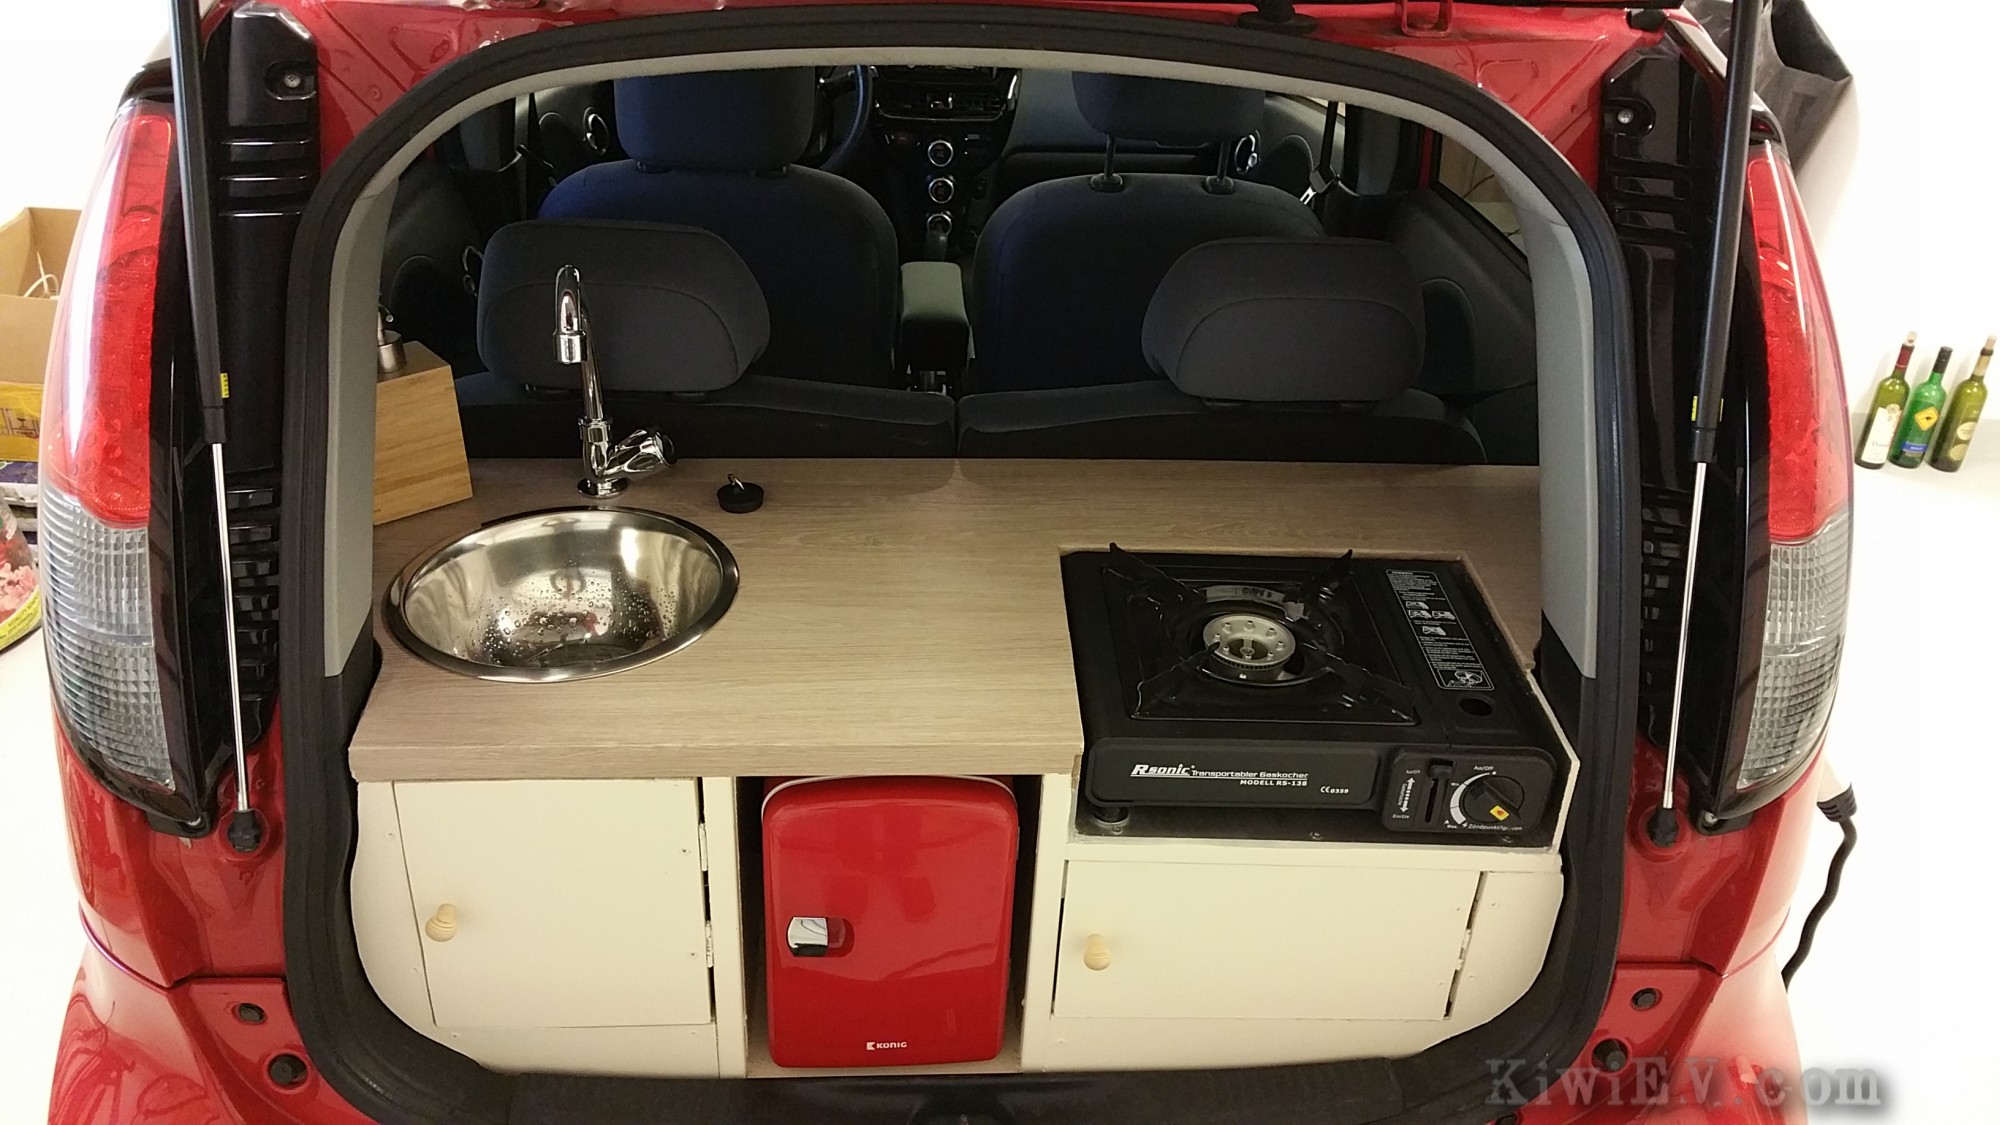
The car kitchen!
At the risk of tooting my own horn, that looks pretty damn cool! The cooker is ready to cook, the sink is ready to flow, and the fridge is really to chill. Also, being an electric car I don’t have to worry about the fridge draining the battery. With the car “running”, I reckon I could leave the fridge going for a week or two before needing to recharge the main battery!
The car kitchen installed and functional!
I’m really thrilled that the kitchen is complete and working well. It’s tiny, of course, but considering the dimensions I had to work with, it was never going to be massive. The running water is a really nice touch, though. 🙂
As always, there is a video of the creation from start to finish below. I hope you enjoy it, and if you do, please feel free to share this page with your friends. In the meantime, I can’t wait for summer!
Hi Gav, a long time YT subscriber here.
Nice job with the mobile kitchen, I am looking forward to see you doing adventures over Europe with your iOn in the summer.
I always wondered about adding a plug-in range extender/battery 5-10 kWh to the car. That should help on longer trips and also ease the heater power drain in winter. Something like a removable Tesla PowerWall module that can be used in the car and in the house as needed.
J